Architect Channel: Using Email
- 22 Apr 2024
- 8 Minutes to read
Architect Channel: Using Email
- Updated on 22 Apr 2024
- 8 Minutes to read
Article Summary
Share feedback
Thanks for sharing your feedback!
After you complete the integration process, you can start creating emails in your journeys following the steps below:
1. Add email channel on canvas
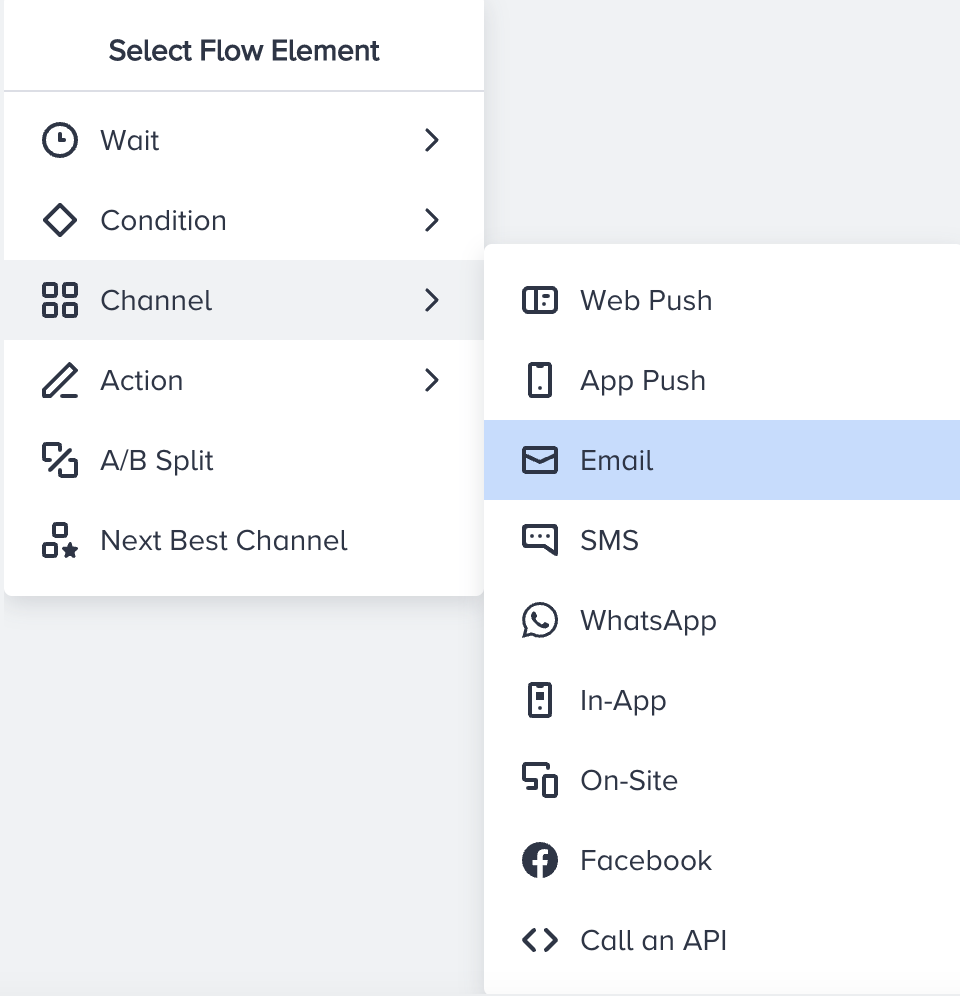
- Click the Add button on the path you want to add email channel on your journey.
- Click Channel > Email.
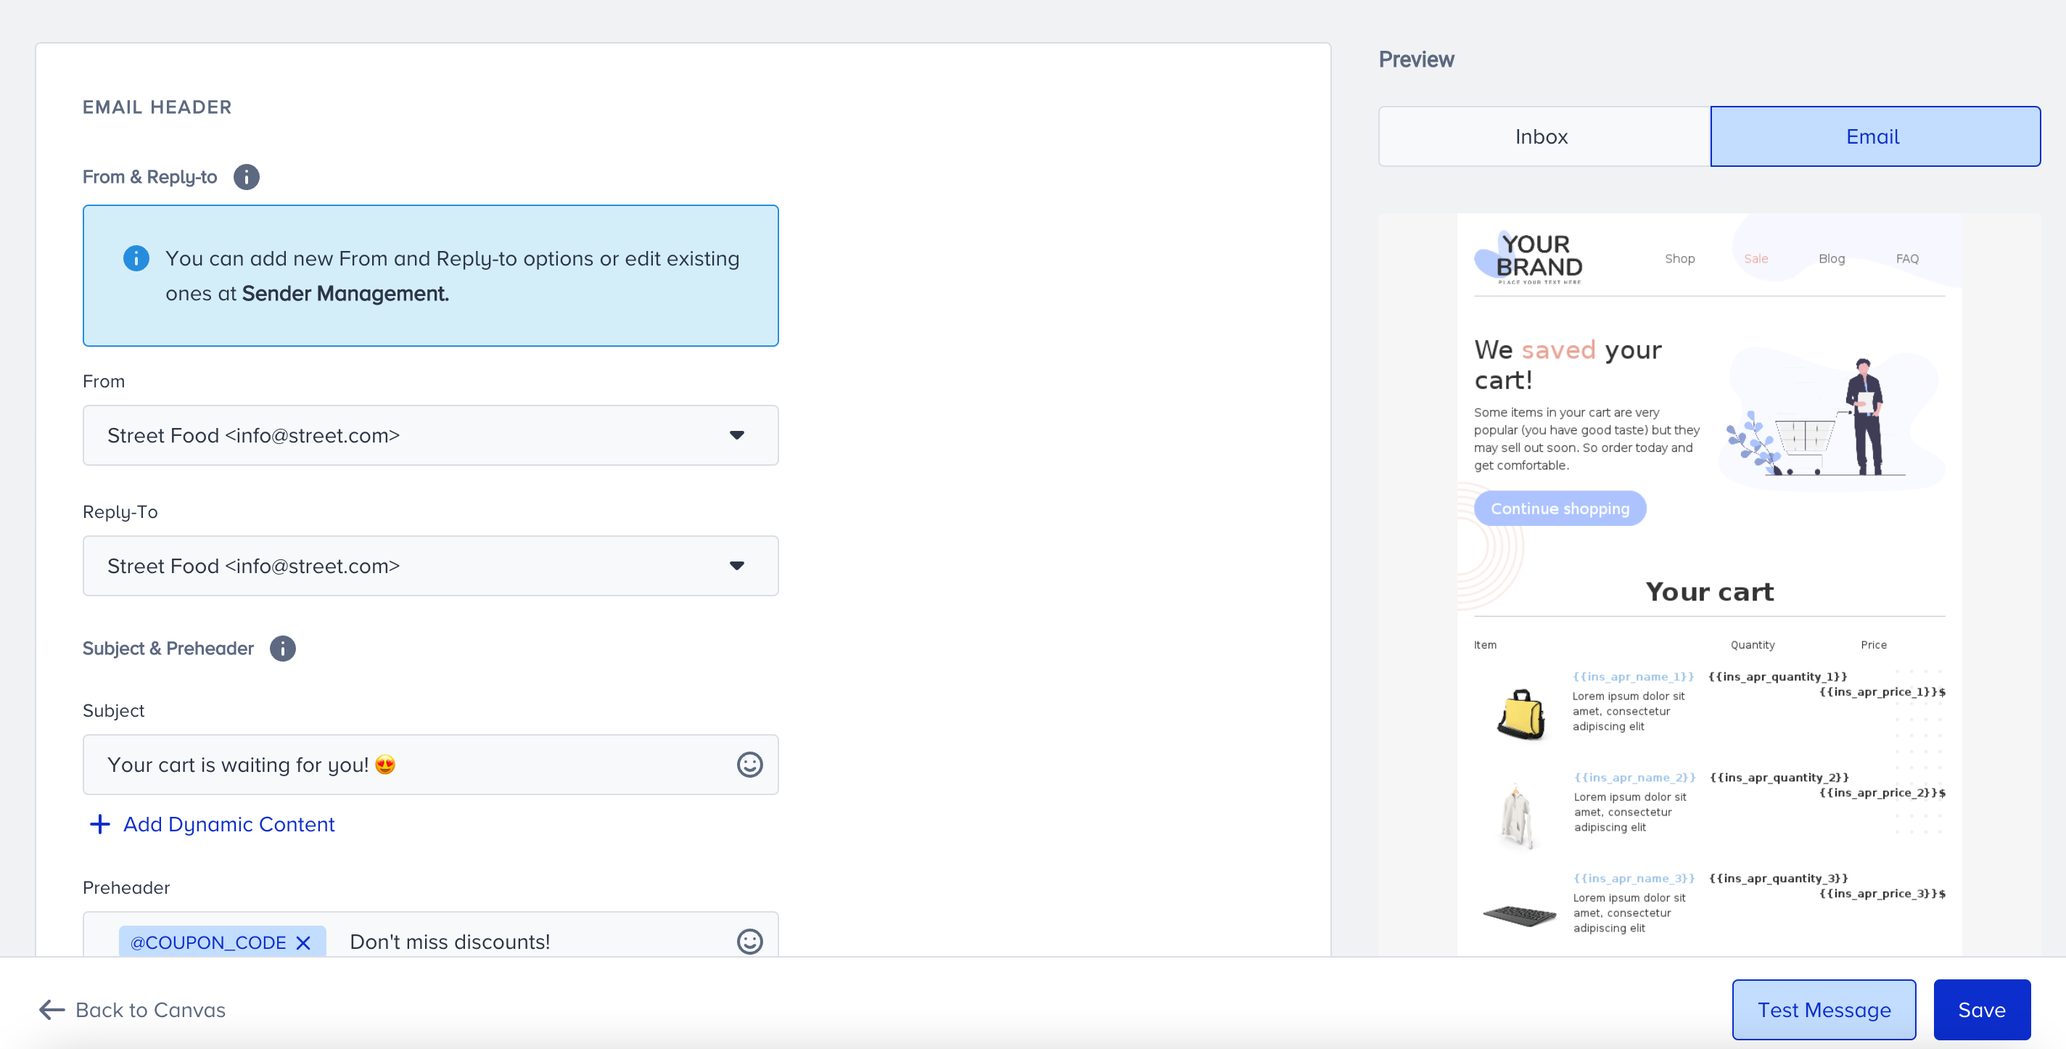
2. Select a sender and reply-to email address
- Select your sender email address from which you want to send your email to your users.
- Reply-to is the email address to which your users can send a reply. By default, the reply-to address is the sender (from) address, however, if you want to set a different reply-to address, you can select one from the dropdown.
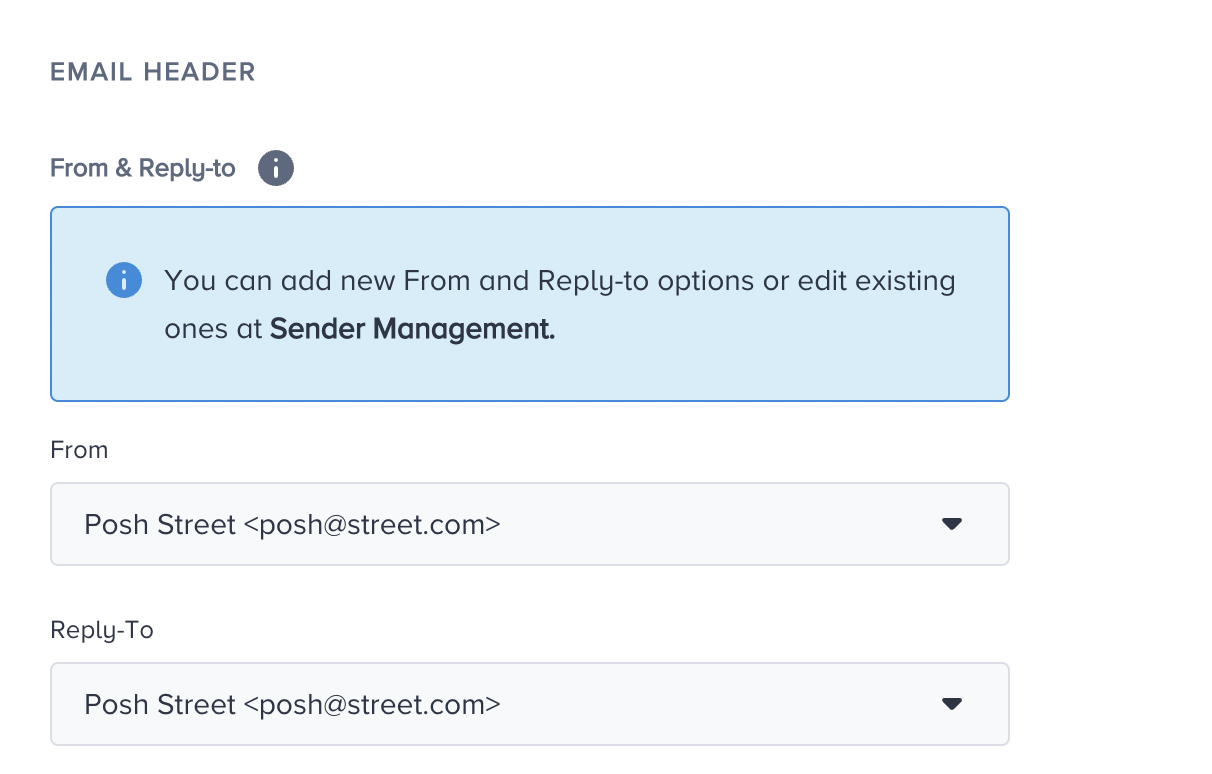
Read more on sender management here.
3. Specify subject
Click the Subject field to enter your subject.
If you want to be inspired or need assistance when creating your subject and preheader, you can always use the Generate Text option.

To use an AI-generated text:
1. Click the Generate Text button to see the side modal.
2. Enter a prompt you want to generate the text about.
3. The language option will be the default selected language of your panel.
4. Select your industry and use case to define the context for the text to be generated.
5. Click the Generate Copy button.
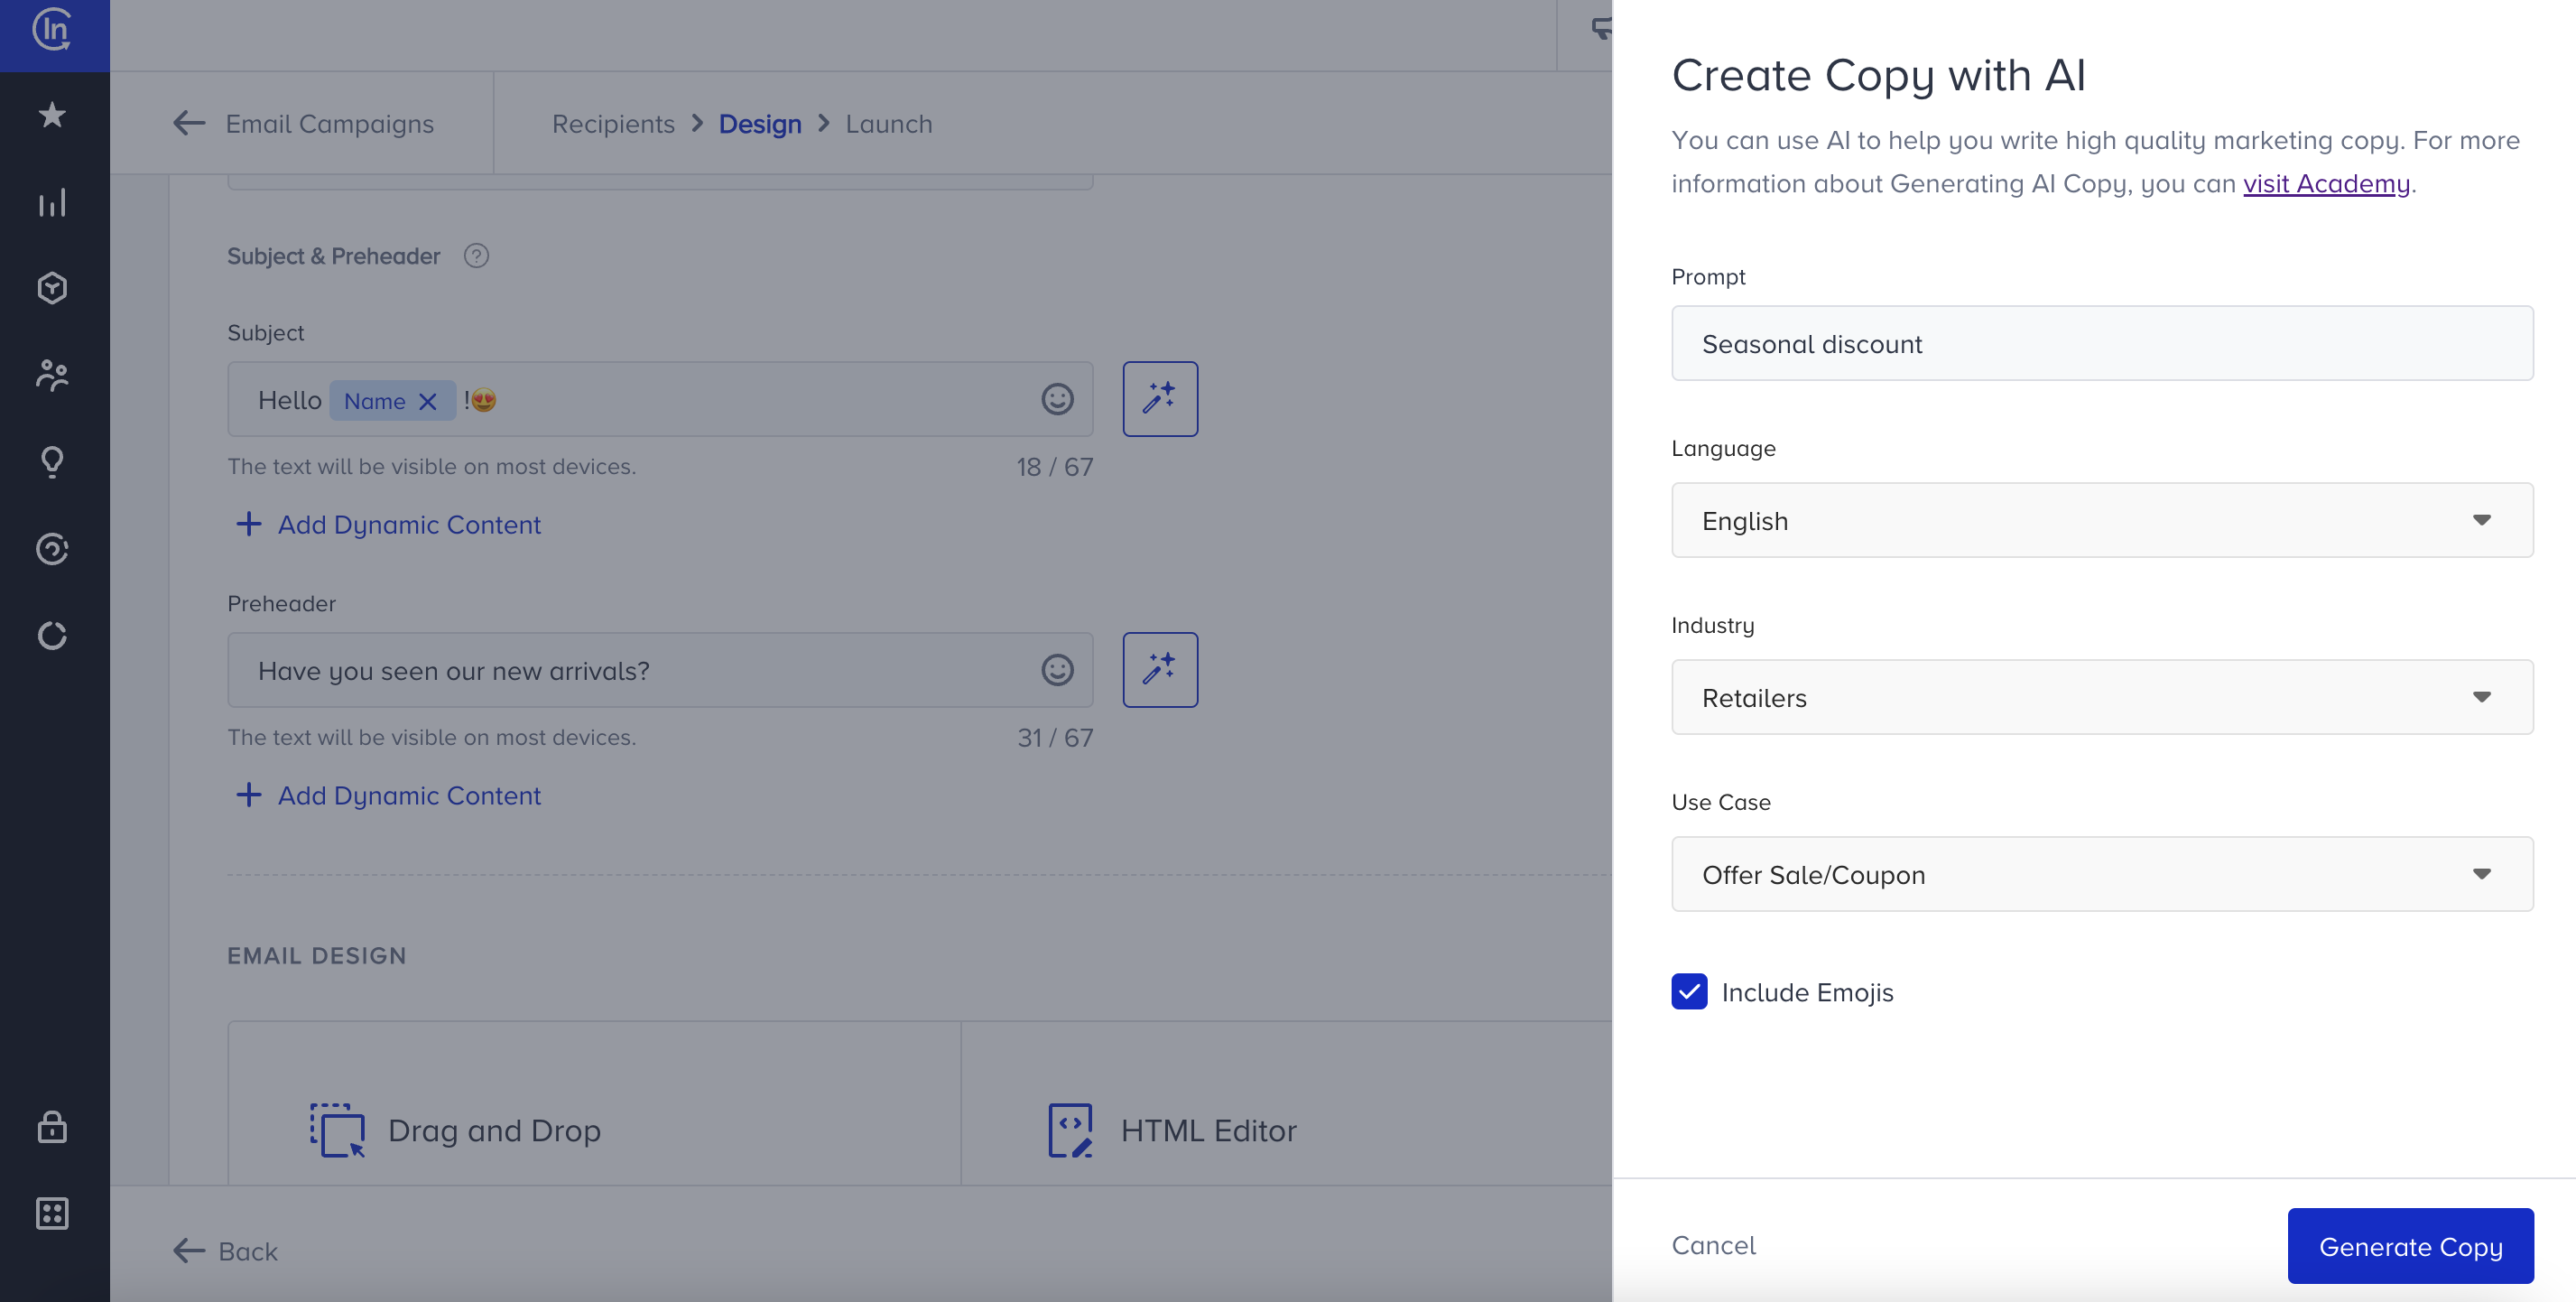
If you want to include emojis in your copy, you can check the "Include Emojis" box.
Your title goes here
This option indicates that the AI can generate copies with emojis. However, not all options might include emojis.
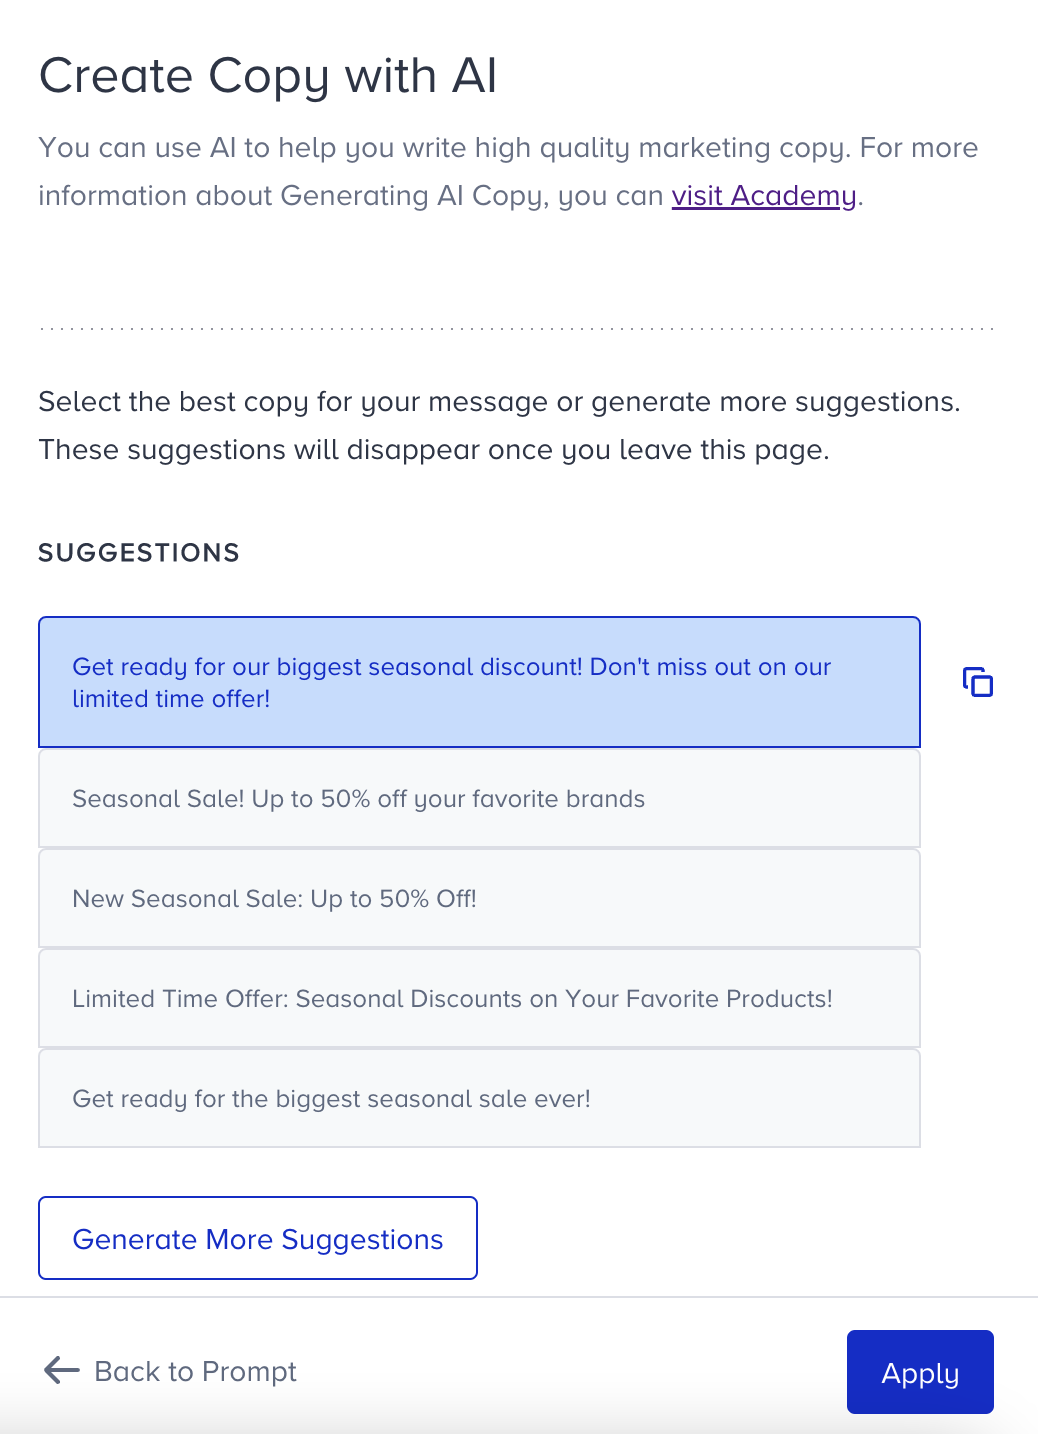
The modal displays 5 suggestions. To see more, you can click the Generate More Suggestions button.
To use any suggestion, you can select it and click the Apply button, or copy it via the Copy button against the suggestion you want to use.
Once you click the Apply button, the copy will be added to the respective field.
You can use default and custom user attributes, event parameters, and coupon code in the content to personalize it for your users. Read more on dynamic content.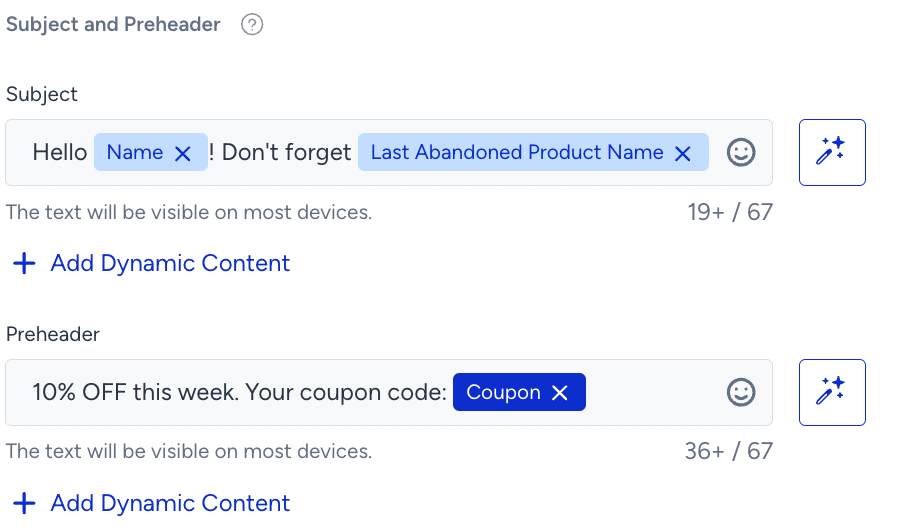
- For users who do not have a value for the dynamic content, you can add alternative text (fallback) by clicking on the content tag.


Your title goes here
Architect excludes dynamic content from the character limit calculation. When you add any dynamic content, it does not have an impact on the character count. When you assign a fallback value to the dynamic content, it will be displayed to the user if the dynamic content's value is empty for that user. In this case, the character count includes the fallback value.
The plus sign in the character count indicates that dynamic content will receive a value upon message delivery to the end user.
The plus sign in the character count indicates that dynamic content will receive a value upon message delivery to the end user.
Your title goes here
Subject line will be trimmed at the 66th character in most devices if you add more than 66 characters.
4. Add pre-header
Pre-header is a summary text that is displayed next to your subject line in the inbox. It helps increase the open rates on emails as it can draw users' attention. When you leave it blank, it is automatically defined by the email clients.
Also, you can use emojis to increase your open rates.

You can insert the coupon code into the content, and select one of the coupon lists you uploaded beforehand. 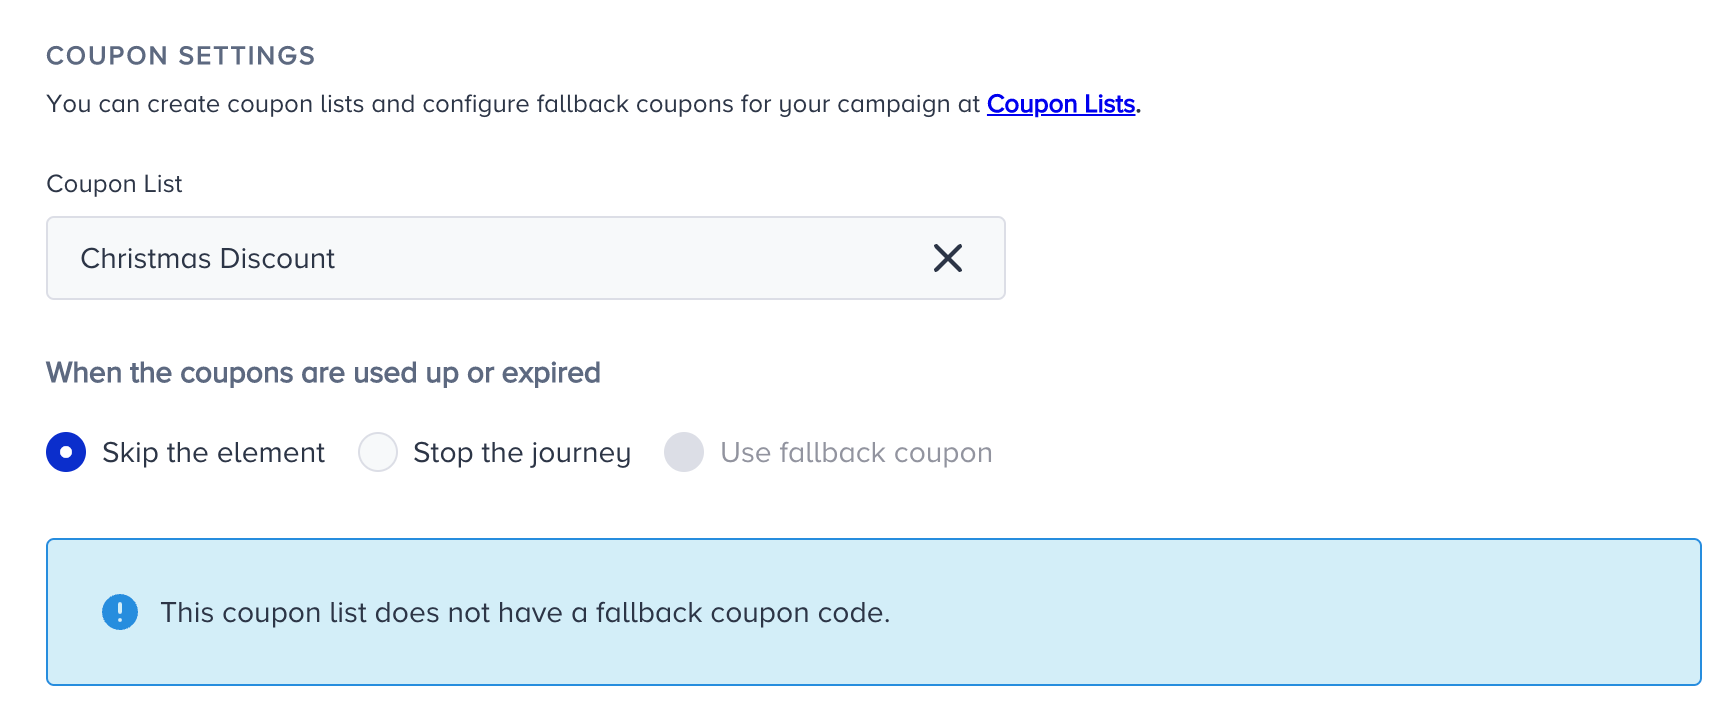
5. Design your email

You can design your email using one of the following options:
- Drag and Drop editor
- HTML Editor
- Selecting a pre-built template
To select a pre-built template, you can use one of the templates in the library which are based on business use cases, or you can use one of the templates that you saved before.
- Click Select Template.
- Select a template type using Templates dropdown or search your template using the search bar.
- Selecting the template you want to use, you'll be redirected to the editor page of the template where you can customize the elements of the template.

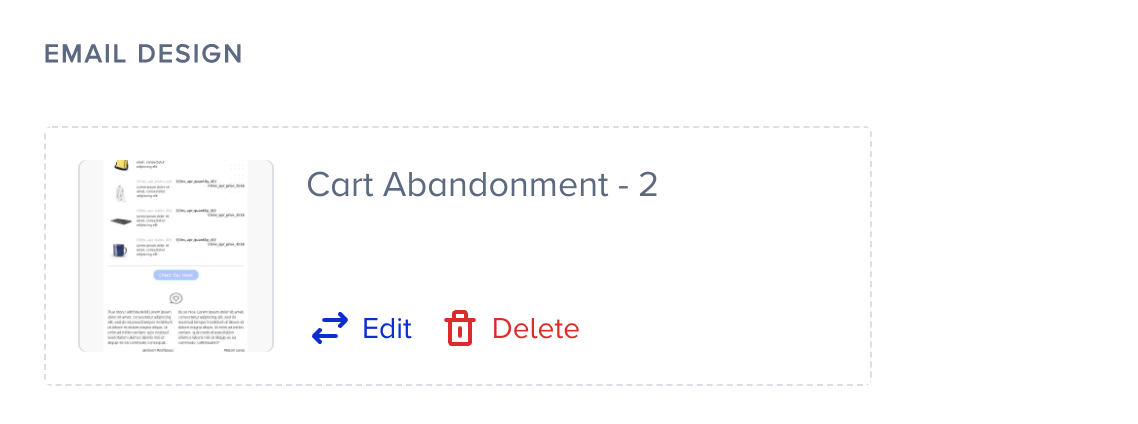
- After saving the email template, you will be redirected to the main page of the email element and you will see the thumbnail of the saved template.


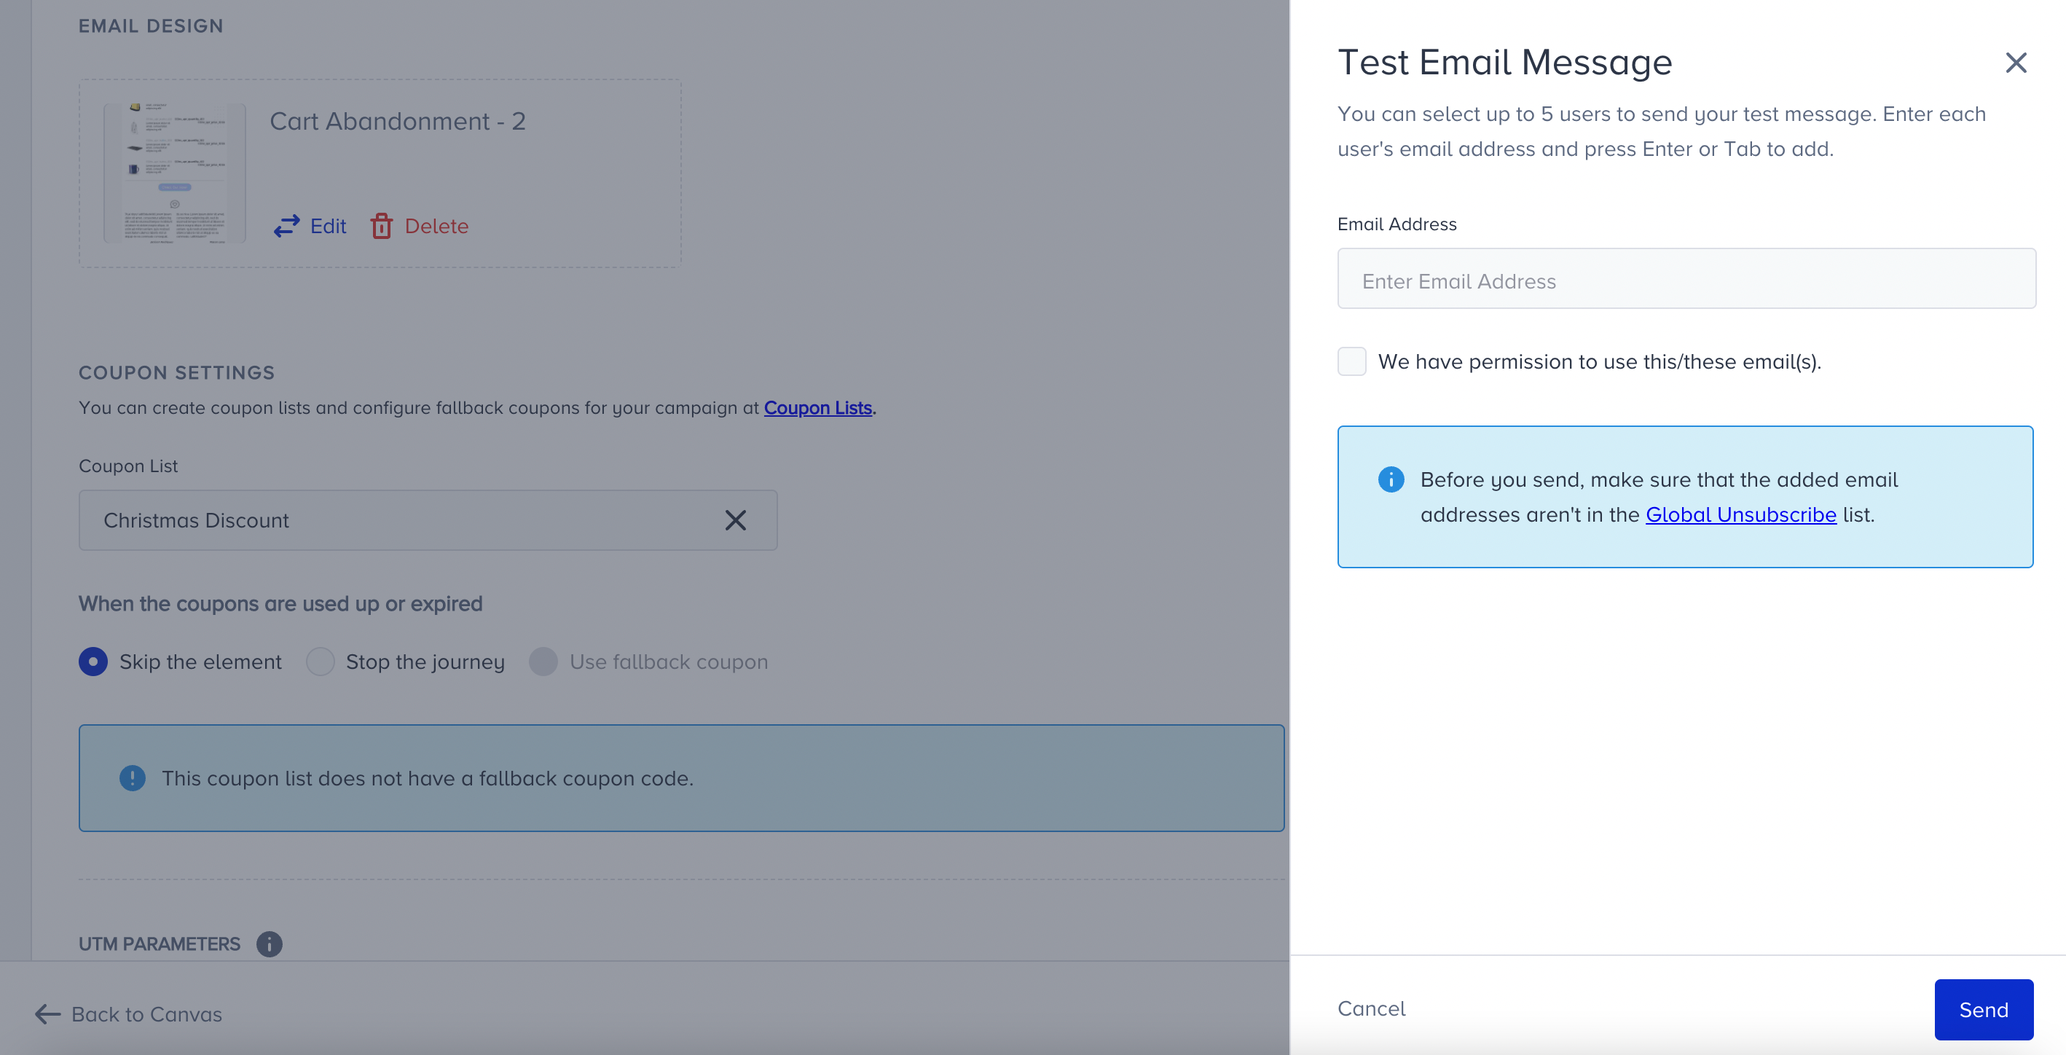
6. Configure Coupon Settings
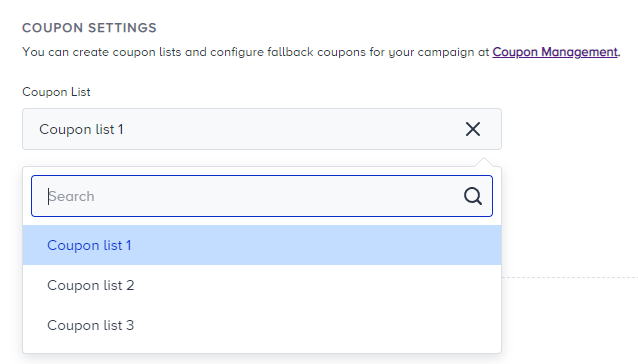
You can enable the coupon settings when you add a coupon in your email. Before adding any dynamic content in your message, you will see the settings section as below.
.png)
You can add a coupon in your email using the Coupon block. Drag the coupon block and drop it anywhere you like in the message.

Once you add your coupon and save the design, you will see the coupon settings enabled. Select a coupon list to proceed.
Select the action that you want your journey to take when the coupons are used up expire. You can skip the element, stop the journey or use a fallback coupon.
Your title goes here
Read more on coupon lists.
7. Enable UTM Parameters
Define your UTM Settings to track users' actions on email. UTM source, medium and campaign fields will be automatically filled. If needed, you can fill out the UTM term and content fields.

These parameters will be automatically added to each link in your email.
your title goes here
If you do not want to use UTM parameters or you already have added them manually in your email, you can disable the UTM Parameters checkbox.
your title goes here
If you want to add UTM parameters manually in your email, the parameters on the UTM Parameters section will be ignored. Only the parameters you add will be taken into consideration.
You can also create custom UTM parameters. Click the Create Custom UTM Parameter button.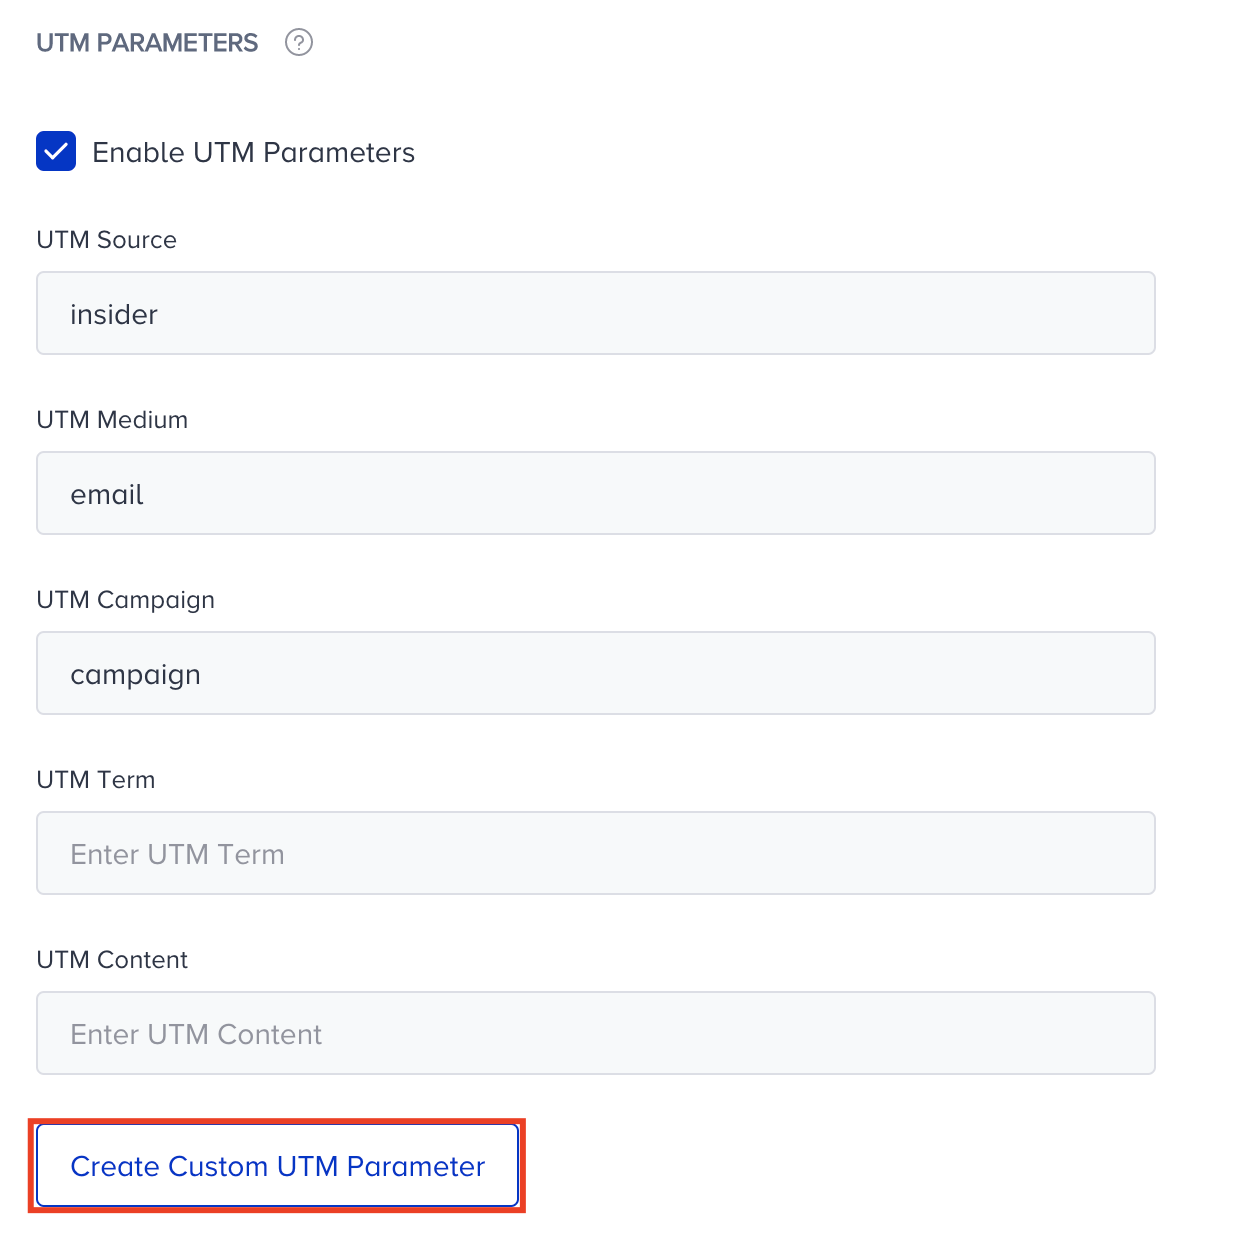
Add your custom UTM parameter label. Select one of the previously created values if any, or create a new one. Click the Create button to save your UTM parameter..png)
8. Enable Send Time Optimization
You can optimize the time to deliver your messages to the end-users. It helps you engage your users more effectively and draw their attention when they are most likely to interact with your messages..png)
Your title goes here
You should enable send time optimization based on your use cases. For example, send time optimization might not be a good fit for cart or browse abandonment cases. Read more on send time optimization.
If you set Channel Frequency Capping before, when you enable Send Time Optimization, Bypass Channel Frequency Capping will be automatically enabled.
9. Bypass Channel Frequency Capping
You can send emails using single email campaigns or via the email channel in Architect. With global email frequency capping, you can limit the number of emails that a user can receive in a given time not to overwhelm your users with too many messages. For example, you can set the limit to a maximum of 5 emails per user in a day.
Architect enables you to override your global email frequency capping if you have configured any. Since journeys are for real-time cases and they require users to receive emails based on their actions, you may want to override the frequency capping that you set for your emails.
You can bypass the global frequency capping and not count the messages of this specific campaign within the limit of the channel frequency capping.
Your title goes here
If a user reaches the limit of the emails they can receive in a day, they will proceed to the next step without receiving another message when they arrive at the email channel in the journey.

10. Enable Unsubscribe Group
Unsubscribe Group lets you set an unsubscribe group to be mapped with the Unsubscribe link in your email design. The recipients who click the Unsubscribe link will be unsubscribed from the selected group.
First, you should insert the Unsubscribe Group in the Email design by dropping the Group Unsubscribe tag under Default Modules. 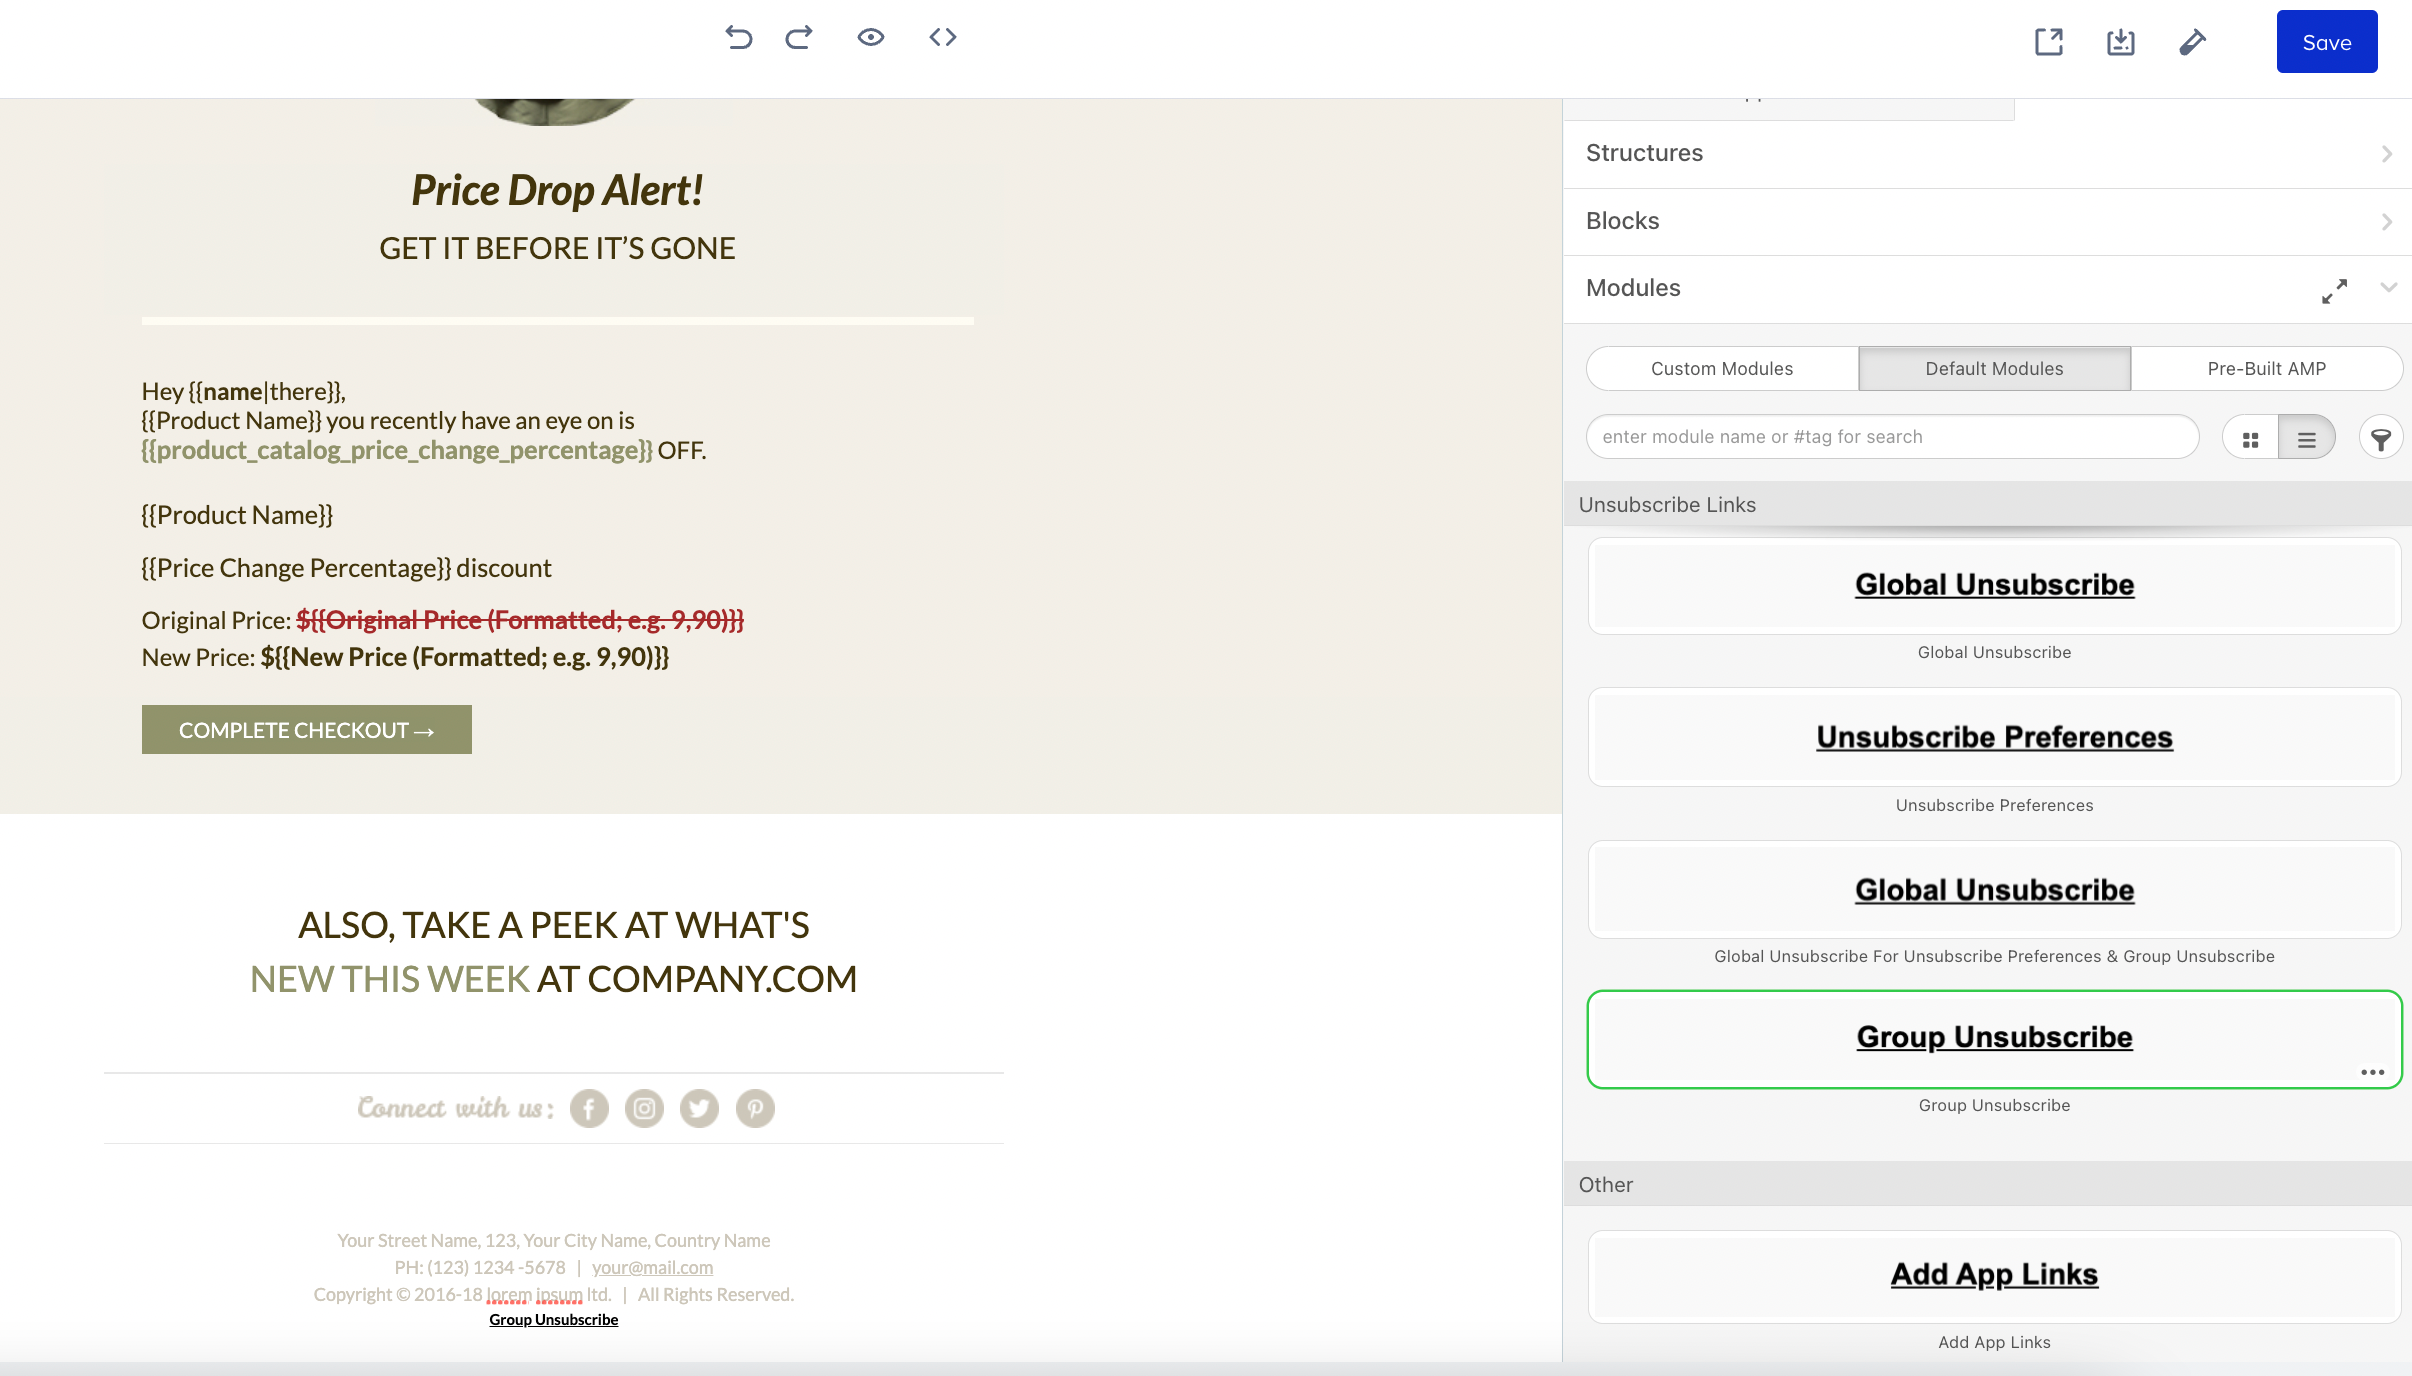 Then, after finalizing the Email design, you should enable the Unsubscribe Groups in the Email Channel page. You can select your desired group to remove the users who clicked on Group Unsubscribe tag on the Email.
Your title goes here
You can manage Unsubscribe Groups globally from the Unsubscribe Groups page under Audience > Supression on the navigation menu.
11. Test your email
Before sending out an email to your users, you should always test it to see how your sender address, subject line, pre-header and design look like.
- Click Test Message button at the bottom right corner of the page.
- Add your email address. You can add up to 5 addresses.
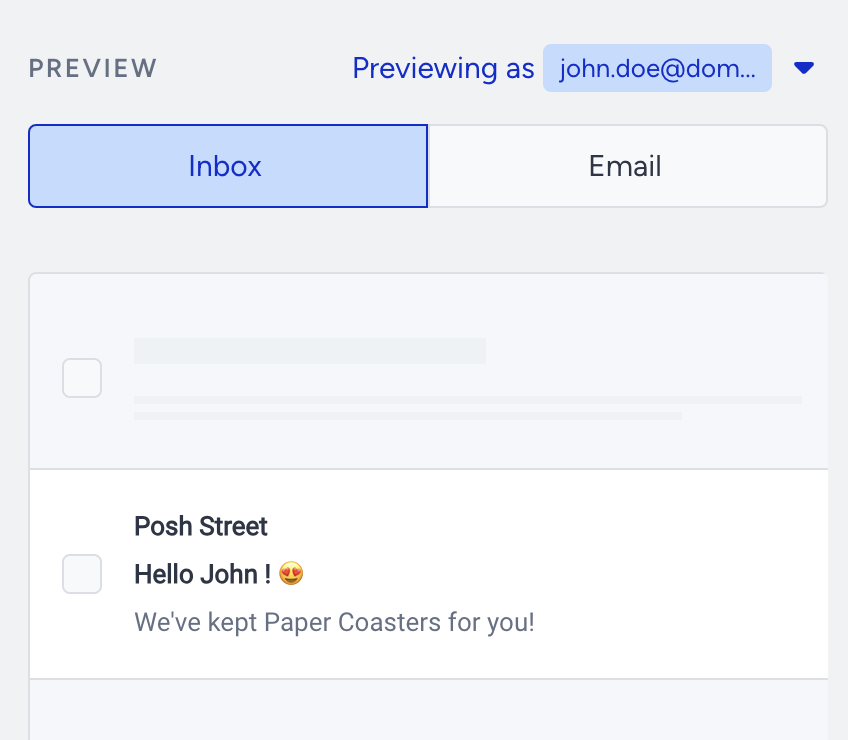
- Preview your message with the Inbox and Email modes.

your title goes here
Dynamic content cannot be seen in test messages with the real data since it is user-based and the user is not known while using Test Message.
Read more on the importance of testing your emails here.
You can also preview the dynamic content in your messages as a user. Click the Preview as User button to preview your message with real values of the dynamic content.
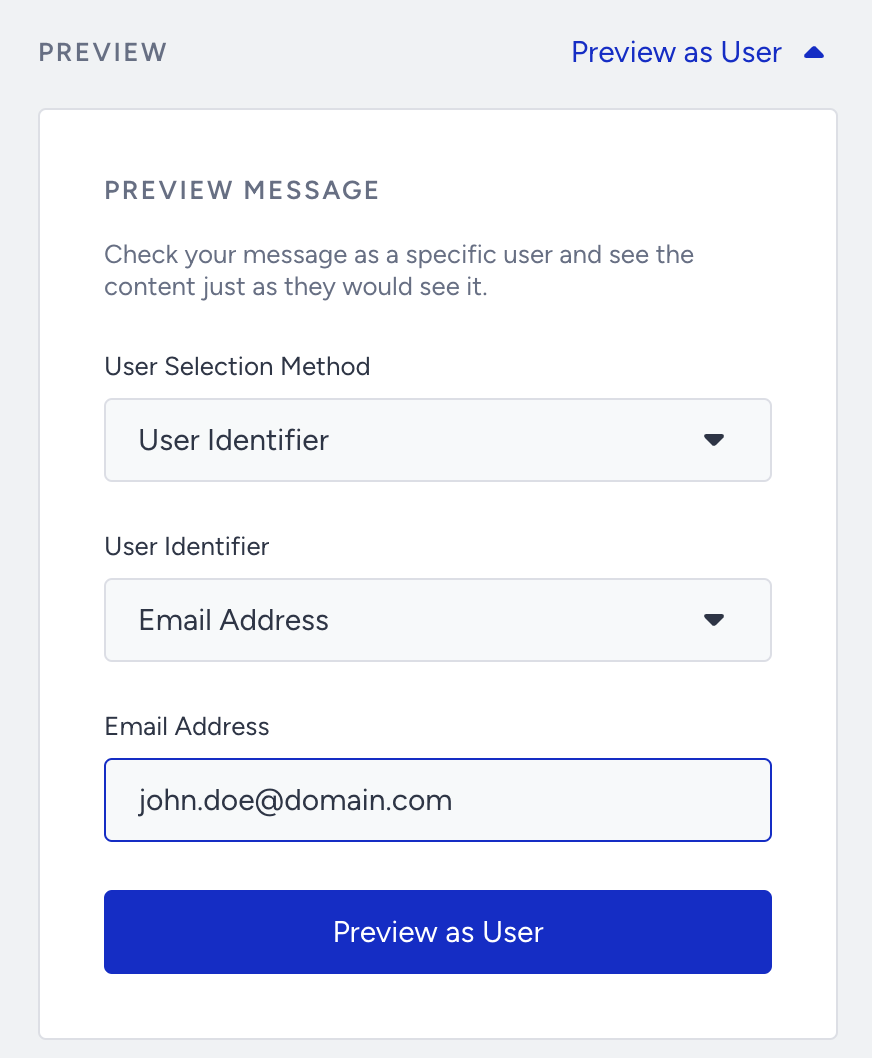
You can select one of the two User Selection Methods: User Identifier or Recent User. User Identifier will let you search for a user with Profile ID, Email Address, or Phone Number identifiers. Recent User will list the 10 recently searched users for you to choose from.
Once you select your user, click the Preview as User button to load the channel preview with real values of dynamic content for the user.
12. Rename Channel Name
Channel Name is generated by default based on journey name and channel type. You can rename it at the top right corner if you want to give it a different name..png)
13. Save email element
After configuring email settings, you can save the email page.
Make sure to click the Save button as there is no autosaving on this page. Autosaving functions only on the canvas page.
Live Actions and User Interactions
Live Actions
You can keep users on the flow until they view your email or click a link in it. To use this live action, you can select “On Click” or “On View” actions right after the email element. The default action is “On Send”. You do not need to set any if you do not want to use this feature.
your title goes here
The user will remain in the journey unless they click or view the email, or you change the journey status to passive.
Checking User Interactions
After the email element, you can take another action via branching your flow according to user interactions on the email after a while.
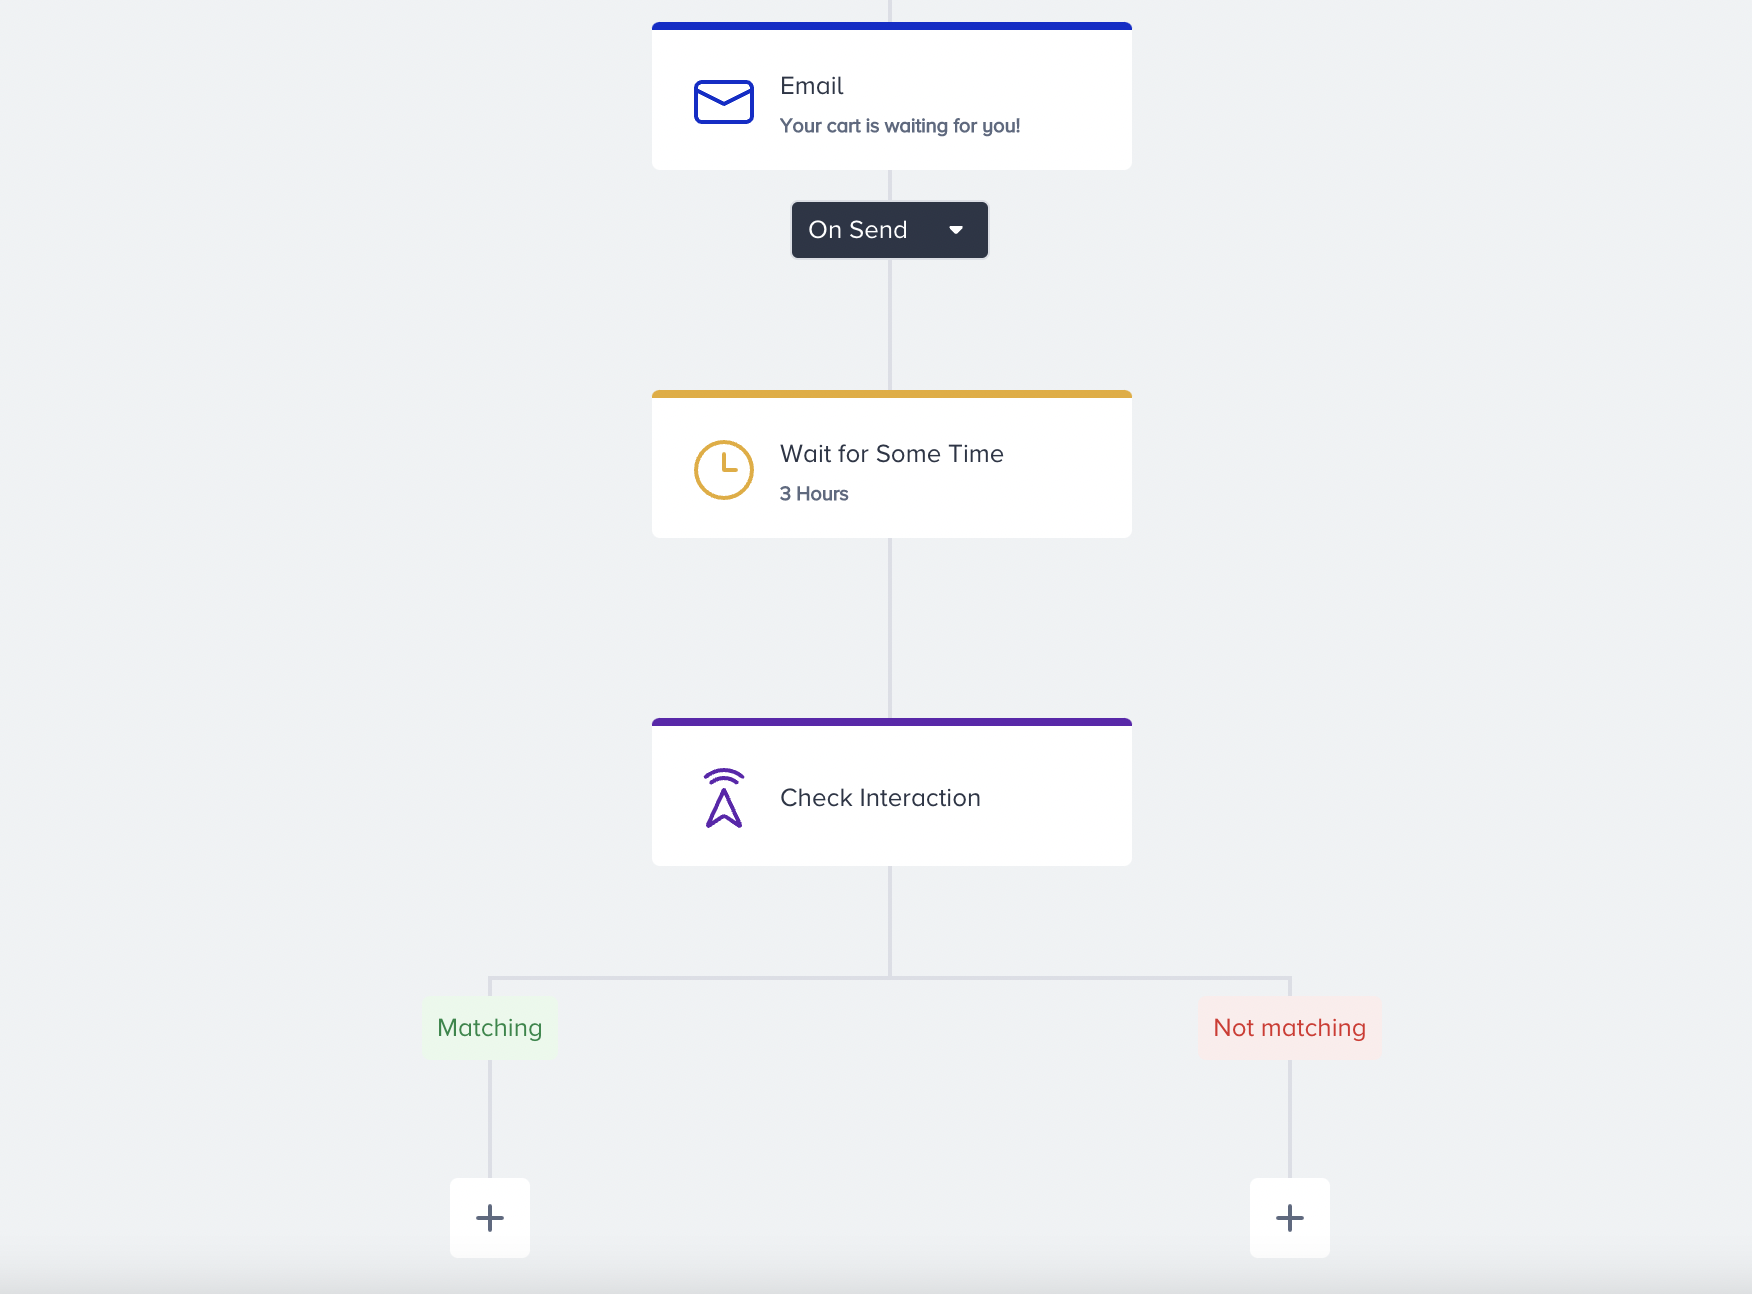
Read Check Interaction for further details.
your title goes here
Users do not take any action on the messages right after you send them. That's why you need to give users some time to take the desired action on the channels by adding a wait element before the check element.
Was this article helpful?