Configure Custom (HTTP) Opt-in
- 16 Jan 2024
- 1 Minute to read
Configure Custom (HTTP) Opt-in
- Updated on 16 Jan 2024
- 1 Minute to read
Article Summary
Share feedback
Thanks for sharing your feedback!
Once you have decided on the type of Web Push opt-in you want to use, you can enable and configure the opt-in on InOne Panel.
1. Navigate to Experience > Message > Web Push > Settings.
2. Under Opt-in Settings tab, make sure that you checked Enable Web Push Opt-in box. Then, choose the Custom (HTTP) opt-in type to further configure its settings. 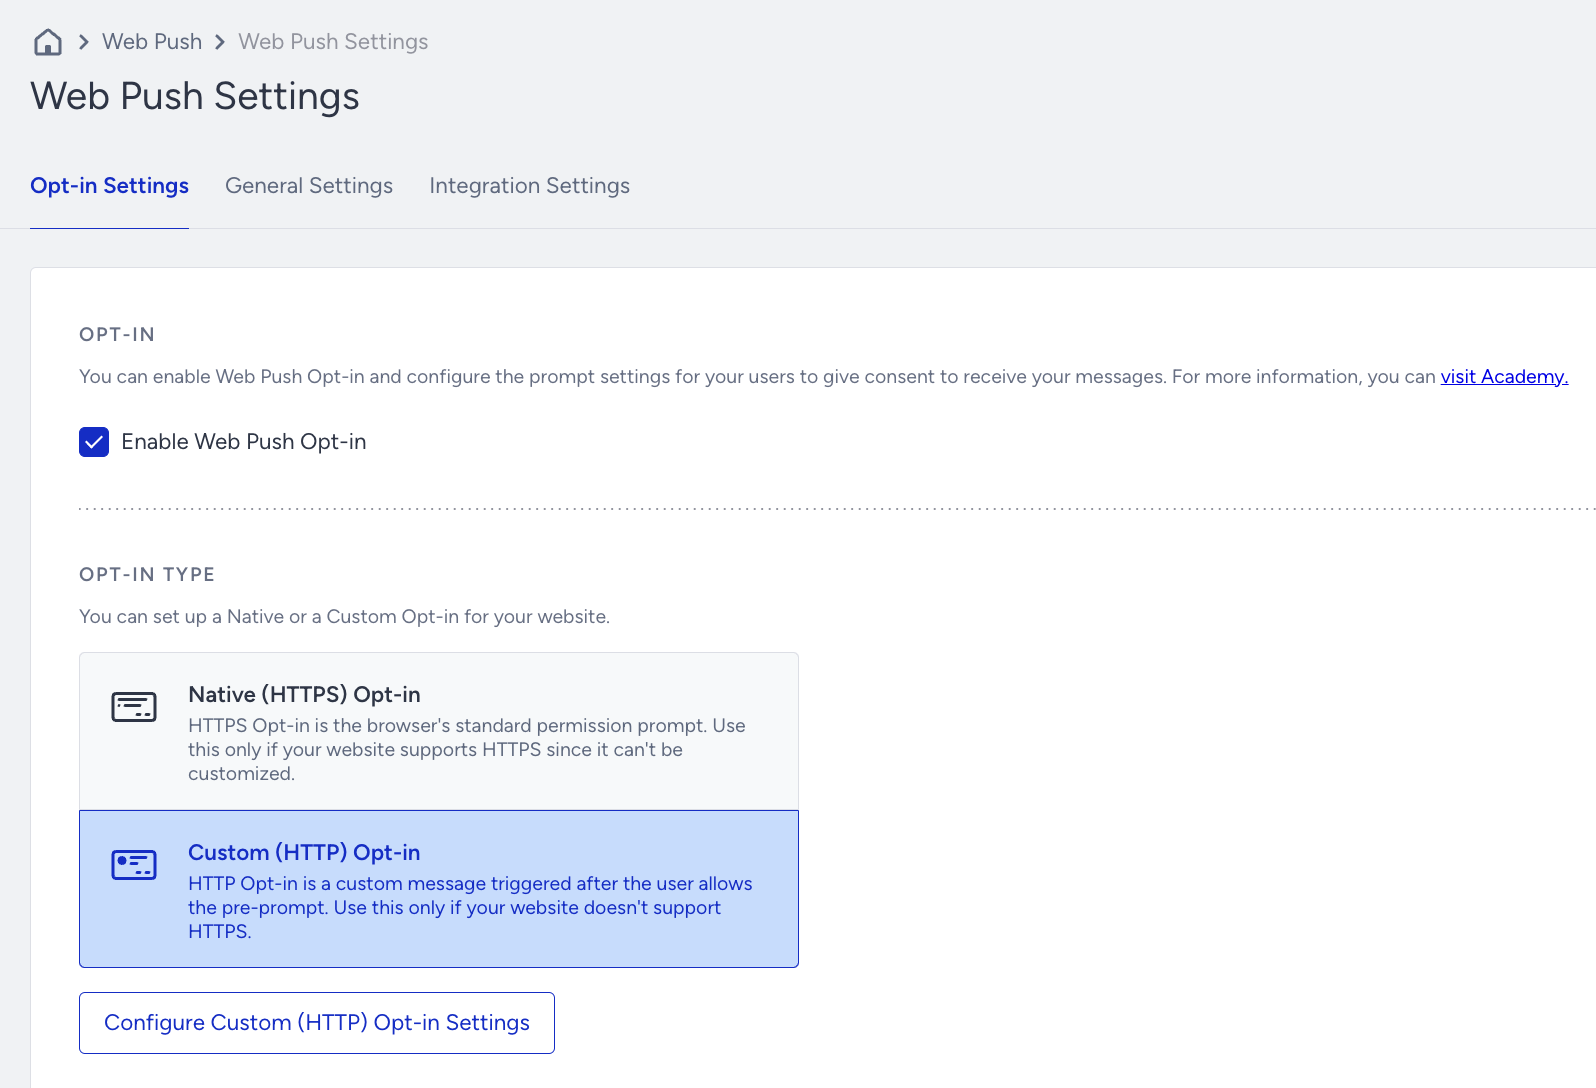
3. Click Configure Custom (HTTP) Opt-in Settings to proceed.
General Settings
General Settings tab includes the display settings, token auto-generation, and custom rule configurations for opt-in.
- Display Settings allow you to configure the timing for displaying the Native Opt-in prompt when a user clicks the buttons.
- Token Auto-Generation helps generate token time.
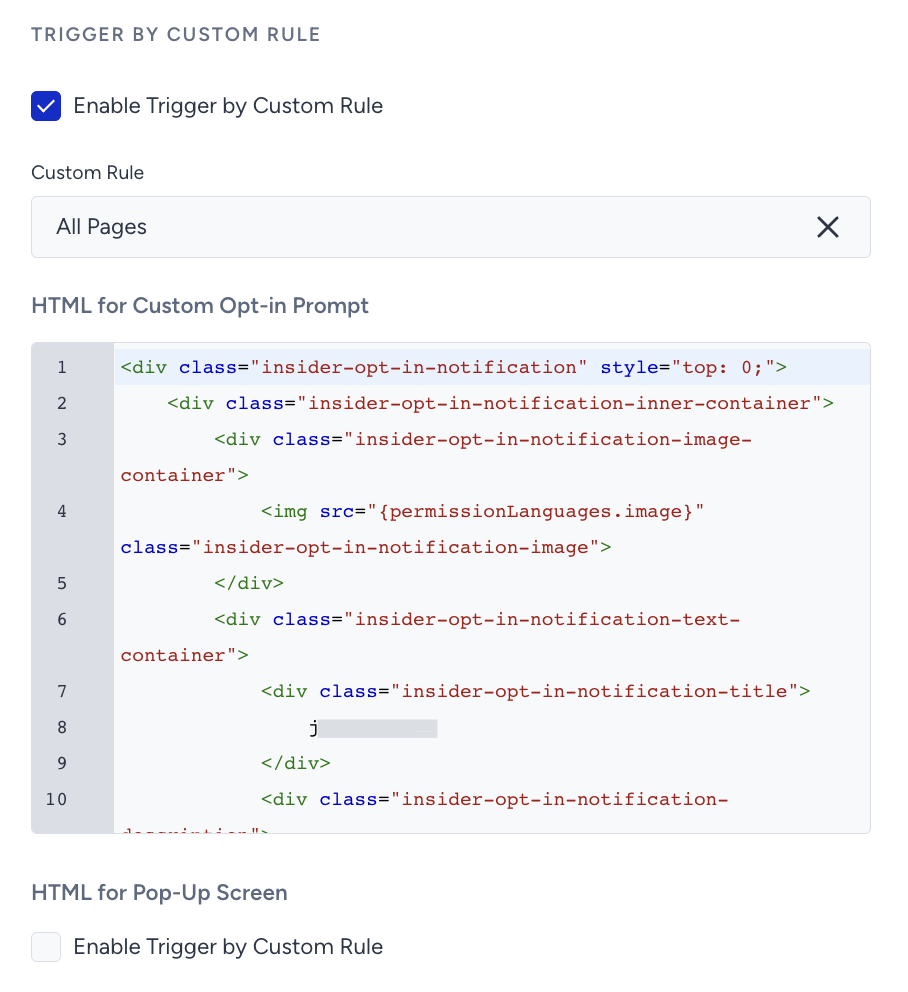
- Trigger by Custom Rule enable to set a custom rule to show the native opt-in to users. After checking the “Enable Trigger by Custom Rule” option and selecting a rule from dropdown, you can set a custom rule for the native opt-in. You can also select a custom rule for the opt-in, and change the HTML of the Opt-in screen.

Custom Opt-in Settings
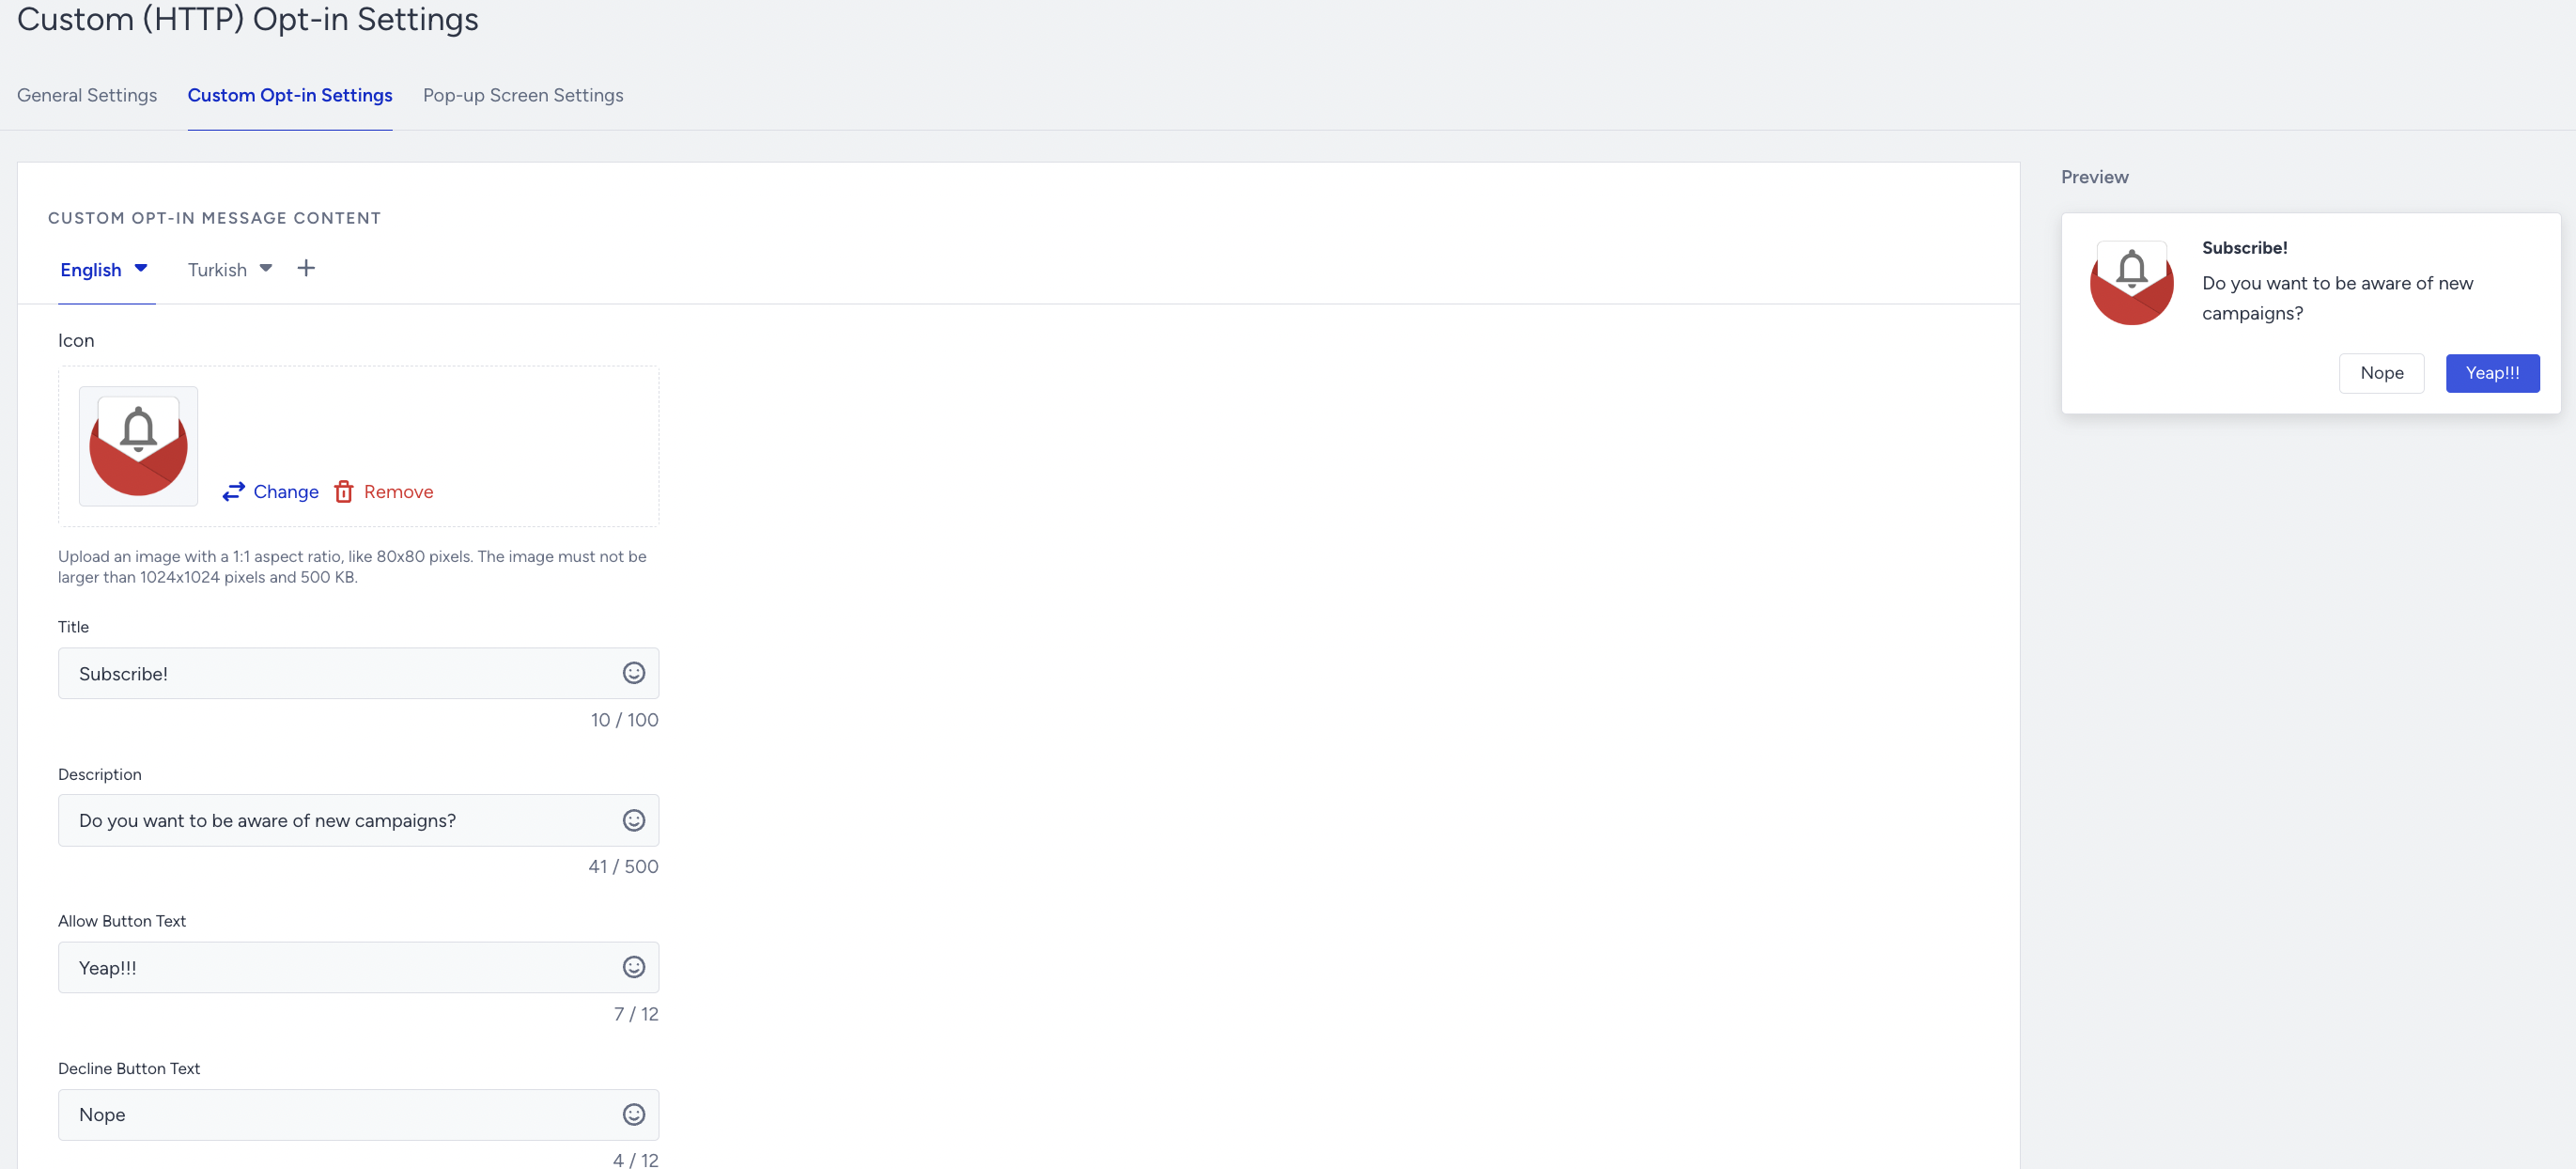
1. Adding Languages
If you have users with different languages visiting your website then you can choose one or more languages for your opt-in screens. You will need to configure the text for all of the sections separately and provide localized versions for them.
2. Push Icon
Upload the icon which will be displayed in the permission screen.
Your title goes here
The maximum size of the push icon is 500KB and the recommended size is 80x80 px.
3. Title and Description
Provide a title (of max 100 characters) and description (of max 500 characters) for your permission screen.
4. Permission buttons
Enter the text for Allow and Decline buttons.
5. Preview
You can view the live preview of all your changes and see how the opt-in screen will look to your users.
Pop-up Screen Settings
On Pop-up Screen Settings, you can configure the push icon, title and description. You can preview for both web and mobile how it will appear to your users in the right panel of this screen.
Was this article helpful?