Wheel of Fortune Template
- 05 Apr 2024
- 6 Minutes to read
Wheel of Fortune Template
- Updated on 05 Apr 2024
- 6 Minutes to read
Article Summary
Share feedback
Thanks for sharing your feedback!
The Wheel of Fortune gamifies marketing, making it more engaging for users, and easier for you to collect leads, offer coupon codes, and provide a delightful user experience.
Users are presented with an opportunity to spin the wheel and win a prize. In exchange, you can ask users to provide lead information, like an email address.
The Wheel of Fortune template consists of three steps;
- The user should fill the input area (if it is included in the template and a mandatory input).
- The user should accept Policy input (if it is included in the template and a mandatory input).
- The user clicks on the Spin.
The coupon code will be visible to users after the animation in the second page.
How to create it
To create a campaign with the Wheel of Fortune template, navigate to Experience > Optimize > Web Templates.
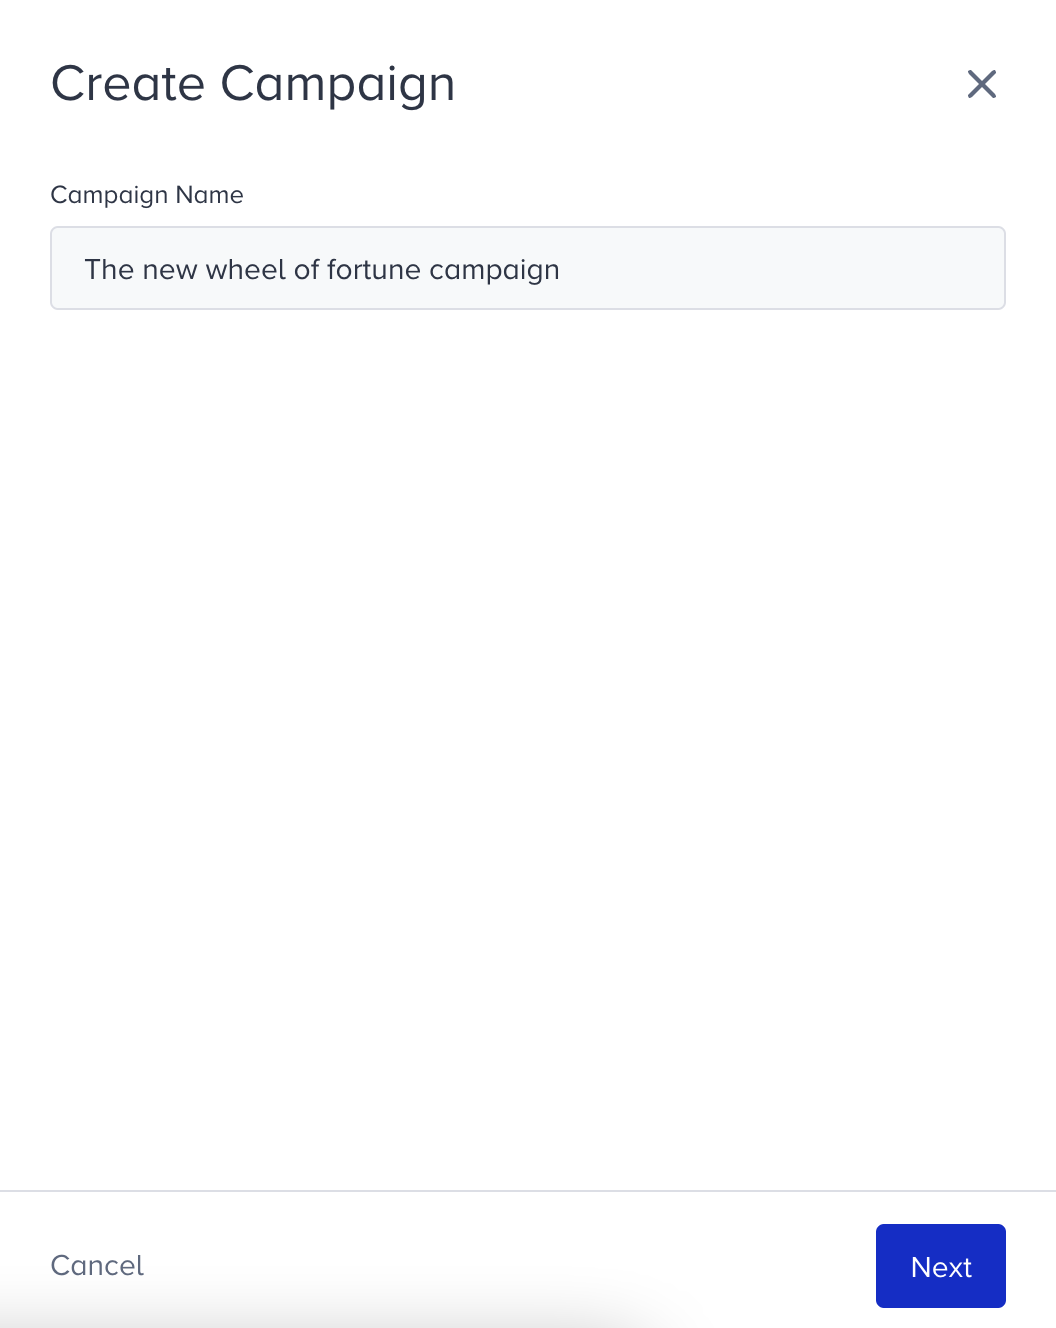
1. Click the Create button, name your campaign, and click the Next button.
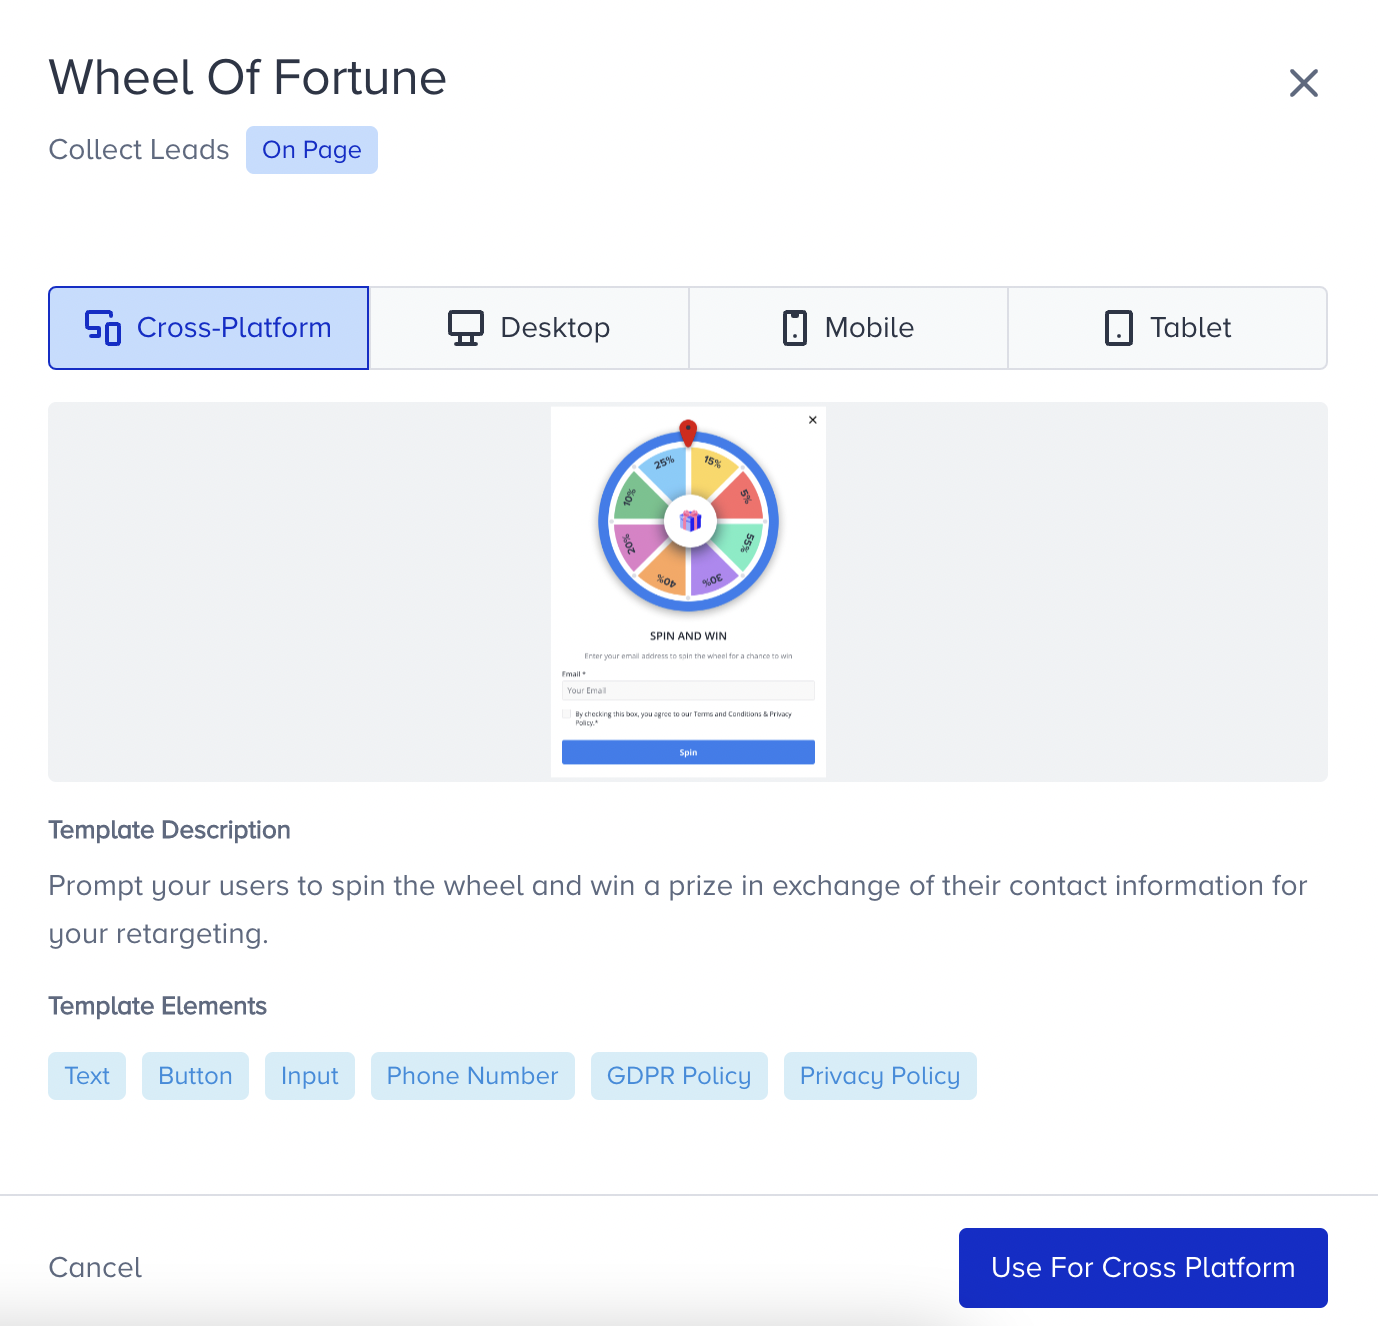
2. You will land on the Template Library. You can search for the template or find it under Collect Leads..gif)
3. When you click on the template, you will see the available platforms, its default preview, description, and its elements. Click Use For {Platform} to proceed.
4. If you choose the on-page template, it will be placed over your website. If you prefer the inline one, you need to append it to an element on your website. The template appears with the wheel with 8 slices, text, input box and button by default in the Preview mode in Action Builder. Switch to Design mode to start designing your template.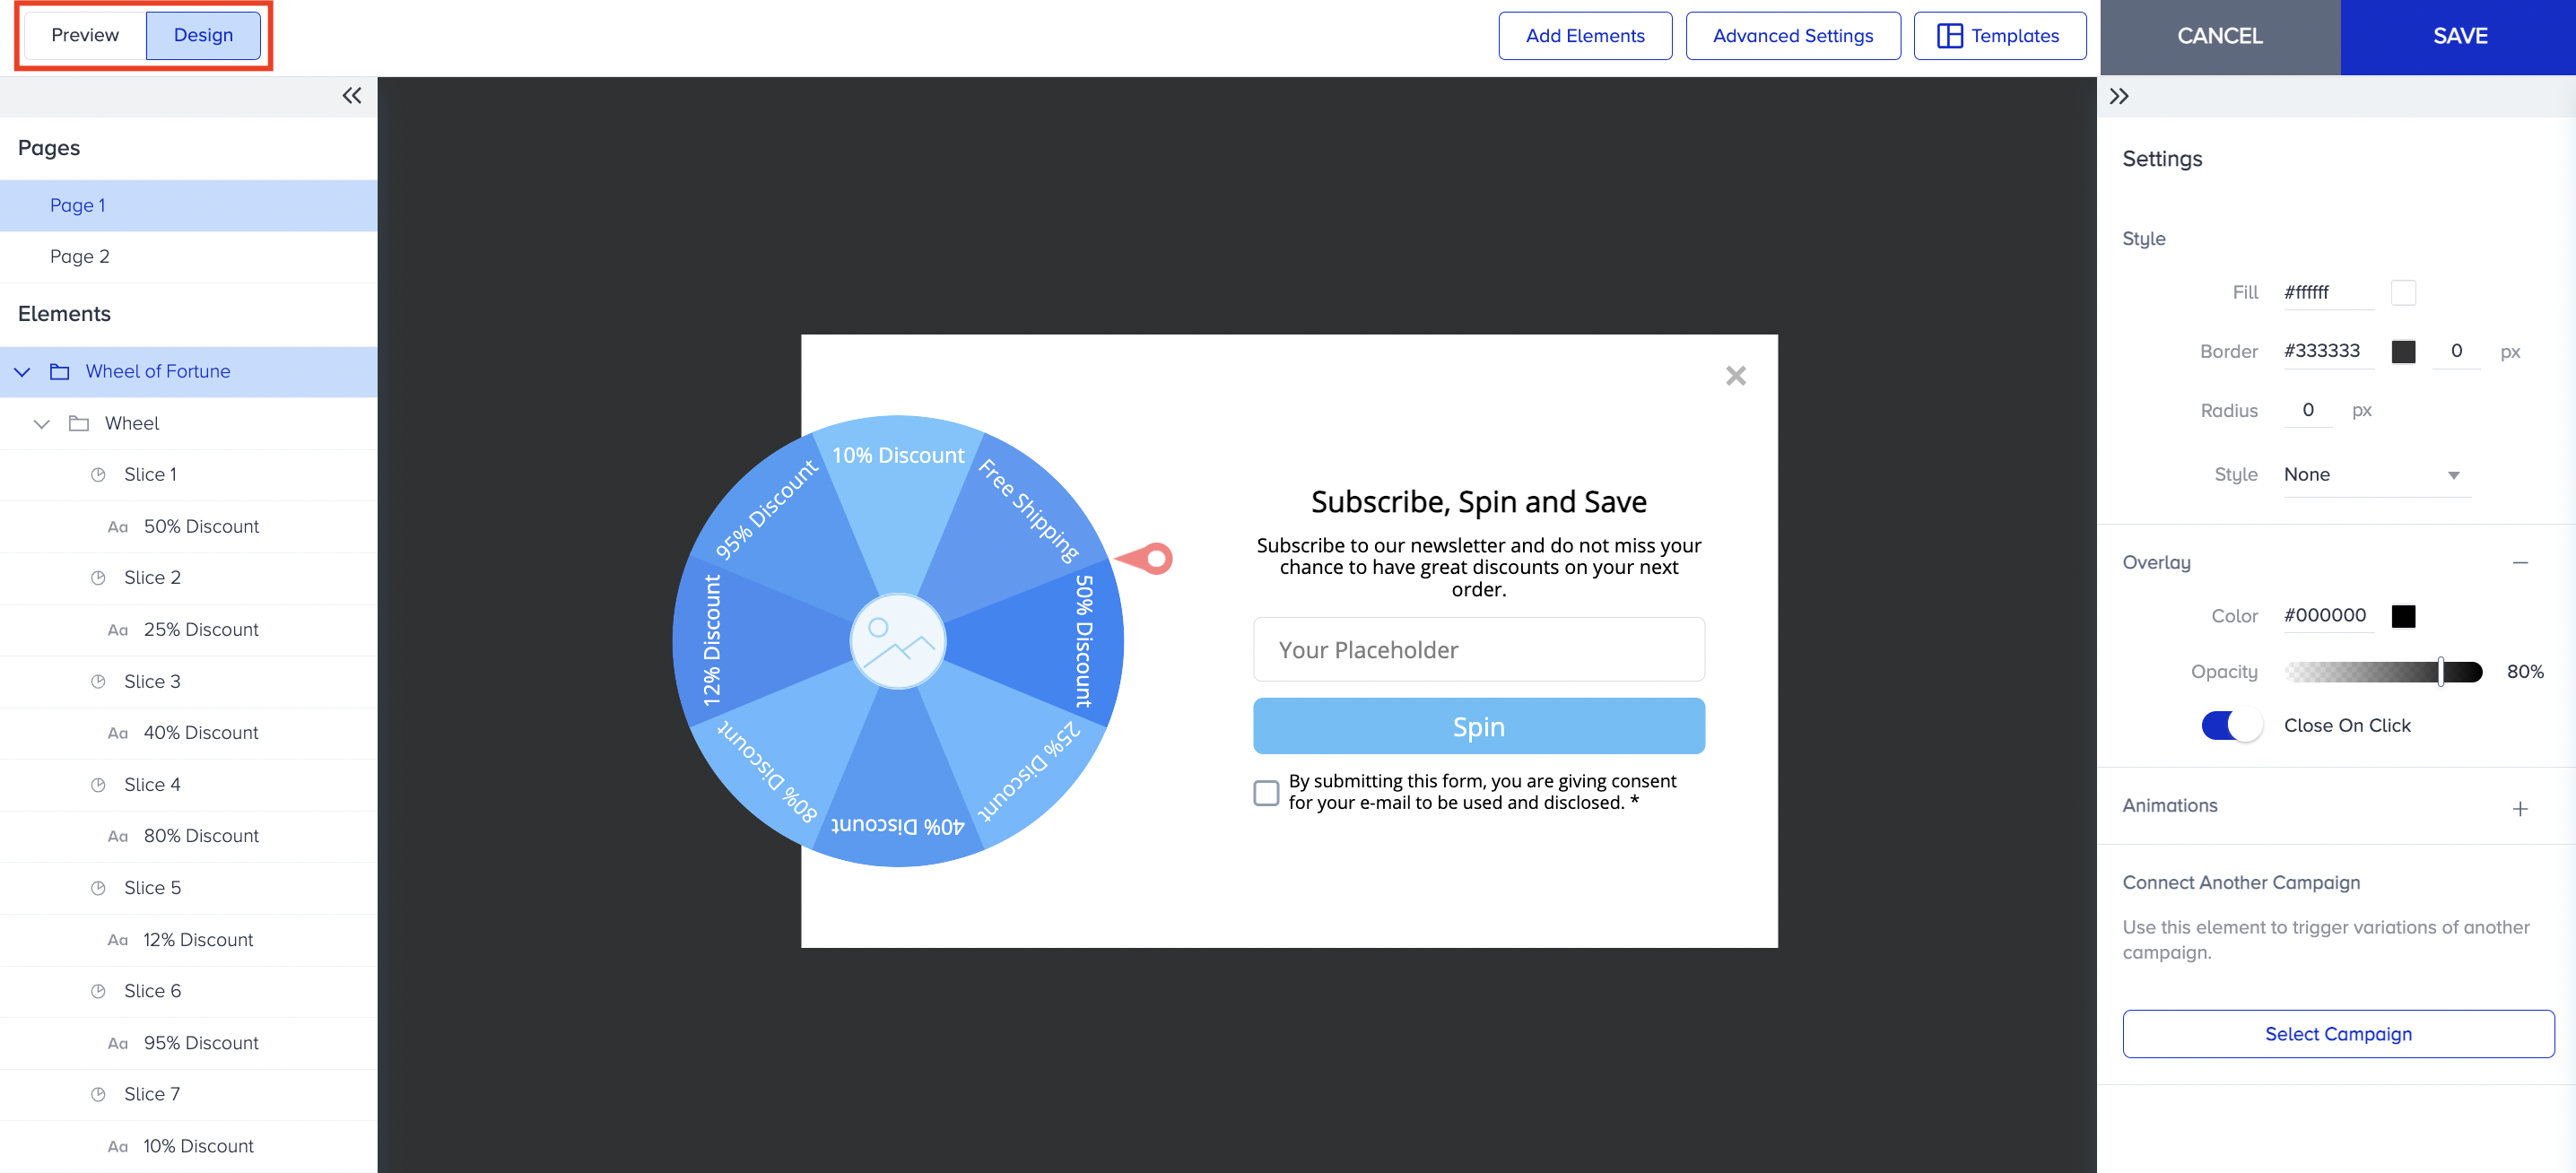
5. You can adjust the settings of your campaign in two pages:
- Subscriber Page: where you ask for the lead from the user and customize the slices.
- Thank you page: where you display your appreciation and deliver the discount code.
Subscriber page
1. Page 1 is the page where you collect the lead and customize the slices.
When you click on the Wheel of the Fortune element, you can customize its Style, Overlay and add Animations. You can also enable close on click.
2. To adjust the Wheel element, click on it. You can change the number of the slices and the color of the circle and the arrow.
To customize the slices and decide on the winner, click on the Slice element and enable the Winner toggle. Note that you can only have one winner slice. You can change its color and text too. Apply the same customization to other slices.
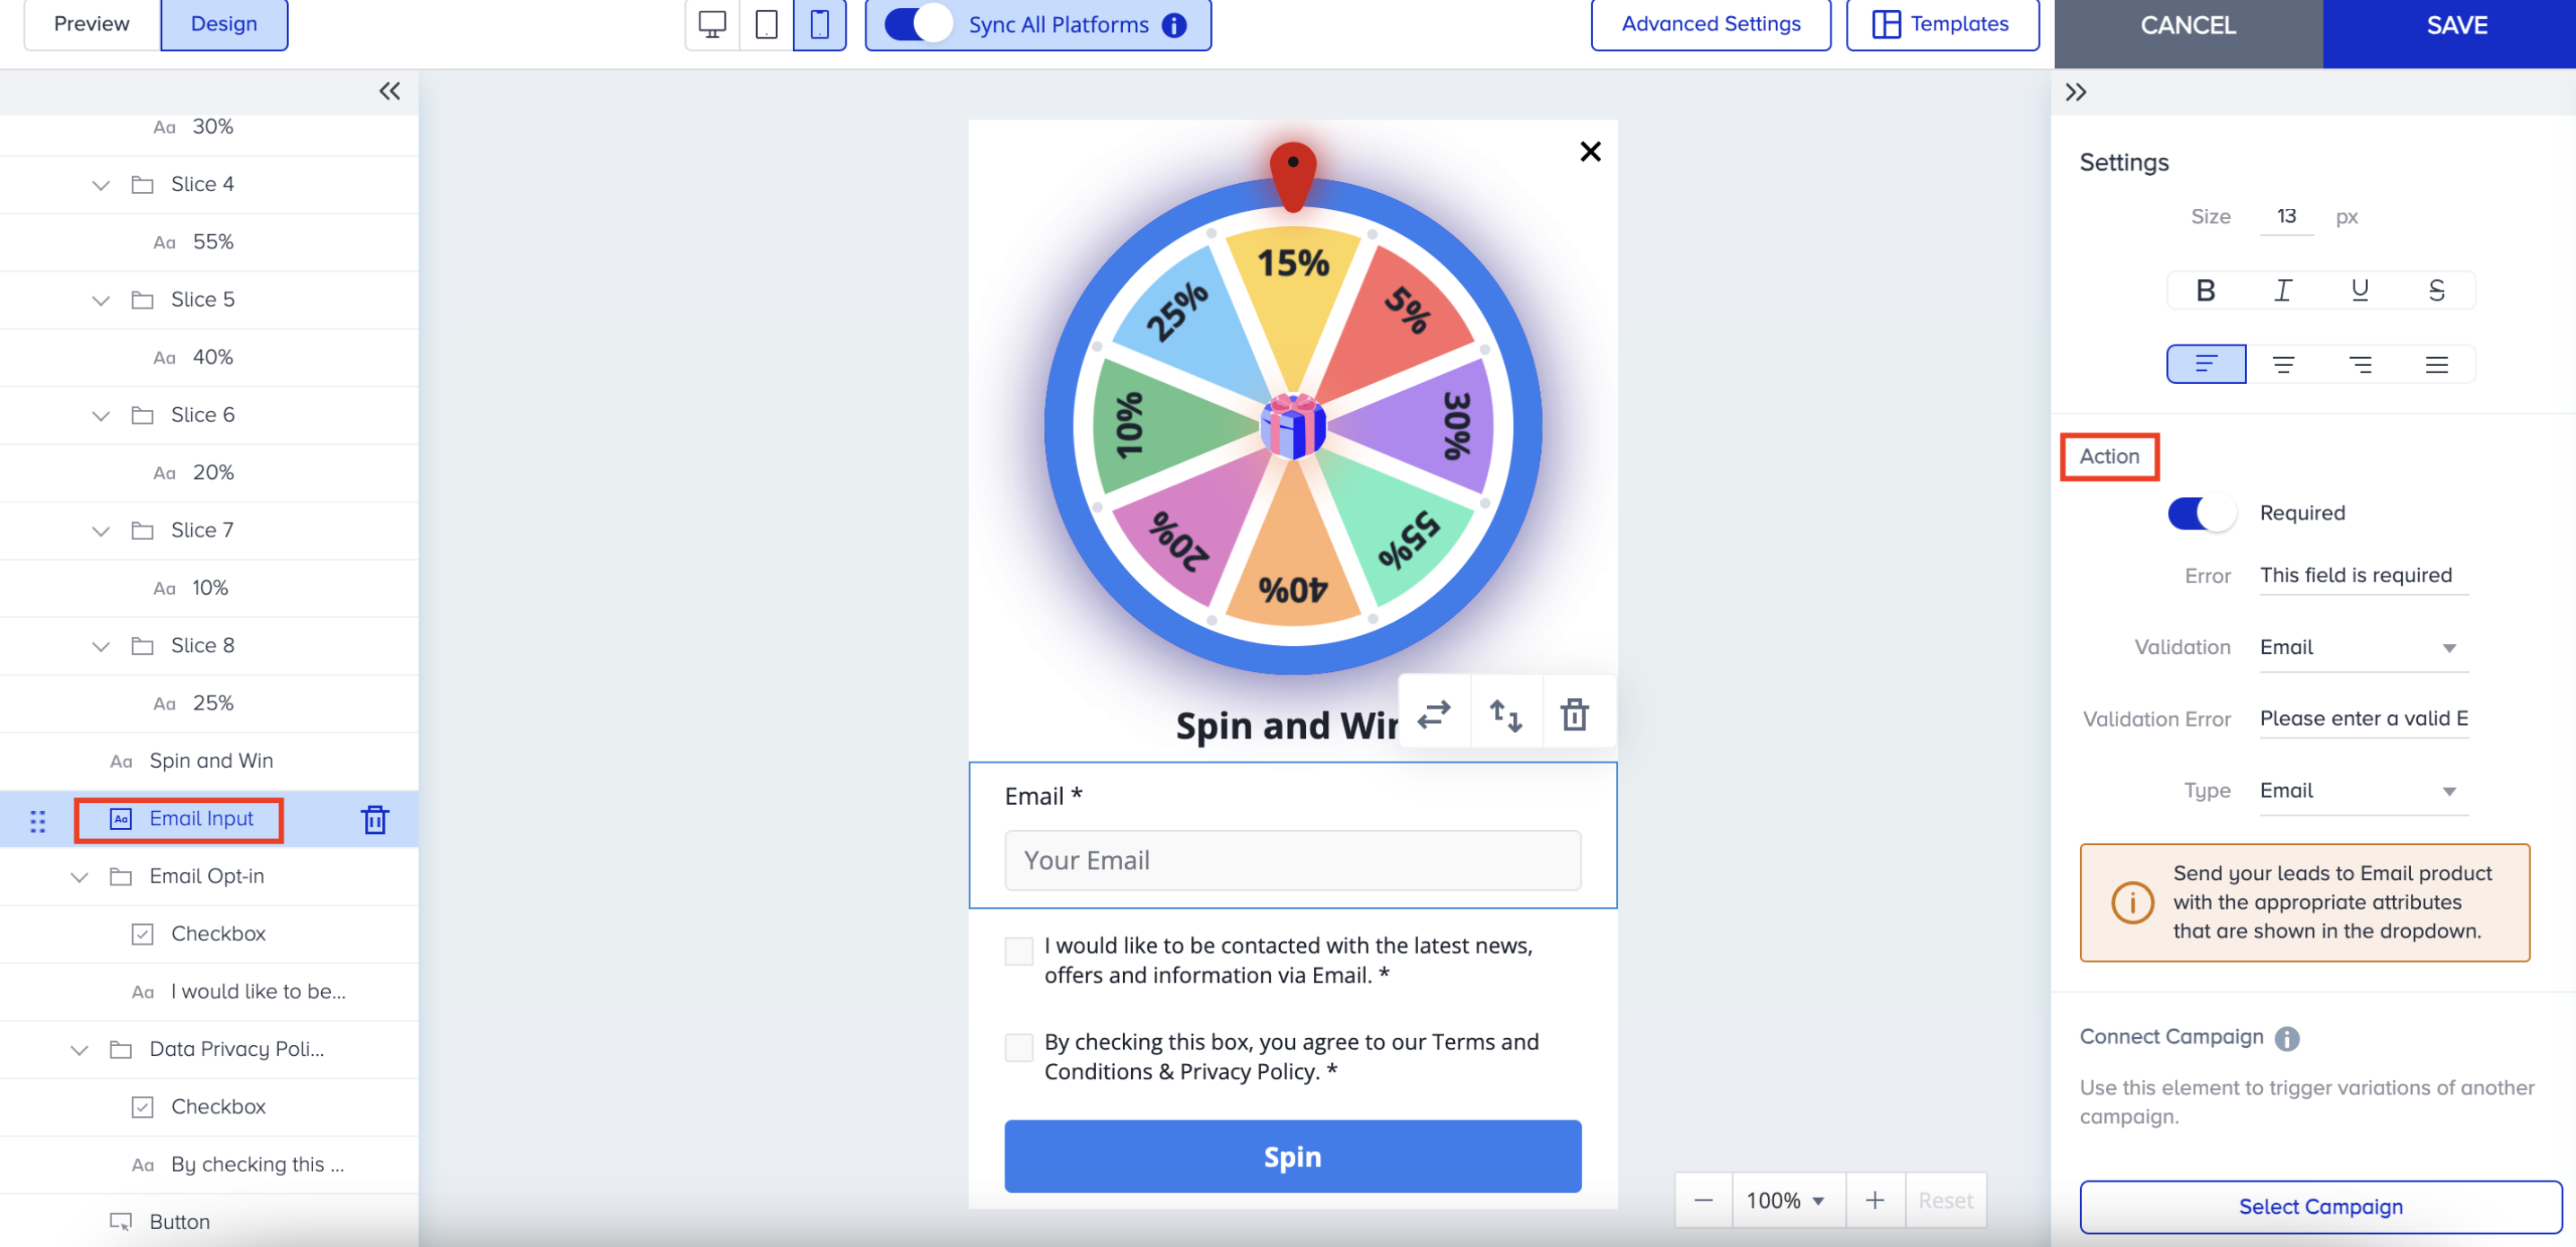
3. To customize the Input Box, click on the element. Under Action, in the placeholder area, write the type of the lead to guide your users. If you want to collect leads to win the prize, enable the Required toggle. Depending on the lead type, choose the Validation. Write an error message to show if the users does not provide a valid address. You can also select the attribute from the type dropdown to send the collected leads to Email product.
4. Since the Required toggle is enabled, you need to set the E-mail Opt-in Policy. We highly recommend you to direct your users to your GDPR Policy page.
If your company obtains your users' consent in compliance with the local regulations, make sure to pass the GDPR opt-in field to Insider. If you want to stop collecting and processing the data of an identified user, GDPR opt-in field should have the false value. Insider cannot be held liable if these obligations are not fulfilled and reserves the right to seek compensation from your company.
5. After you complete the configuration of the consent page elements, continue with Page 2.
Thank you page
1. Page 2 is the page where you display your appreciation message and offer coupon code. You can upload an image, and edit the text you want to show your users here.
2. Apply the usual settings to text and button elements. Customize the Coupon Settings.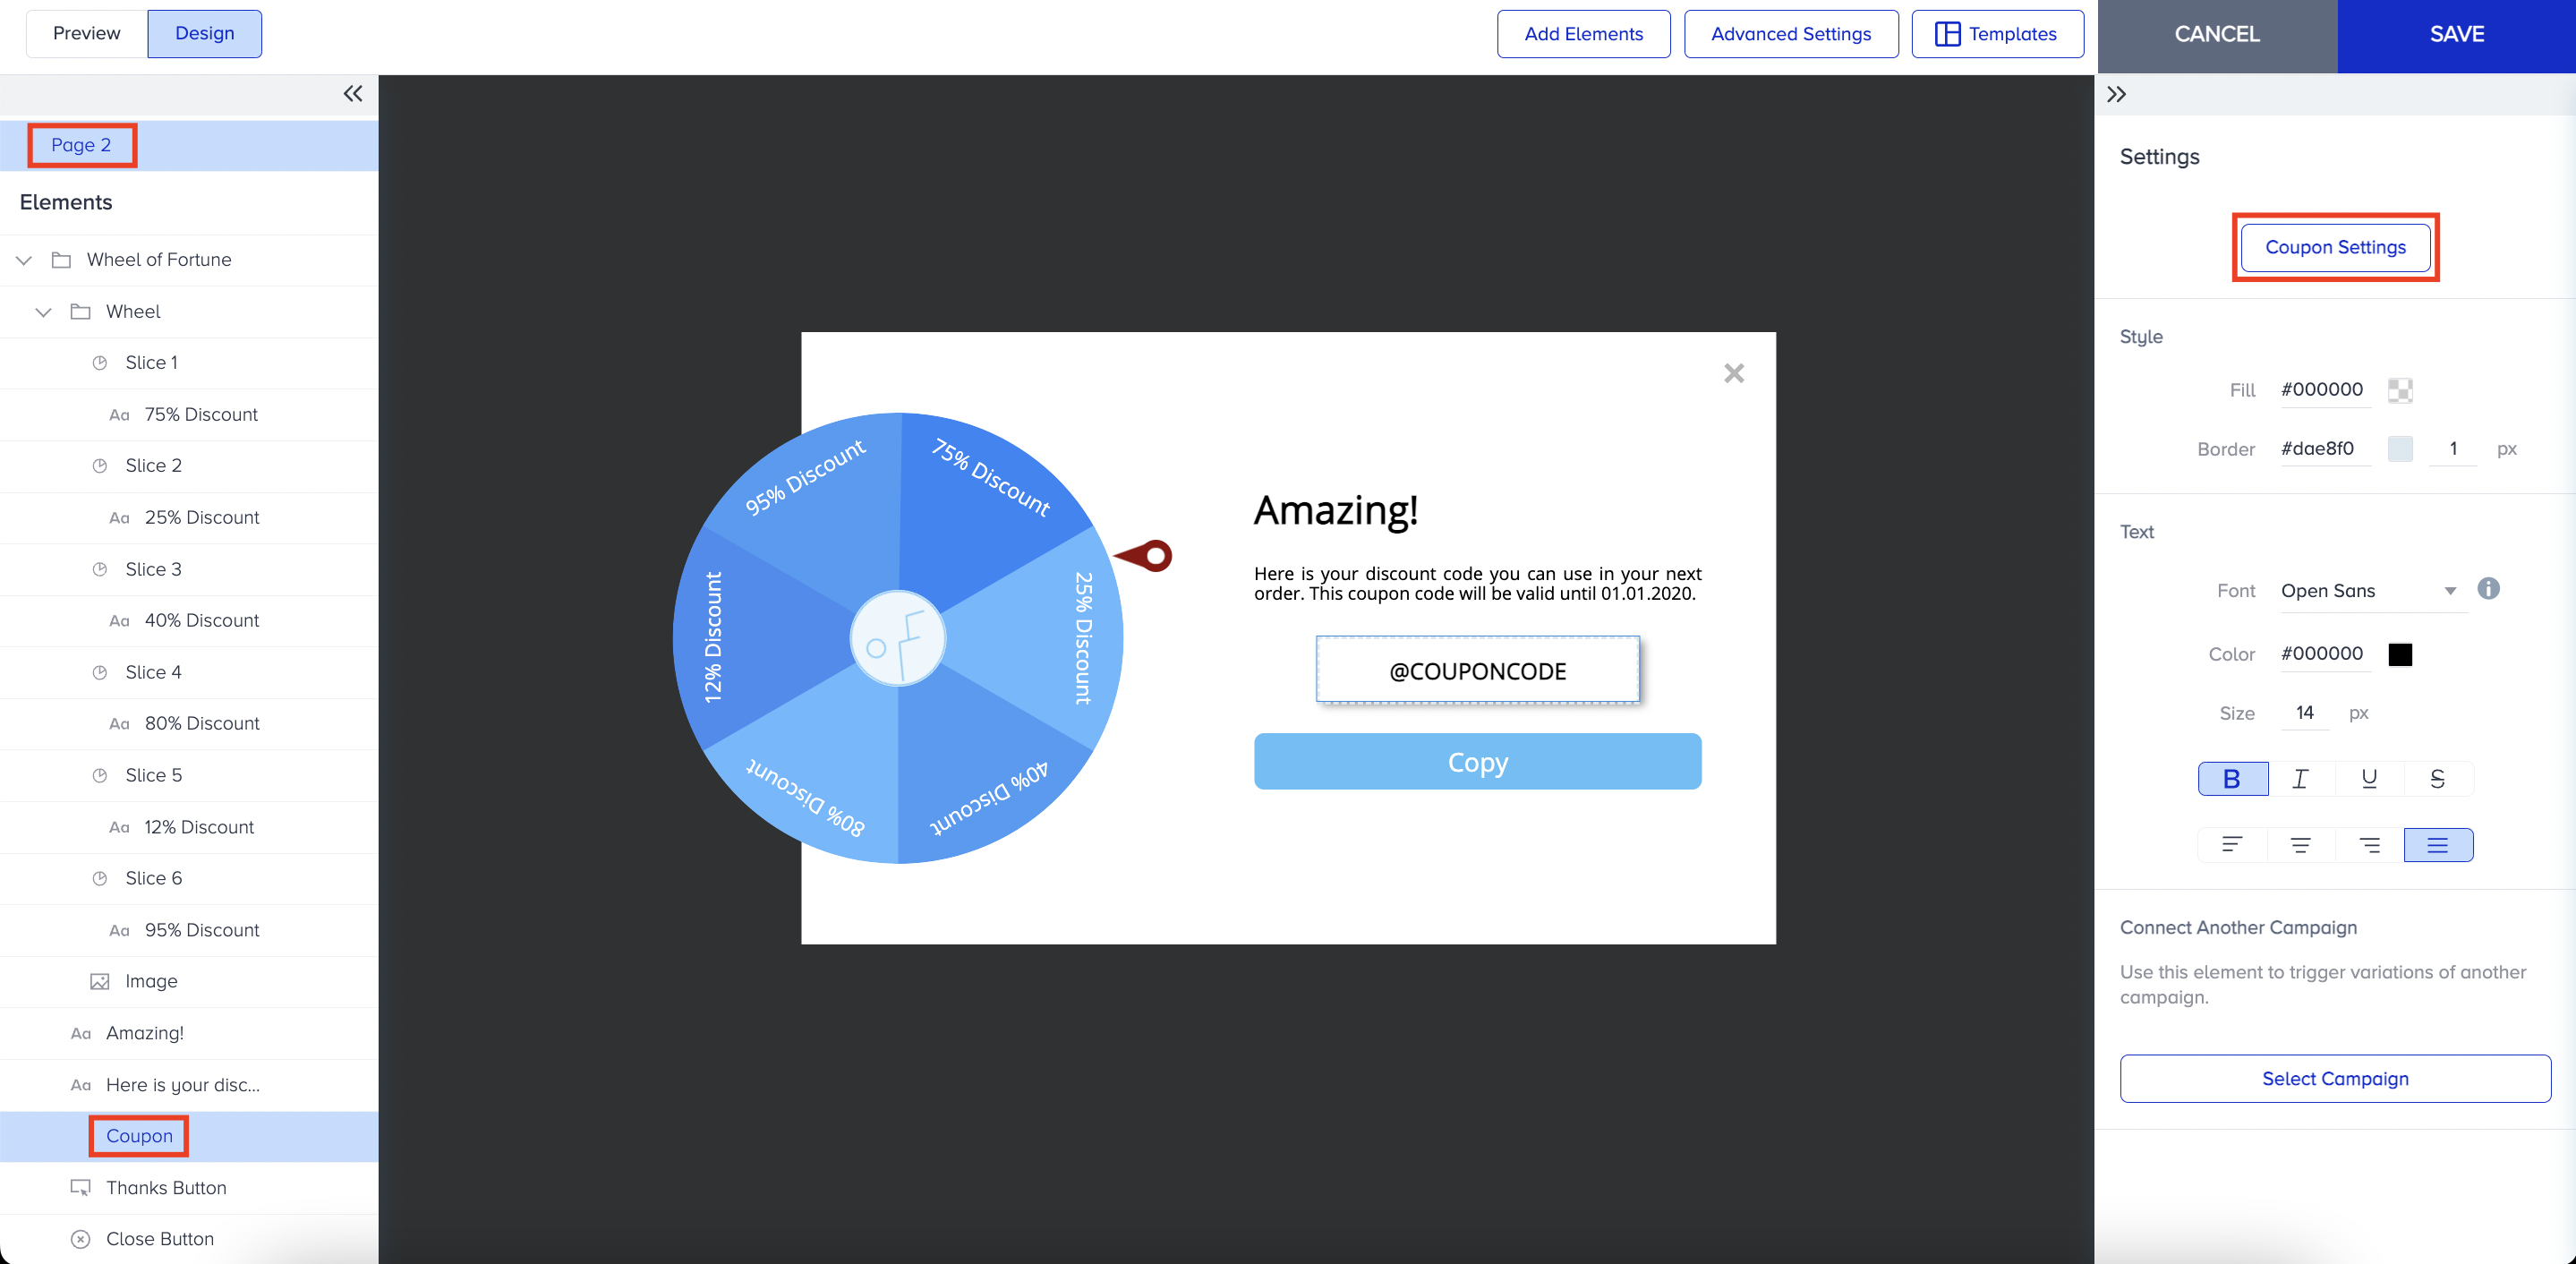
When you finish designing your template, Save it and continue with the rest of your campaign.
Responsive Wheel of Fortune Template
The Responsive Wheel of Fortune template includes Text, Image, Button, Input, Policy, Countdown and Coupon Code elements where you can collect email, phone number, name, surname, or free input from you users.
The default template design comes with 8 Wheel Slices, Text, Email Input, Email Policy, Button, and Coupon Code elements. You can customize the template by changing its default elements, wheel slices, colors, spaces, layout etc. The only element that you cannot remove is “Wheel” element since it is the main element of the template. You can eliminate input areas, opt-ins, GDPR, coupon code based on your use case.
Wheel of Fortune Element
When you select the Wheel of Fortune element from the left menu, you can change the size of the template’s width and height thanks to the Size menu as well as changing the style of the template. 
Wheel Element
You will see new settings in the right menu to customize the Wheel Slice Count, Winner Slice, Wheel Style, Separator Style, Dot Style and Text Orientation.
You can select 4, 6 or 8 slices for the wheel and assign any slice as a winner by choosing in the dropdown menu. You can also prefer to show only half of the wheel or as a whole by using the “Half of the Wheel of Fortune” toggle.
Using Text Orientation menu, you can use the texts or numbers written in each slice horizontally or vertically.
Via Animation menu, you can choose the effect type as confetti. However, if you do not want to show animation, then you can select “none”. Clicking “Spinning” under Animation menu and next to Preview, you can also see how your Wheel of Fortune Template spins and the winner slice gets selected once done.
You can also add shadow to the wheel by giving color, position and blurriness value via Shadow menu. 
Logo
You can select among the default gift box options as logo or customize the logo via Custom option under Style and upload any image desired. After selecting the image, you can set the position (fill, fit, center) as well and change the size. 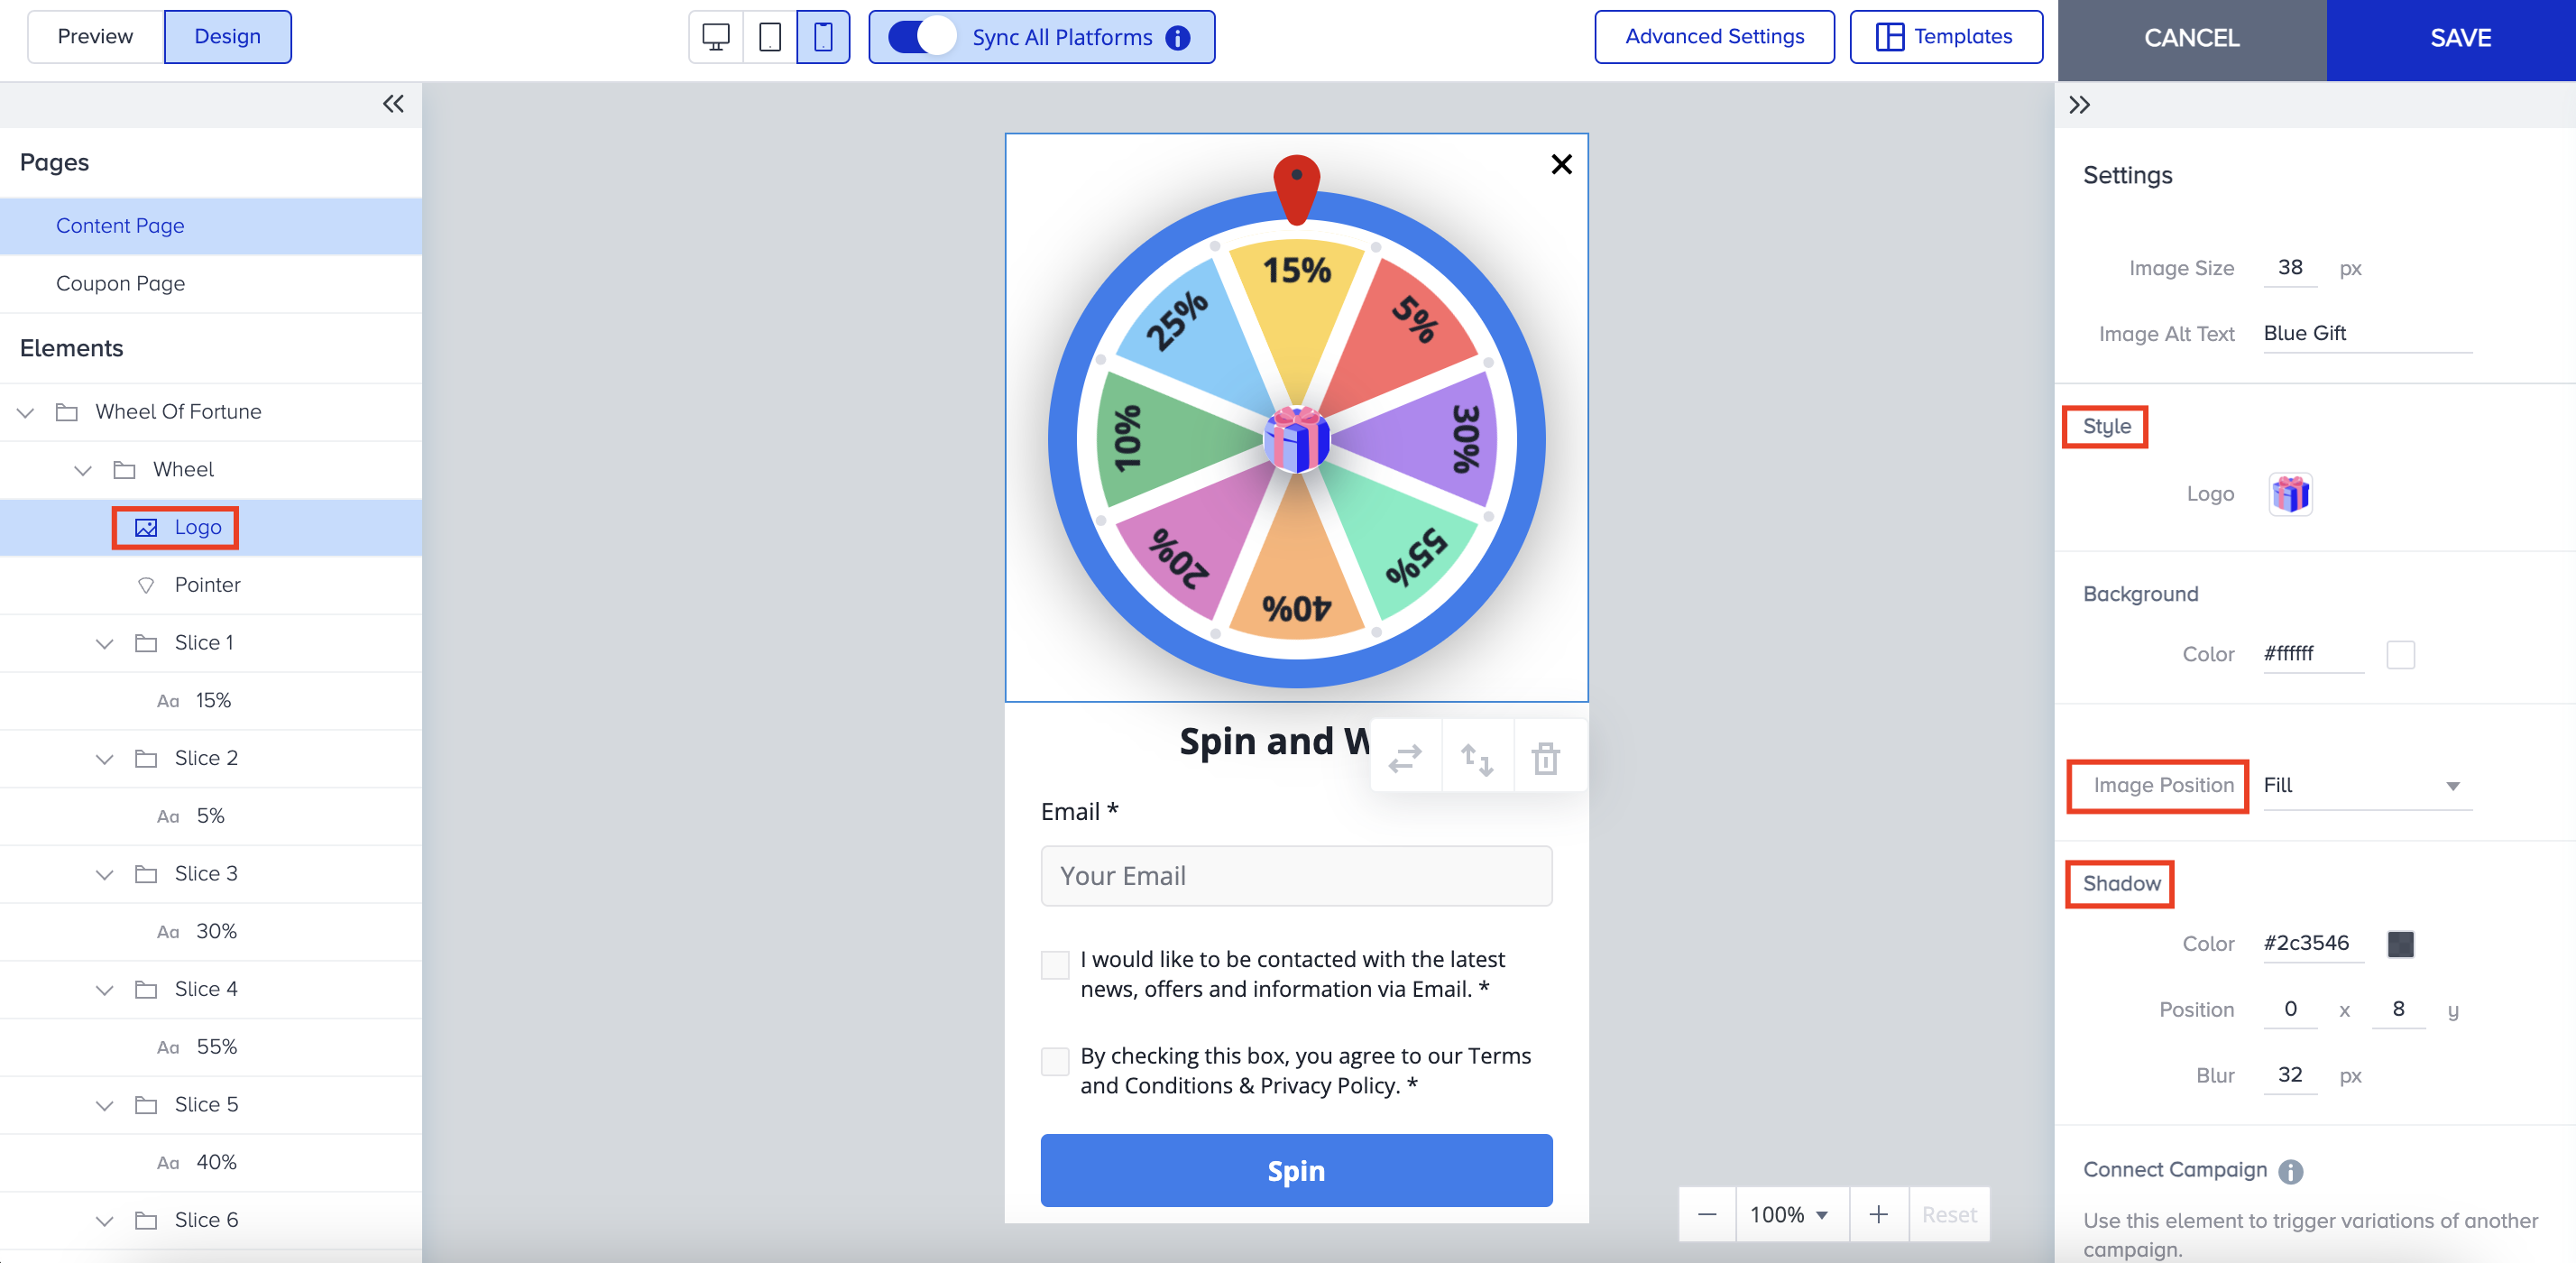
You can add shadow as well to the logo to make it boost or appealing more.
Pointer
You can style the pointer’s style in terms of inner color, dot color, border and shadow. 
Slice
For each Slice, you can change the color separately from the right menu. 
You can type any text in each slice based on its use case and change the text style. You can also use “Apply to All Texts” to enable style transfer to all texts inside the template. 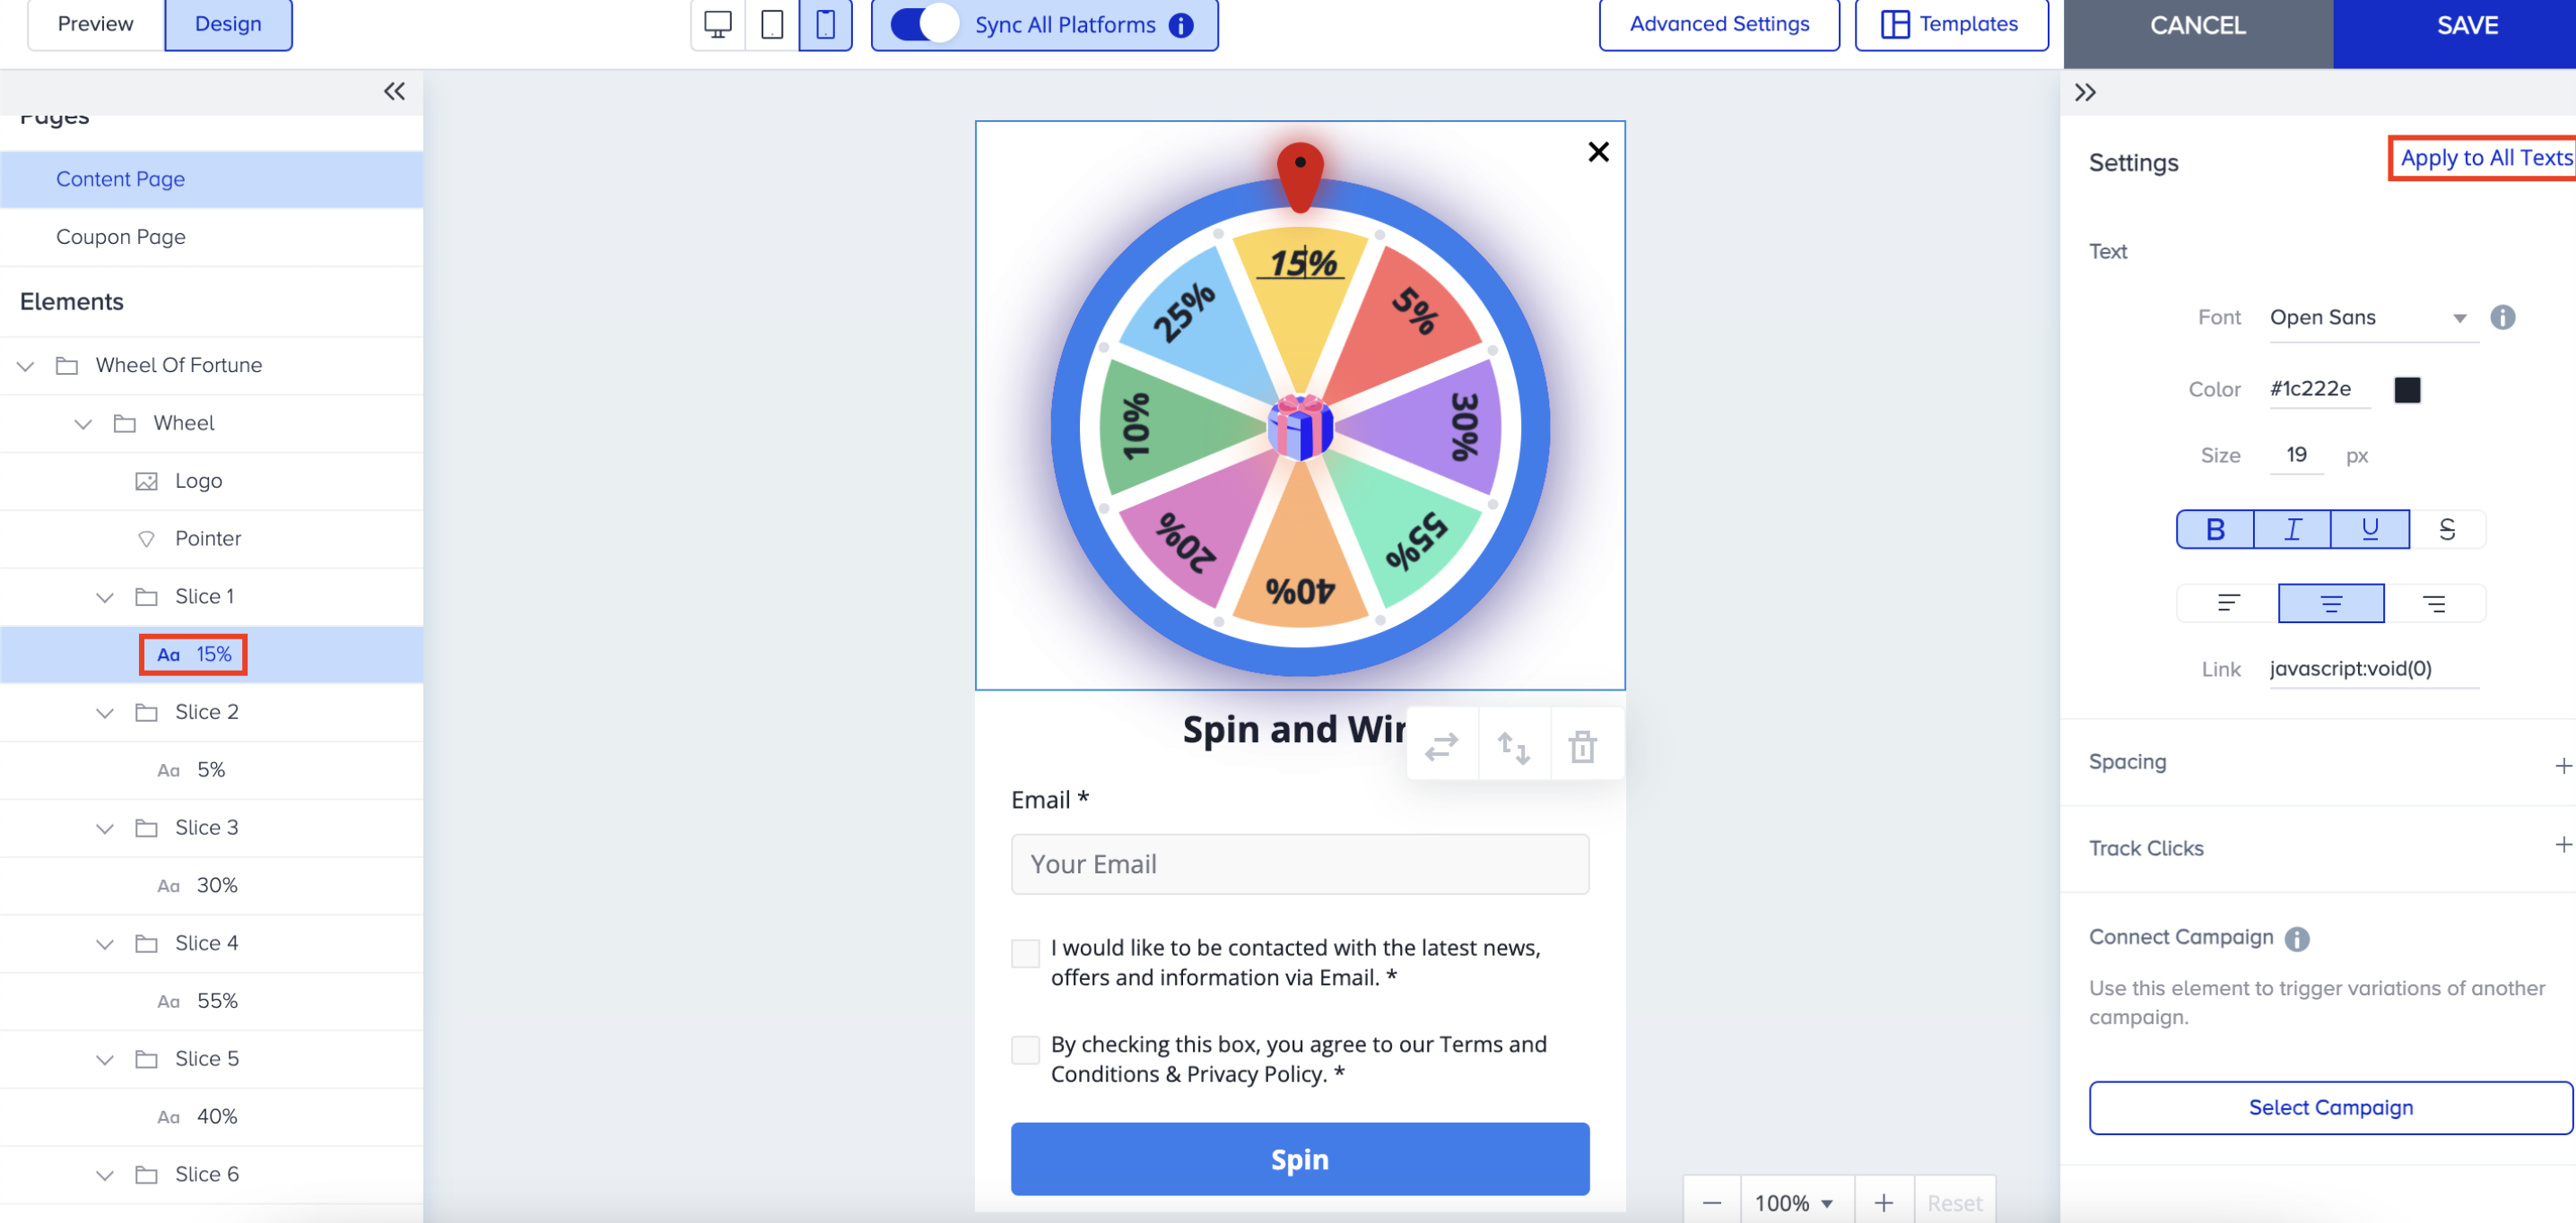
Button
You can make use of all button action types to create various use cases. 5 action types are available in the Action Type dropdown menu in the first page and 2 action types are available in the second page. .png)
Other Elements
The configurations are the same as responsive lead collection template for Text, Image, Input, Policy, Countdown and Coupon Code elements.
You can also define validation and error message cases that will be visible to users if they do not complete mandatory actions such as;
- If the user does not fill in a mandatory input and clicks the spin.
- If the user enters an invalid email address/phone number and clicks the spin.

After completing the design of the Content Page, you can continue with the Coupon Page where you can arrange coupon code settings and do changes in style. Coupon Code is not a mandatory element so you can keep or remove it like other elements. .png)
Was this article helpful?