WhatsApp Sticky Opt-in Template
- 19 Mar 2024
- 2 Minutes to read
WhatsApp Sticky Opt-in Template
- Updated on 19 Mar 2024
- 2 Minutes to read
Article Summary
Share feedback
Thanks for sharing your feedback!
With WhatsApp Sticky Opt-in template, you can collect leads without cluttering your website and provide a seamless experience to your users. You can easily locate your template to the edges of your website and open/close it via white arrow near WhatsApp icon.
Moreover, you can enable collecting SMS lead collection as well via Action Builder. It enables you to send messages to users via their preferred and reachable channel after collecting consent to both of the channels.
How to create it
To create a campaign with the WhatsApp Sticky Opt-in template, navigate to Experience > Optimize > Web Templates.
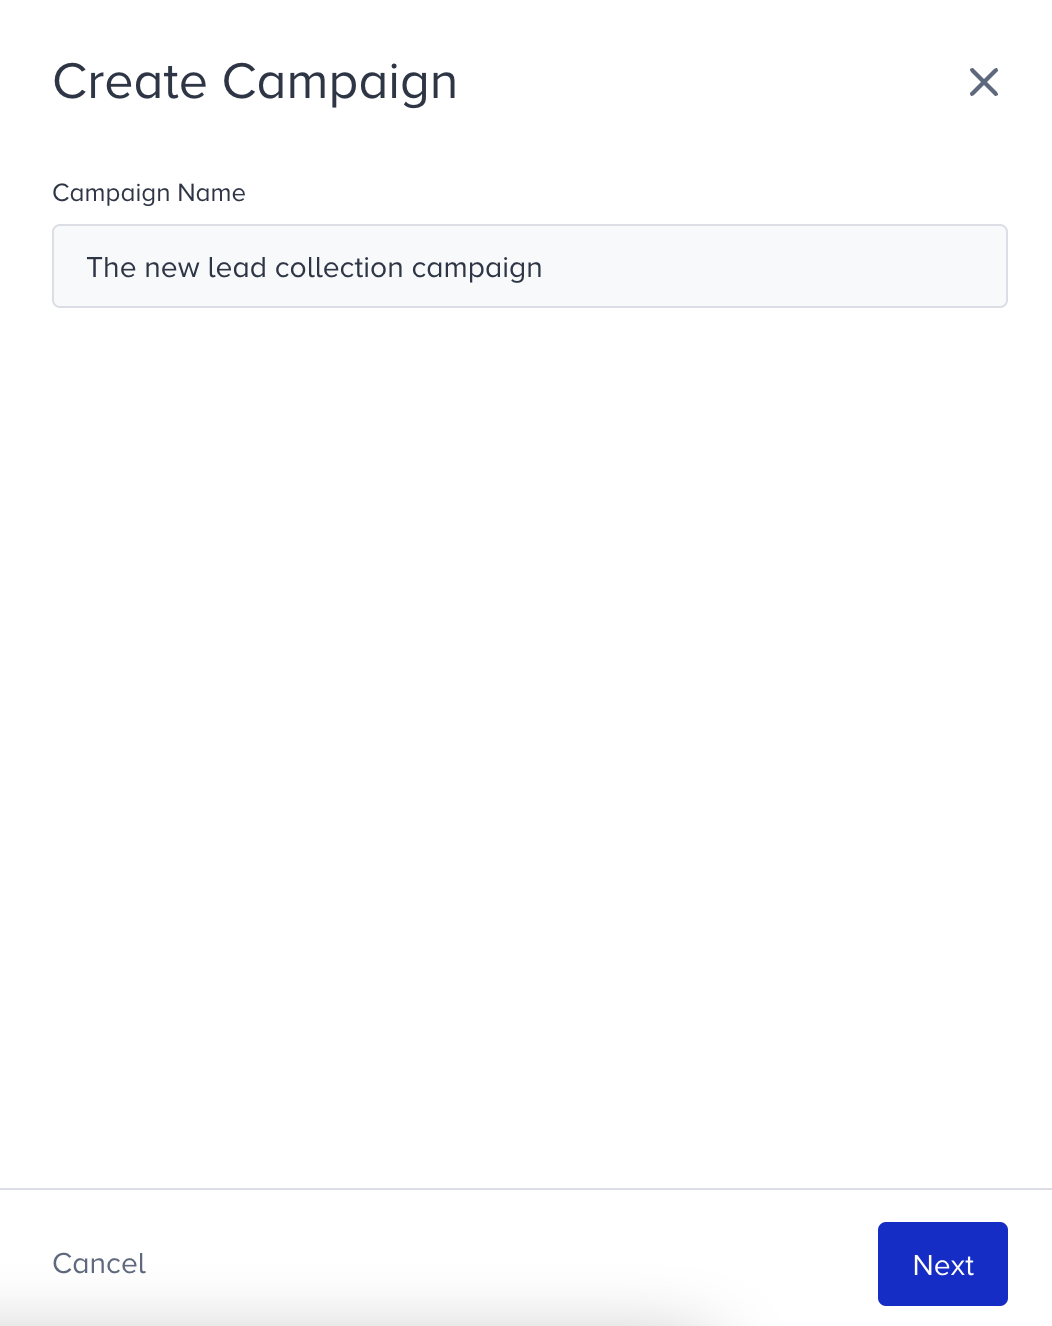
1. Click the Create button, name your campaign, and click the Next button.
2. You will land on the Template Library. You can search for the template or find it under Collect Leads.
3. When you click on the template, you will see the available platforms, its default preview, description, and its elements. Click Use For {Platform} to proceed.
4. WhatsApp Sticky Opt-in is an on-page template. It will appear with text, input boxes, proposal sentences and buttons by default in the Preview mode in Action Builder. Switch to Design mode to start designing your template.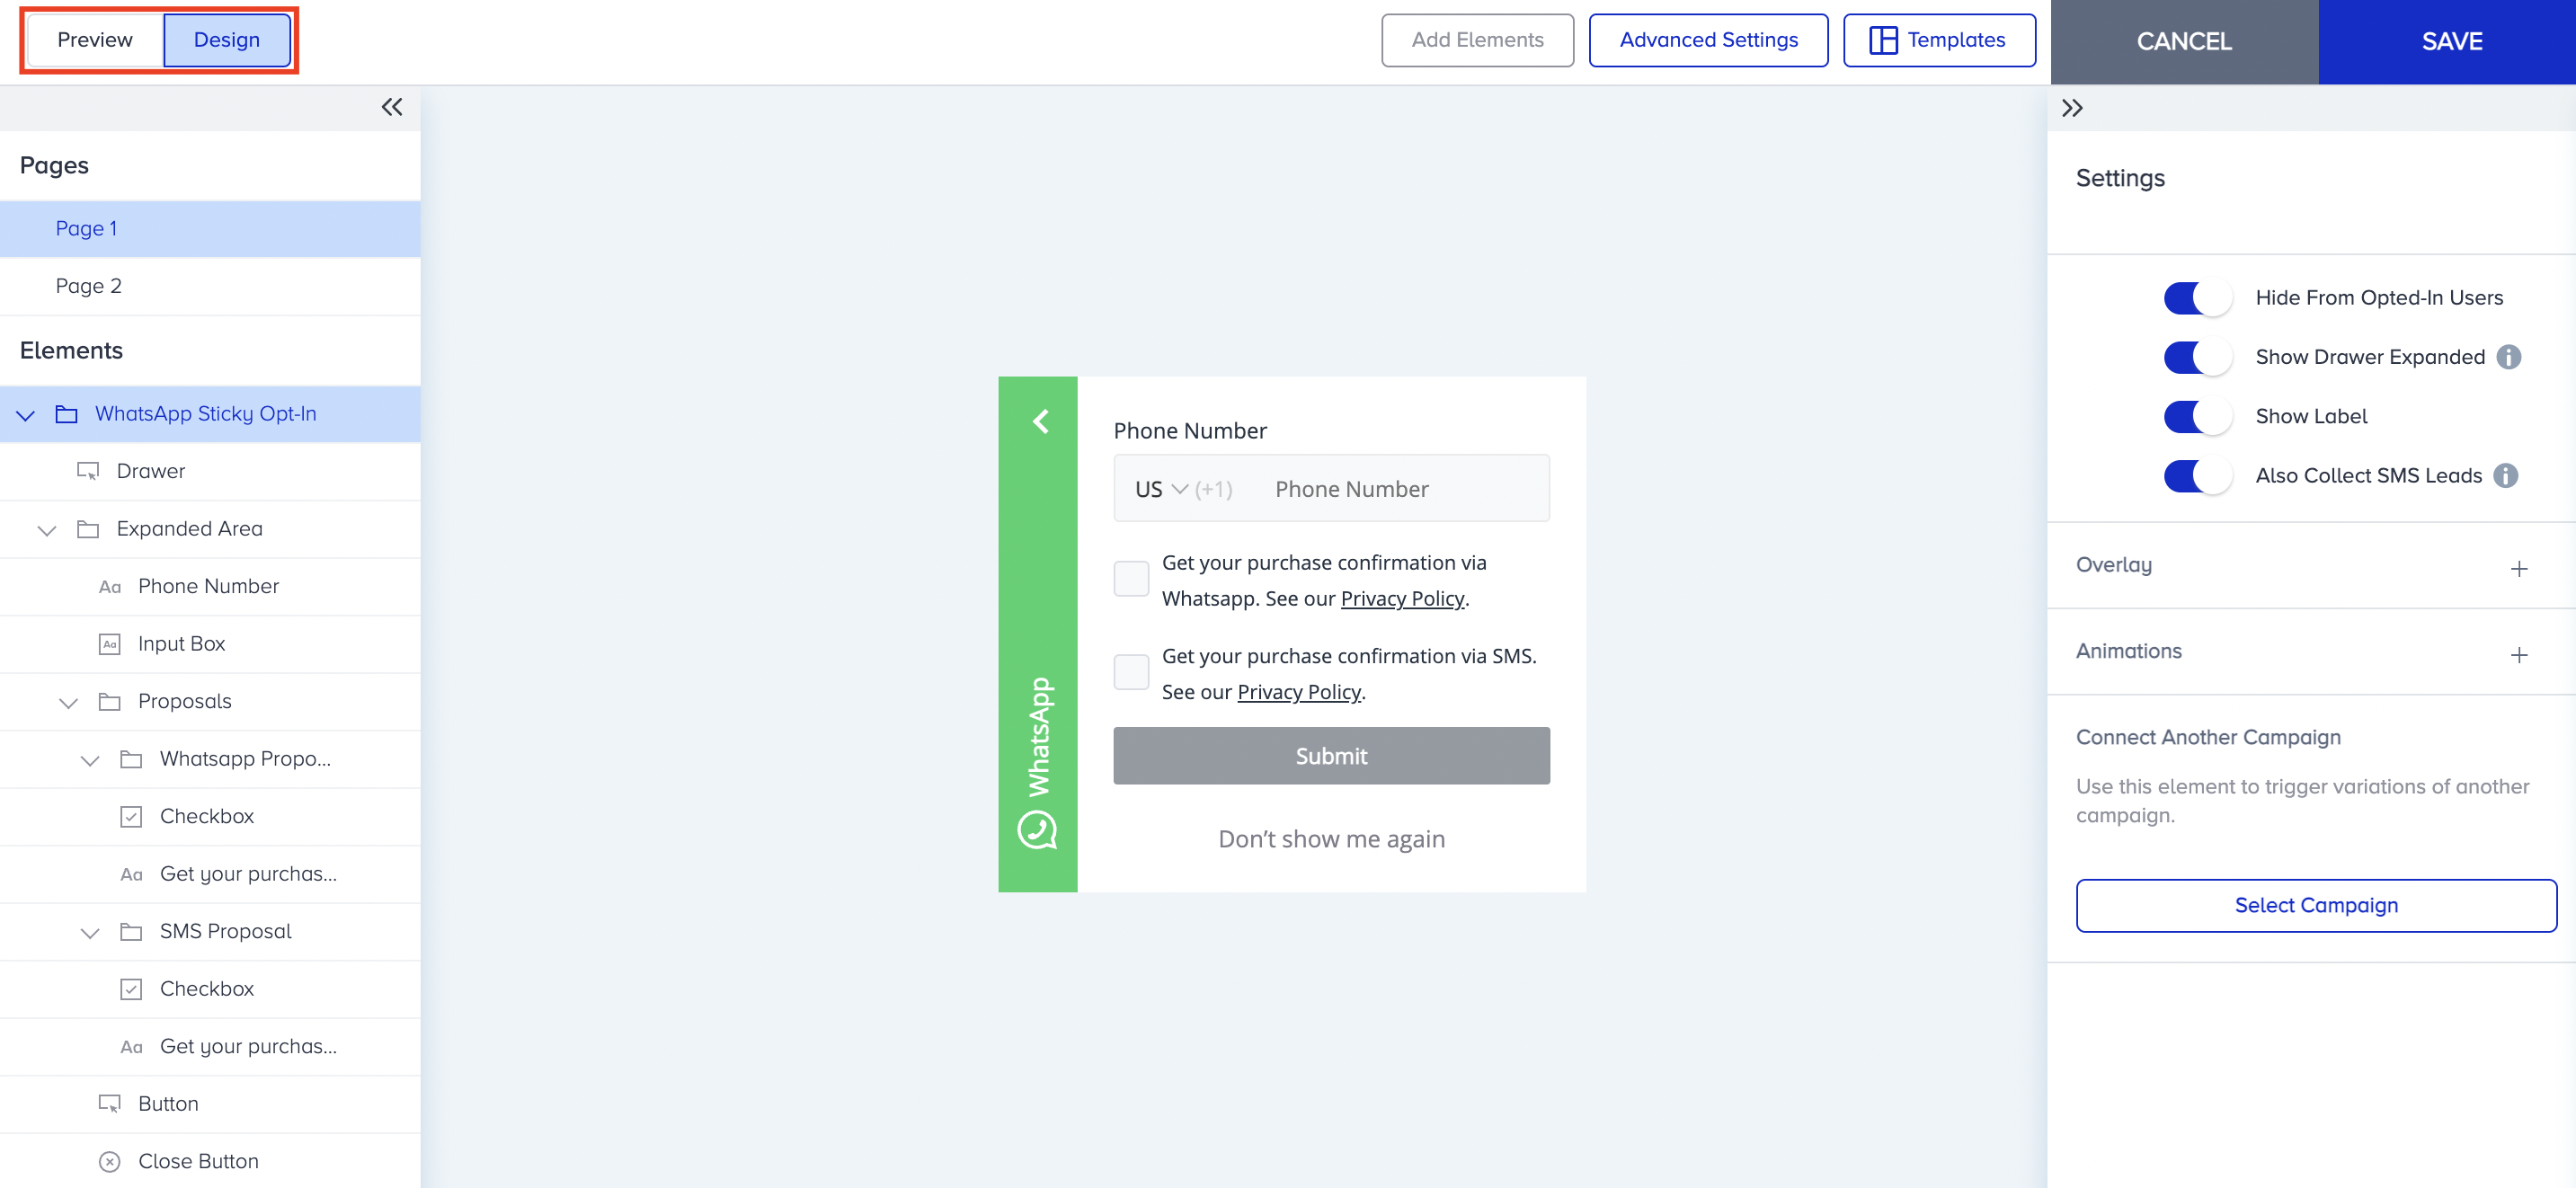
5. You can adjust the settings of your campaign in two pages:
- Subscriber Page: where you ask for the lead from the user.
- Thank You Page: where you display your appreciation.
Subscriber page
1. Page 1 is the page where you collect the lead.
- By enabling the toggles under Settings, you can hide the template from already opted-in users, show the drawer expanded, show the label and collect WhatsApp leads at the same time. When you enable the Label element, you can put a link to direct your users and make it open in a new tab. You can also add an Overlay or Animations.

2. You can customize Drawer and Expanded Area elements separately. You can change their Style and Text. For the Input Box, you can make the country code come automatically based on the user's location. You can type something else in Placeholder area. When the users type an invalid number, you can show them an error message.
You can also change the state of the button when you enable or disable the toggle. If the Disabled status is off, the user will see the error message. When it is on, they will see the button in reduced opacity instead.
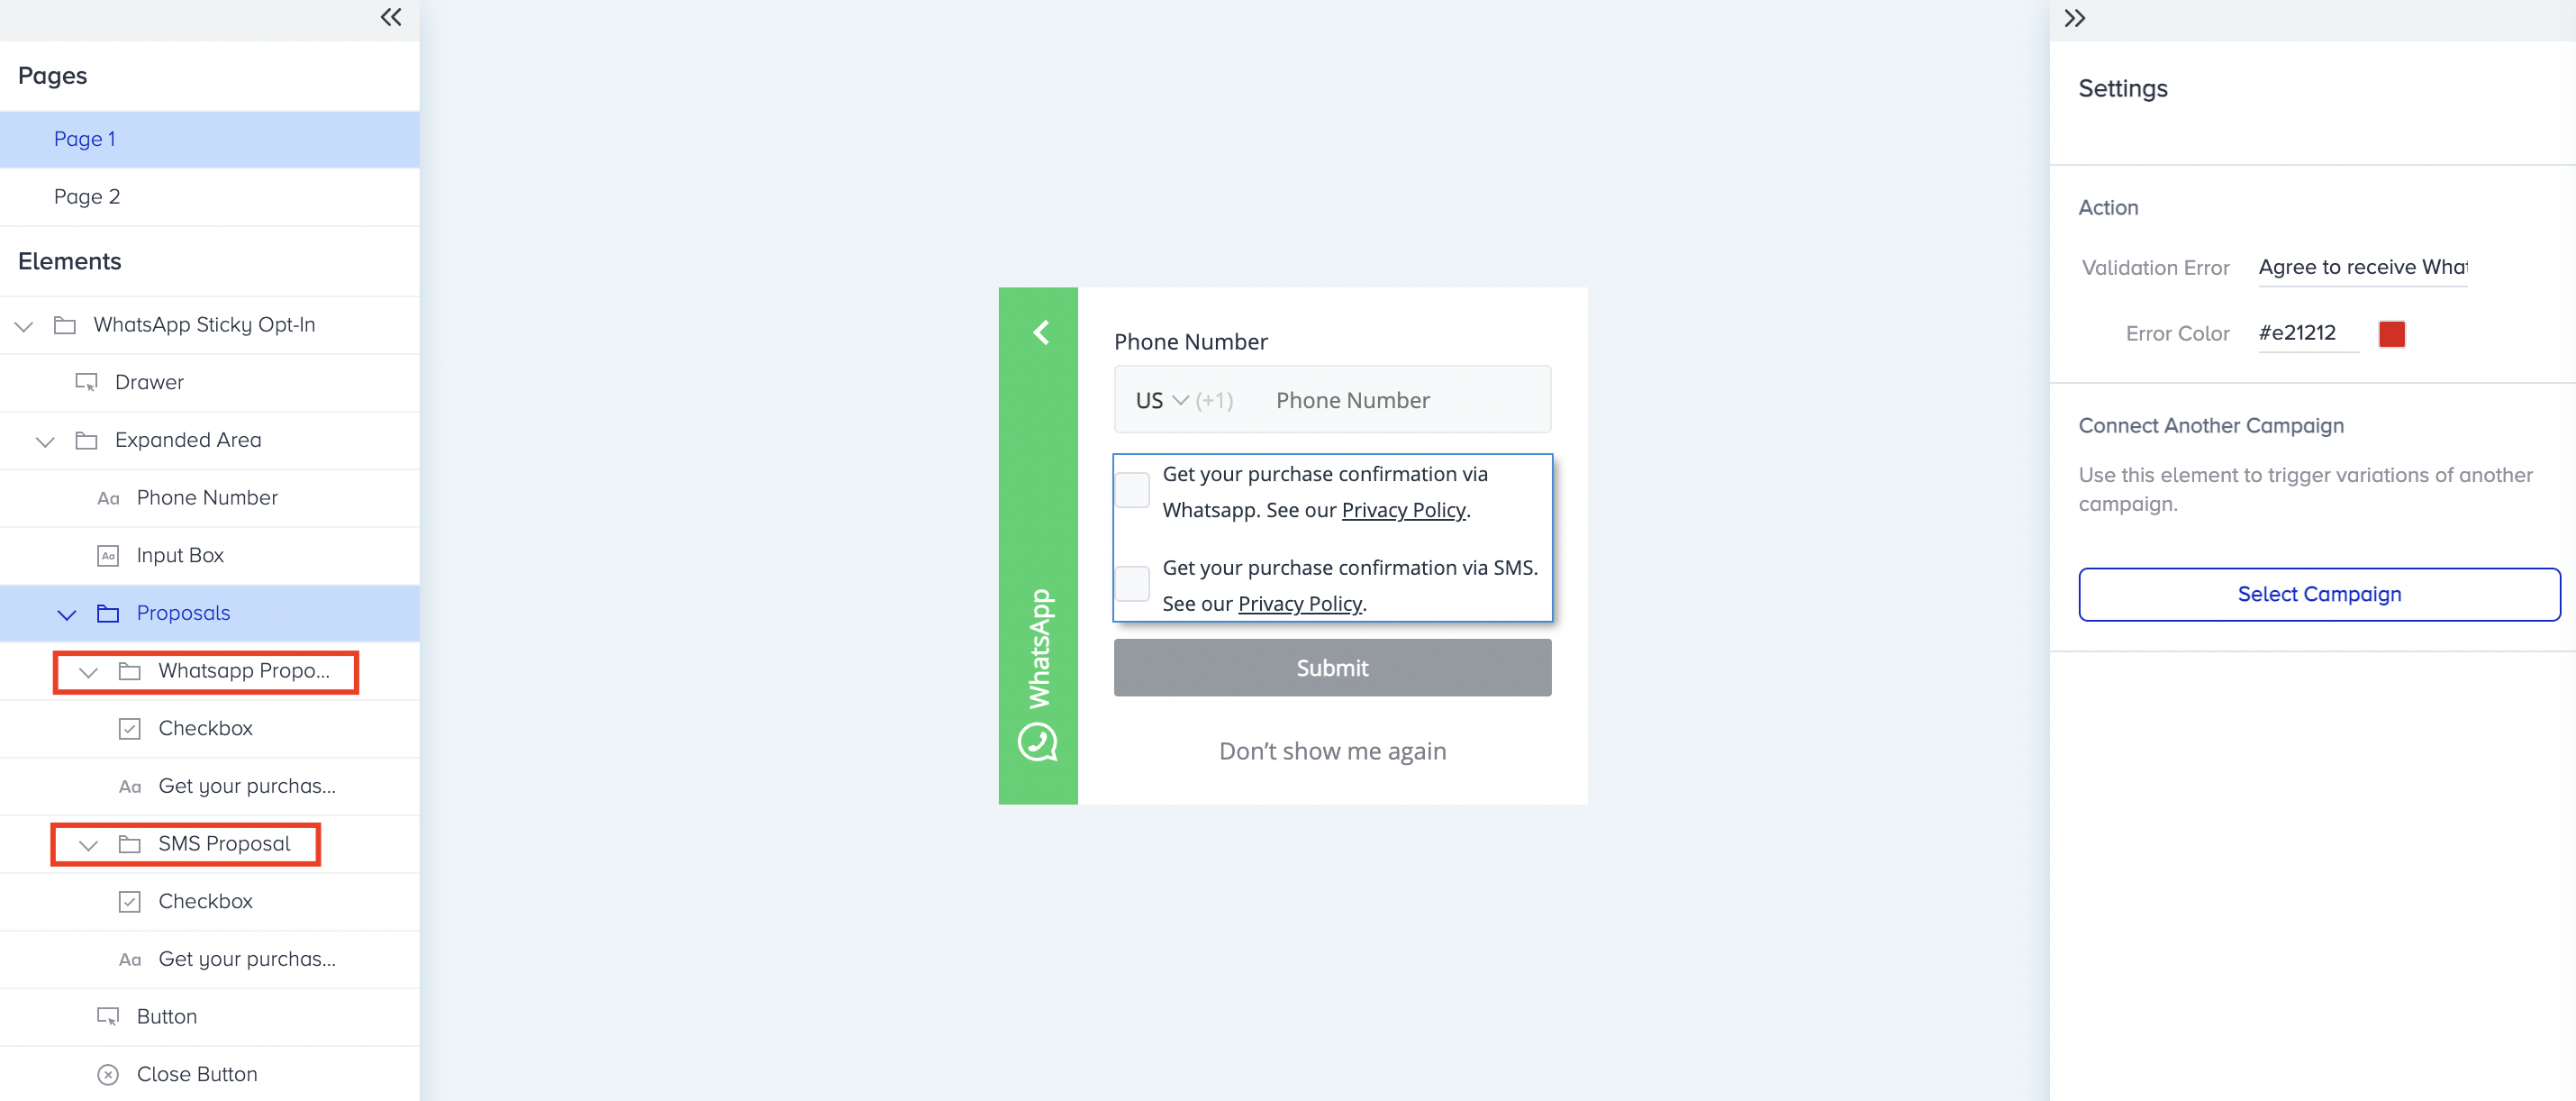
3. You can define an error message for Proposals element if the user does not give their consent by marking the respective checkbox.
- You can customize SMS and WhatsApp proposals separately and set their content, links and checkboxes.
- You can edit the Button element too. You can change its Text and Style, enable/disable it.

Thank you page
1. Page 2 is the page where you display your appreciation message. You can upload an image, and edit the text you want to show your users here. When you finalize your design, Save it and proceed with the rest of your campaign.
Was this article helpful?