Web Push Opt-in Bell Icon Template
- 19 Mar 2024
- 1 Minute to read
Web Push Opt-in Bell Icon Template
- Updated on 19 Mar 2024
- 1 Minute to read
Article Summary
Share feedback
Thanks for sharing your feedback!
Web Push Opt-in Bell Icon triggers the Native Opt-in prompt once users click on it. If the opt-in is allowed or blocked, it will disappear and won't be displayed. If the template is ignored, it will be displayed according to the campaign eligibility rules.
Your title goes here
You don’t have to set any Rules on the Rule Step. A custom rule for Web Push will be set by default after you select the template.
It appears as a bell icon and expands when a user hovers on it. When clicked on the speech bubble, the instruction area appears as well.
How to create it
To create a campaign with the Web Push Opt-in Bell Icon template, navigate to Experience > Optimize > Web Templates.
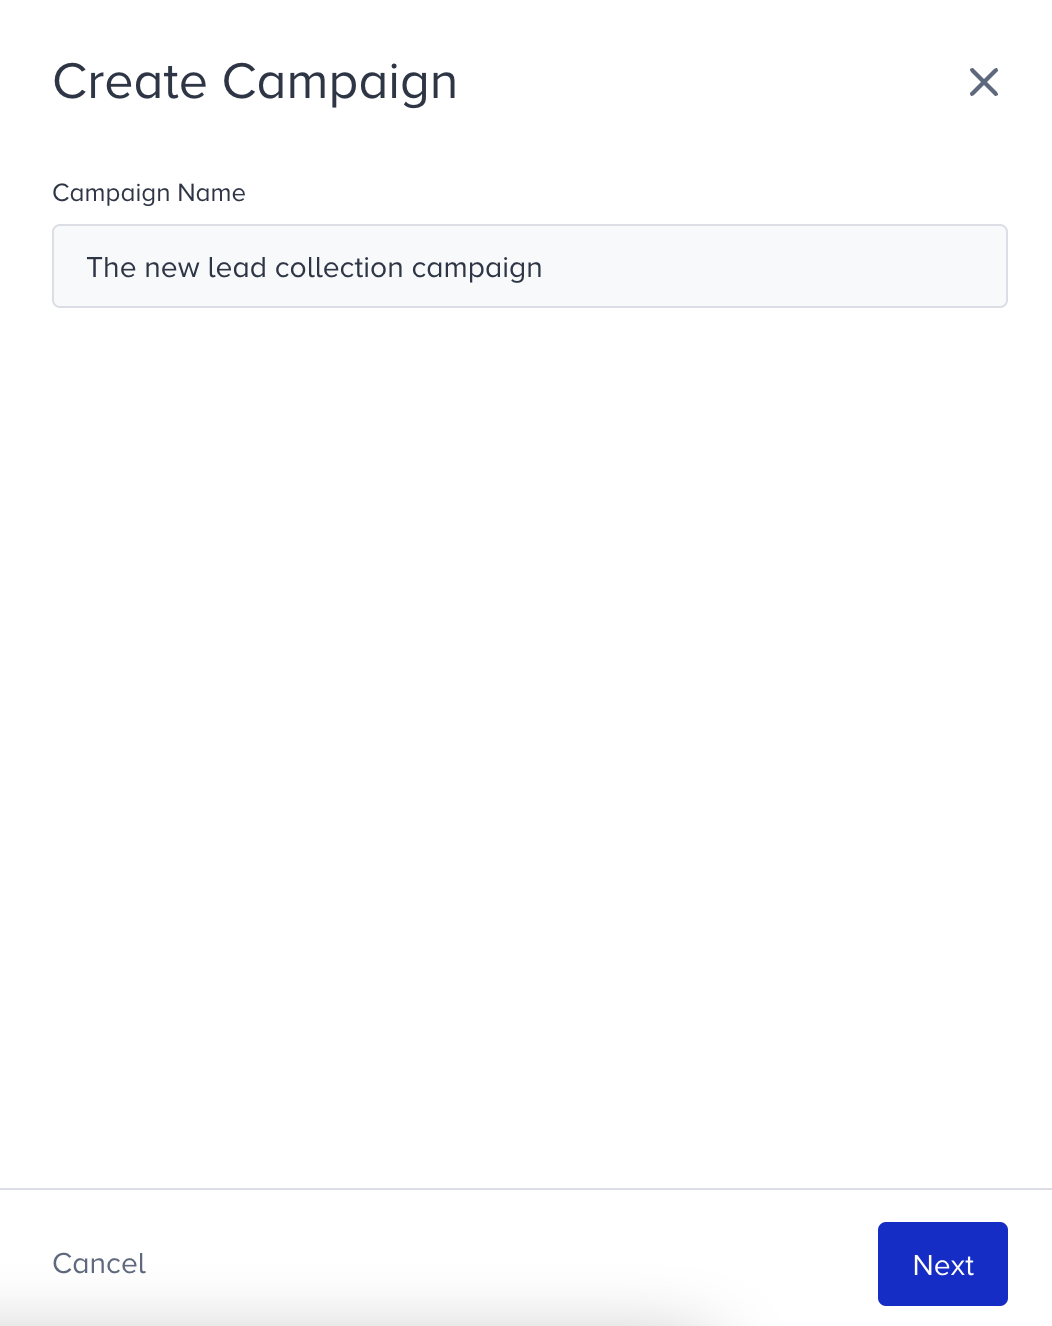
1. Click the Create button, name your campaign, and click the Next button.
2. You will land on the Template Library. You can search for the template or find it under Collect Leads.
3. When you click on the template, you will see the available platforms, its default preview, description, and its elements. Click Use For {Platform} to proceed.
4. Web Push Opt-in Bell Icon is an on-page template. It will appear with text, image and button by default in the Preview mode in Action Builder. Switch to Design mode to start designing your template.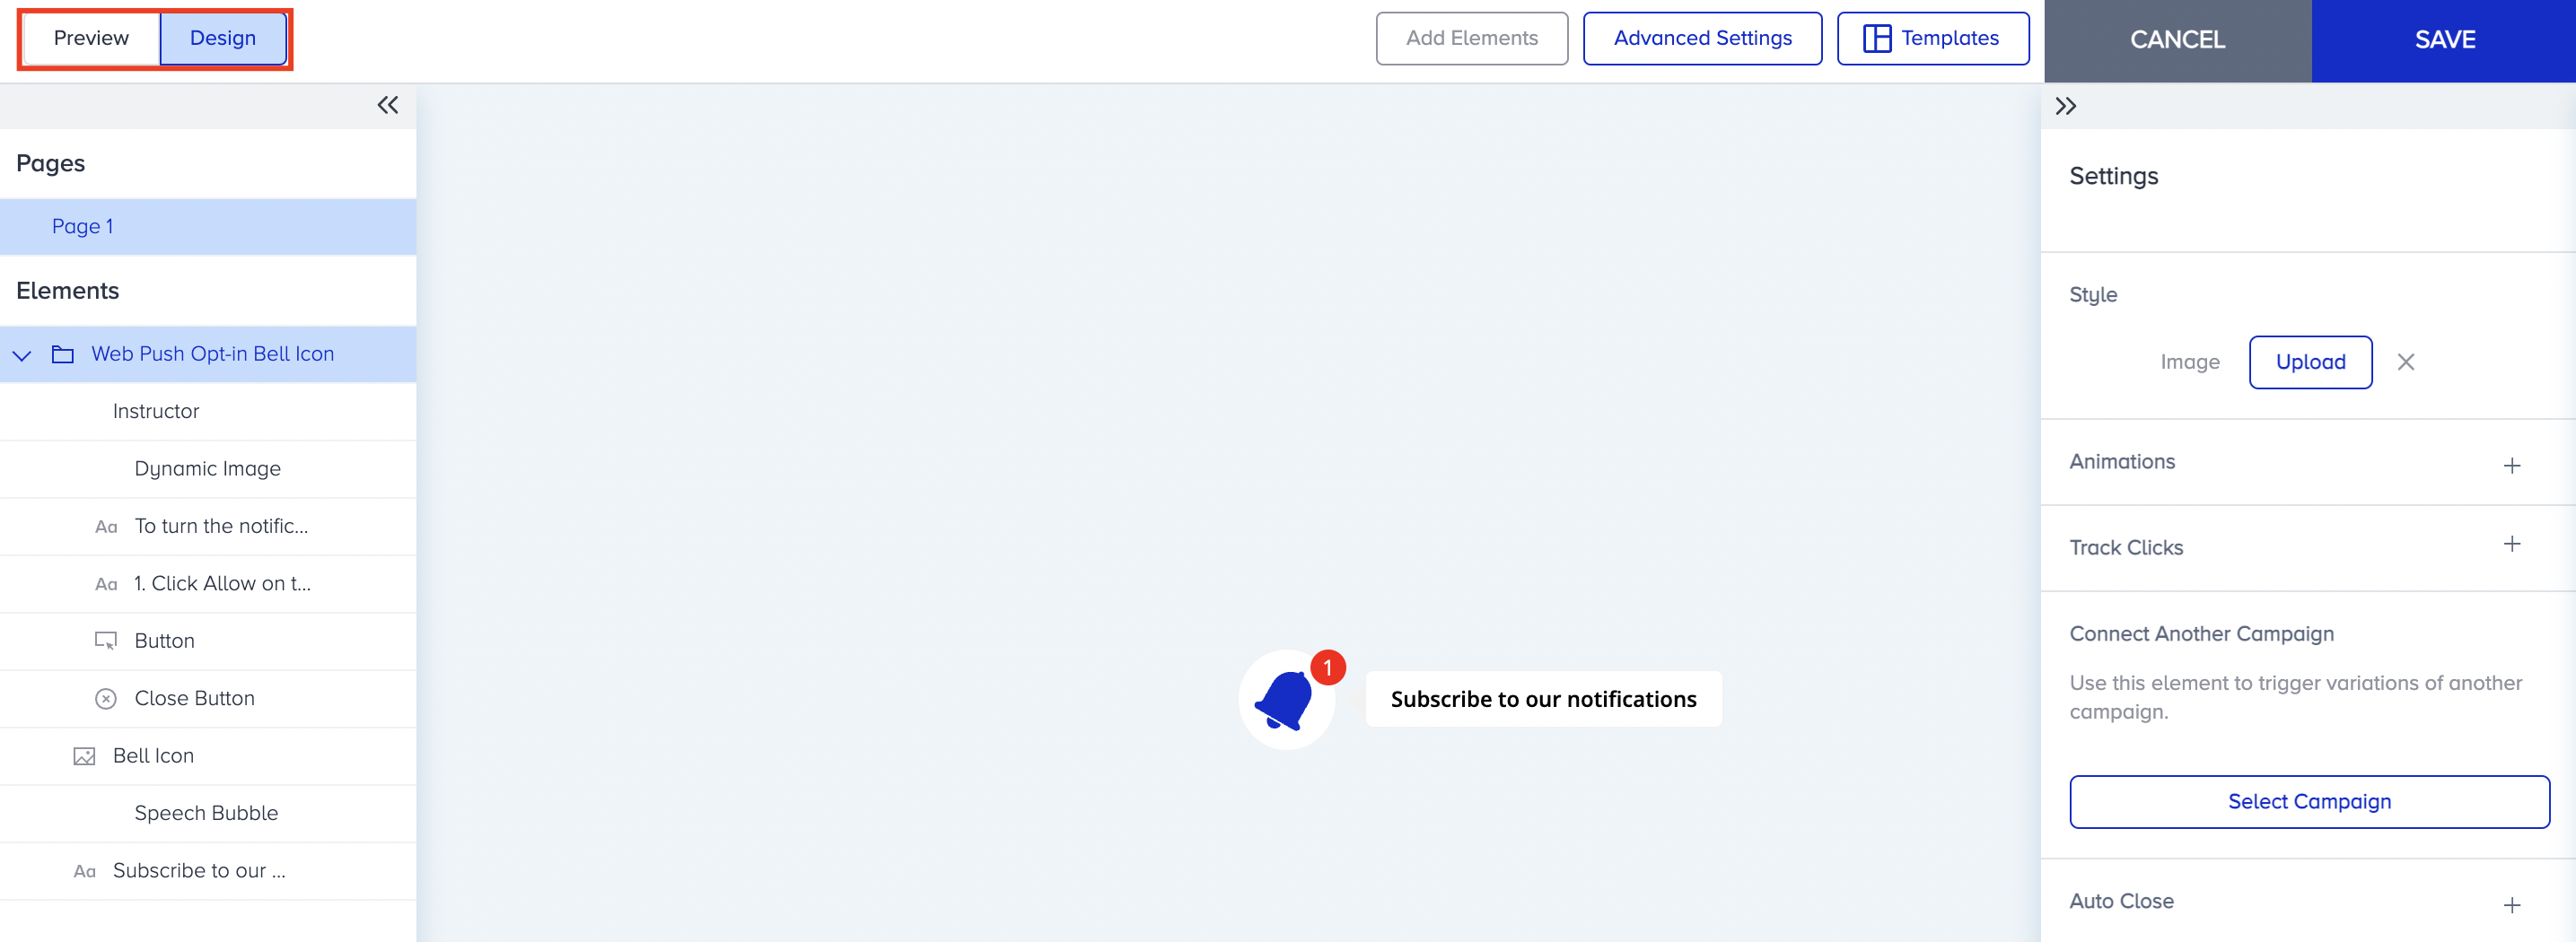
5. For the Instructor element, if you enable the Instruction Box and Button, when a user clicks on the speech bubble, they will see how to turn on the notifications. You can also customize its style and shadow.
The instruction image changes dynamically for Google Chrome, Chromium based (Opera, etc.) and Mozilla Firefox by default when you enable the Dynamic Image toggle. You can see how it looks different on Chrome and Firefox from the Preview area.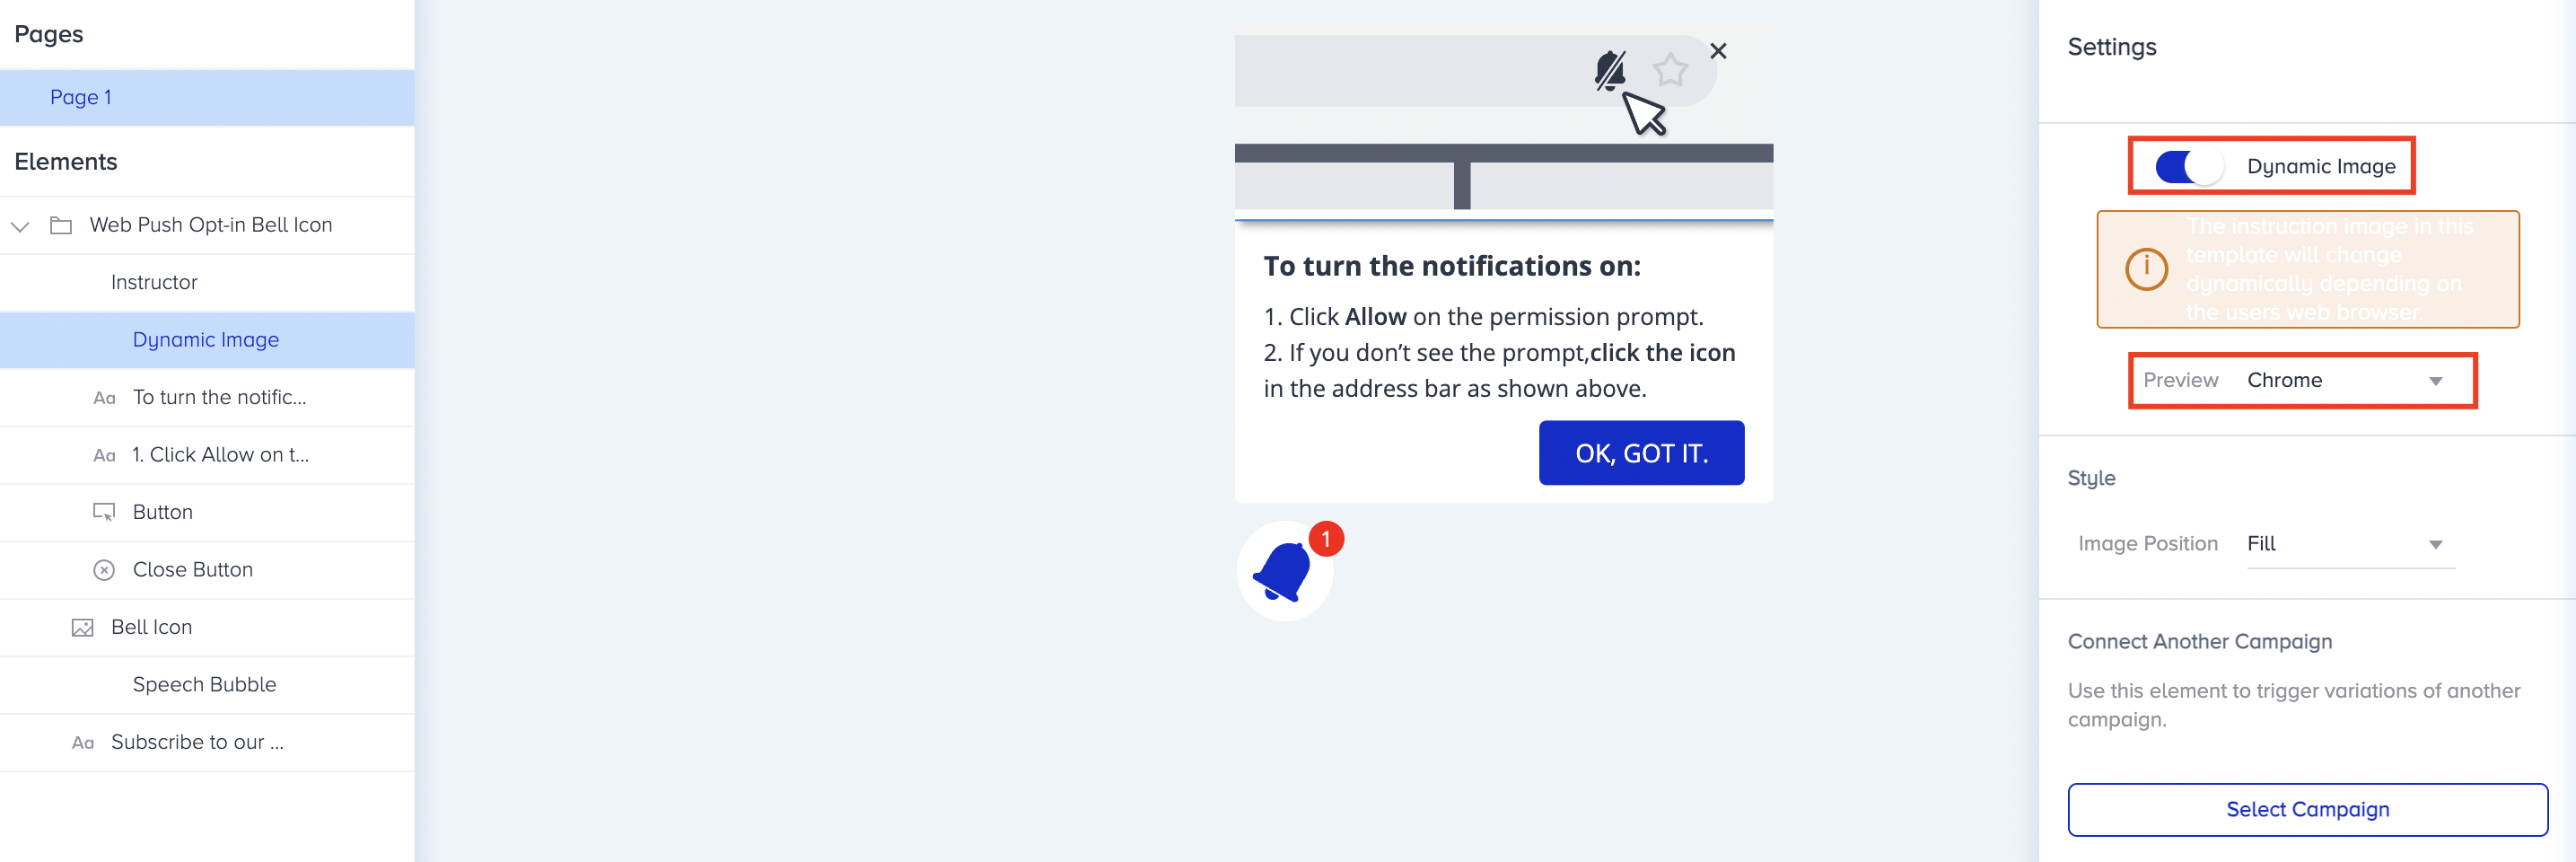
6. You can modify all the other elements separately as usual. We recommend you to keep the style in harmony with the rest of your campaign.
7. When you finalize your design, Save it and proceed with the rest of your campaign.
Was this article helpful?