Manage Email Suppressions
- 19 Mar 2024
- 8 Minutes to read
Manage Email Suppressions
- Updated on 19 Mar 2024
- 8 Minutes to read
Article Summary
Share feedback
Thanks for sharing your feedback!
Suggested reading: Global Unsubscribe and Preference Center
Managing suppressions is key to getting maximum email delivery. If recipients have an easy way to tell that they’d like to stop receiving emails, instead of using the spam button, it will give more valuable insights without affecting the IP reputation.
Global Unsubscribe
Global unsubscribe allows your recipients to unsubscribe from all of the emails you send to them. You can reach Global Unsubscribe through Audience > Suppression > Global Unsubscribe.

Your title goes here
Note: The email addresses will be displayed as muted values if you have the restricted access to the panel. Please contact your manage users to view the user fields.
If your package covers both Email and SMS products, you will see two tabs when you land on Global Unsubscribers page. You can switch between the tabs to manage the recipients who are no longer subscribers in either of the channels.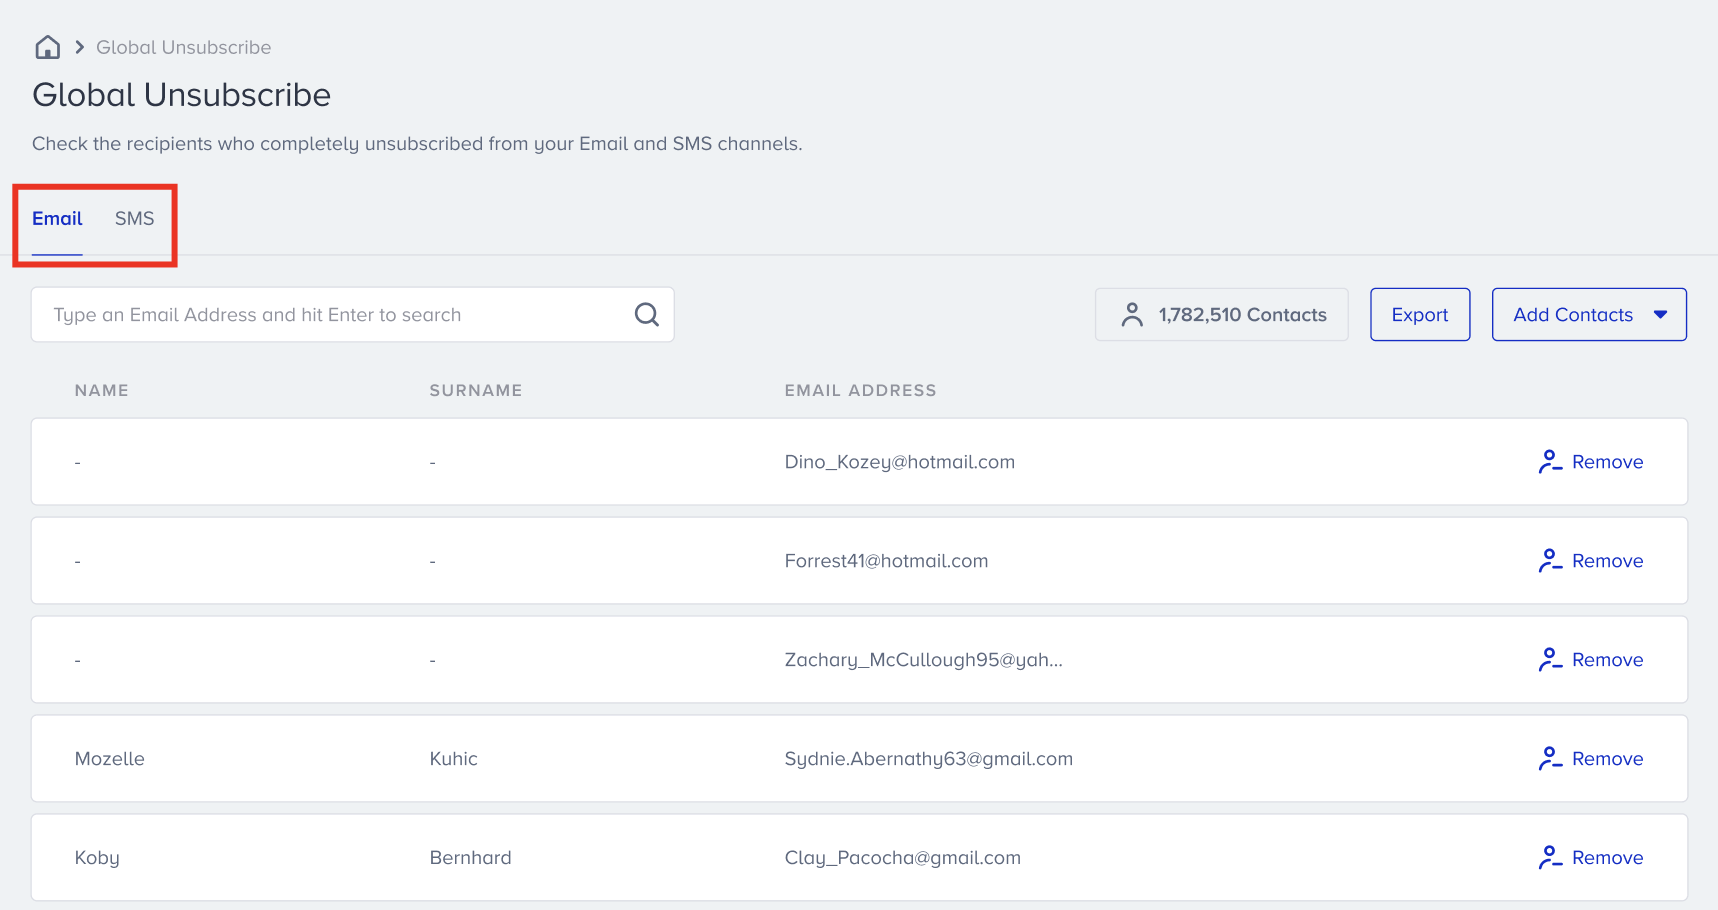

Importing global unsubscribes
You can import your unsubscribers with two different methods: Manually or uploading a file.
Add Manually
- Click Add Contacts and select Add Manually.
- Add your unsubscribers manually one by one.
Import
- Click Add Contacts and select Import.
- Upload your CSV file that has only one column of email addresses without a header.
your title goes here
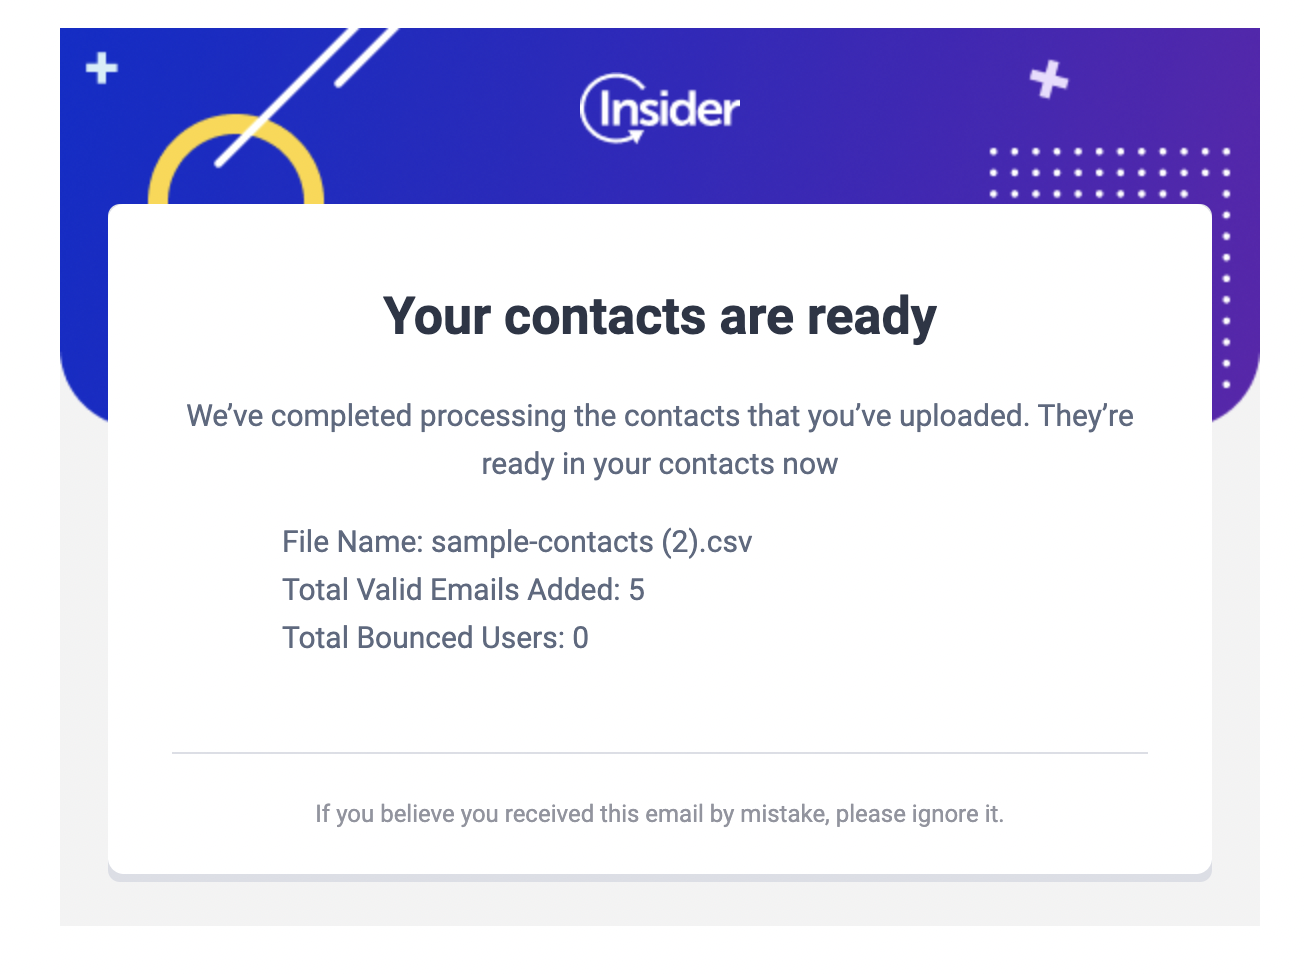
The import process may take a while. Once it is completed, your processed unsubscribes will be displayed.
your title goes here
After the uploading process is completed, you will receive an email regarding the process completion.
Remove from Unsubscribe
This option enables you to delete the user from Global Unsubscribe, both on our database and on the email service provider.

your title goes here
Only manage users and users who have access to PII data can view personal information on this page. You can provide user access to your members to view the PII, personal data of the customers, or the Users Profiles from the Settings tab.
Exporting data
If you want to export the data, click the Export button. You will receive an email containing the email addresses in your inbox in a short time.

your title goes here
You can add global unsubscribes to Global Unsubscribe suppression list; you can add these users to specific unsubscribe groups by using Unsubscribe API v2.
Your title goes here
You can also resubscribe users to specific unsubscribe groups by using Resubscribe API v2.
Unsubscribe Groups
If you don’t want your users to unsubscribe from all emails you’re sending, you have the option to create “Unsubscribe Groups”. This option will unsubscribe users only from that particular type of email, but they will remain as a contact and their information will not be removed. For example, if you’re sending Marketing Campaigns, recipients can unsubscribe from specific types of emails that they would rather not receive anymore but they will keep receiving the transactional emails.
You can reach Unsubscribe Groups through Audience > Suppression > Unsubscribe Groups.
your title goes here
Only manage users and users who have access to PII data can view personal information on this page. You can provide user access to your members to view the PII, personal data of the customers, or the User Profiles from the settings tab.
Creating unsubscribe groups
1. To create an unsubscribe group, click Create button.
2. Name your unsubscribe group and add a description.
3. Click Create.

your title goes here
You can have 20 unsubscribe groups at most.
After creating your group, click the group’s name and you will be directed to the respective contacts page.
Importing group unsubscribes
You can import your group unsubscribers with two different methods: Manually or uploading a file..png)
Add Manually
- Click Add Contacts and select Add Manually.
- Add your group unsubscribers manually one by one.
Import
- Click Add Contacts and select Import.
- Upload your CSV file that has only one column of email addresses without a header.
your title goes here
The import process may take a while. Once it is completed, your processed unsubscribes will be displayed.
Exporting data
If you want to export the data, click the Export button. You will receive an email containing the email addresses in your inbox in a short time.

Your title goes here
The Export button will work only if the user is a “manage user” or the user is allowed to see PII information on the panel.
Bounces
Bounces occur when a mailbox provider rejects an email. An email can bounce when you try to send it to an email address that never existed or an email address that was once valid but has been retired or deactivated. An email can bounce if the local part before @ or the domain after @ is invalid.
When your message bounces, it is recommended to suppress that address from your future mailings. Insider's suppression management system takes care of this automatically, and auto-drops any future requests to this email address.
Common reasons for bounces are as follows:
- The recipient address may no longer exist.
- The recipient address may be invalid.
- The recipient address is unknown.
Mailbox providers give an automatic notification of the delivery failure. This message contains an RFC code and the reason for the bounce. A 5XX RFC code indicates hard bounces (permanent failures). Below is an example case for this type of error.
(1).png)
Bounces are also known as hard bounces.
To find bounced email IDs, navigate to Audience > Suppression > Bounces.
Your title goes here
Users who bounce are automatically added to the Central Bounce.
Add Contacts
To import a list of your bounced email IDs from a document, click Add Contacts. 
Add contacts has two options to let you import contacts:
- Add manually: Add the bounced email IDs one by one.
- Import: Add a list of bounced email IDs by uploading a .csv file with the email addresses.
your title goes here
The uploaded document should be in CSV format and have only one column without a header for Email Addresses.
Remove from Bounces
To remove a contact, click Remove from Bounces. This action will delete the contact on the database of bounces; they will therefore be a sendable contact. You can't revert this action.
Your title goes here
Caution: 'Remove from contacts' permanently deletes the contact from the Invalids page.
Exporting data
To export the data, click Export. You will receive an email containing the list of email addresses when the process is done.

your title goes here
Only the members with user access can view this section on the panel. You can provide user access to your members to view the PII, personal data of the customers, or the User Profiles from the Settings tab.
Central Bounce
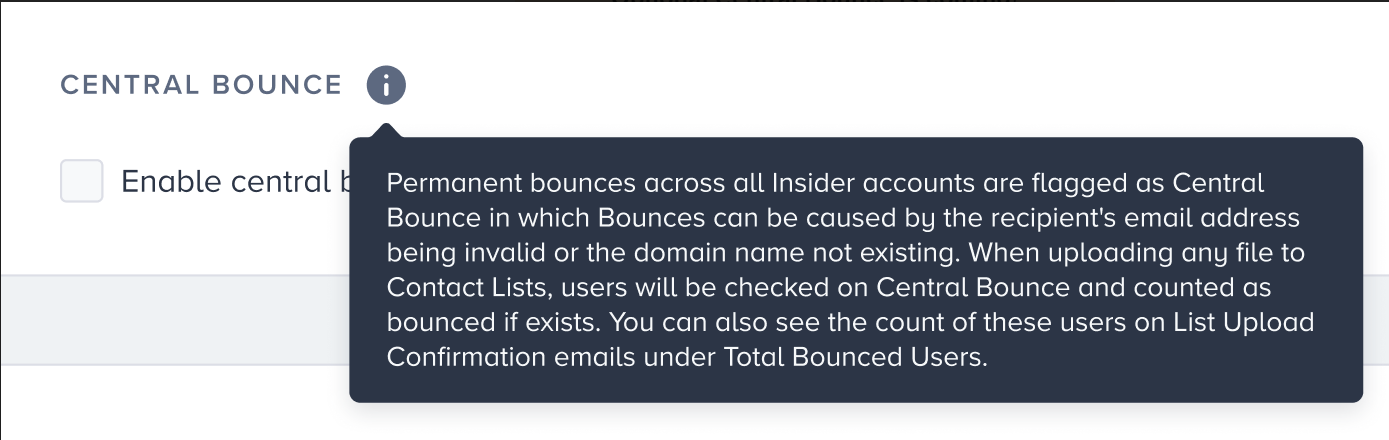
All the permanent bounces caused by an invalid recipient's email address or non-existing domain name across Insider accounts are flagged as Central Bounce. You can check if the users are on Central Bounce while uploading a file to the Contact Lists. If the contact exists in the central bounce, add them to the bounced list. You can also see the count of these users on List Upload Confirmation emails under Total Bounced Users.
 You can enable this feature from your Email settings in InOne.
Blocks
Blocks occur when a message is not delivered. Unlike bounces, a block doesn't mean that the recipient's email address is invalid, but your message failed to deliver temporarily due to content, reputation issues or technical failures.
Common reasons for email blocks are as follows:
- The recipient’s mailbox may be full.
- The mail server may be down.
- Your email message may be too large.
- The mail server may have sent too many messages within a certain period of time.
- Suspicious links may have been detected.
- Suspicious HTML characteristics may have been detected.
- A server may be unreachable for an extended period of time.
- The mailbox provider may be unable to look up the necessary DNS records to verify a sender.
- The email may be sent to a certain mailbox provider too fast.
- IP may be blocked by the blacklisting organization.
- Email may be deferred temporarily.
A deferral occurs when the server temporarily limits access to its system. It works much like a telephone’s busy signal. When an inbox provider defers your email, we will still attempt to deliver your message for up to 72 hours. If your message gets deferred for more than 72 hours, it will get blocked and a block event will register. However, if the message gets successfully delivered within the 72-hour window, it will register as a delivered event.
A deferral can occur if:
- The receiving server doesn't recognize your IP, and may think you're sending a spam.
- The receiving server doesn't have any open ports to receive email.
- The recipient's mailbox is full.
- Some recipients have marked your mail as spam, but this is not enough reason for the server to block you. Instead, they will refuse to receive more until they can learn more about how their users interact with your messages.
Mailbox providers give an automatic notification of the delivery failure. This message contains an RFC code and the reason for the bounce. A 4XX RFC code indicates email blocks. Below is an example for a block..png)
Blocks are also known as soft bounces.
To see blocked contacts, navigate to Audience > Suppression > Blocks.
Remove from Blocks
If you click Remove from blocks button, the selected contact will be permanently removed from the database.

Exporting data
To export the data, click the Export button. You will receive an email containing the email addresses in your inbox in a short time.

Blocks are less permanent than bounces. This is a list of refused messages that were either blocked by an internet service provider or deferred longer than 72 hours. In addition, Insider does not treat the blocks list as a suppression list - subsequent sends to emails on this list will be sent like normal.
Your title goes here
Only manage users and users who have access to PII data can view personal information on this page. You can provide user access to your members to view the PII, personal data of the customers, or the Users Profiles from the Settings tab.
Invalids
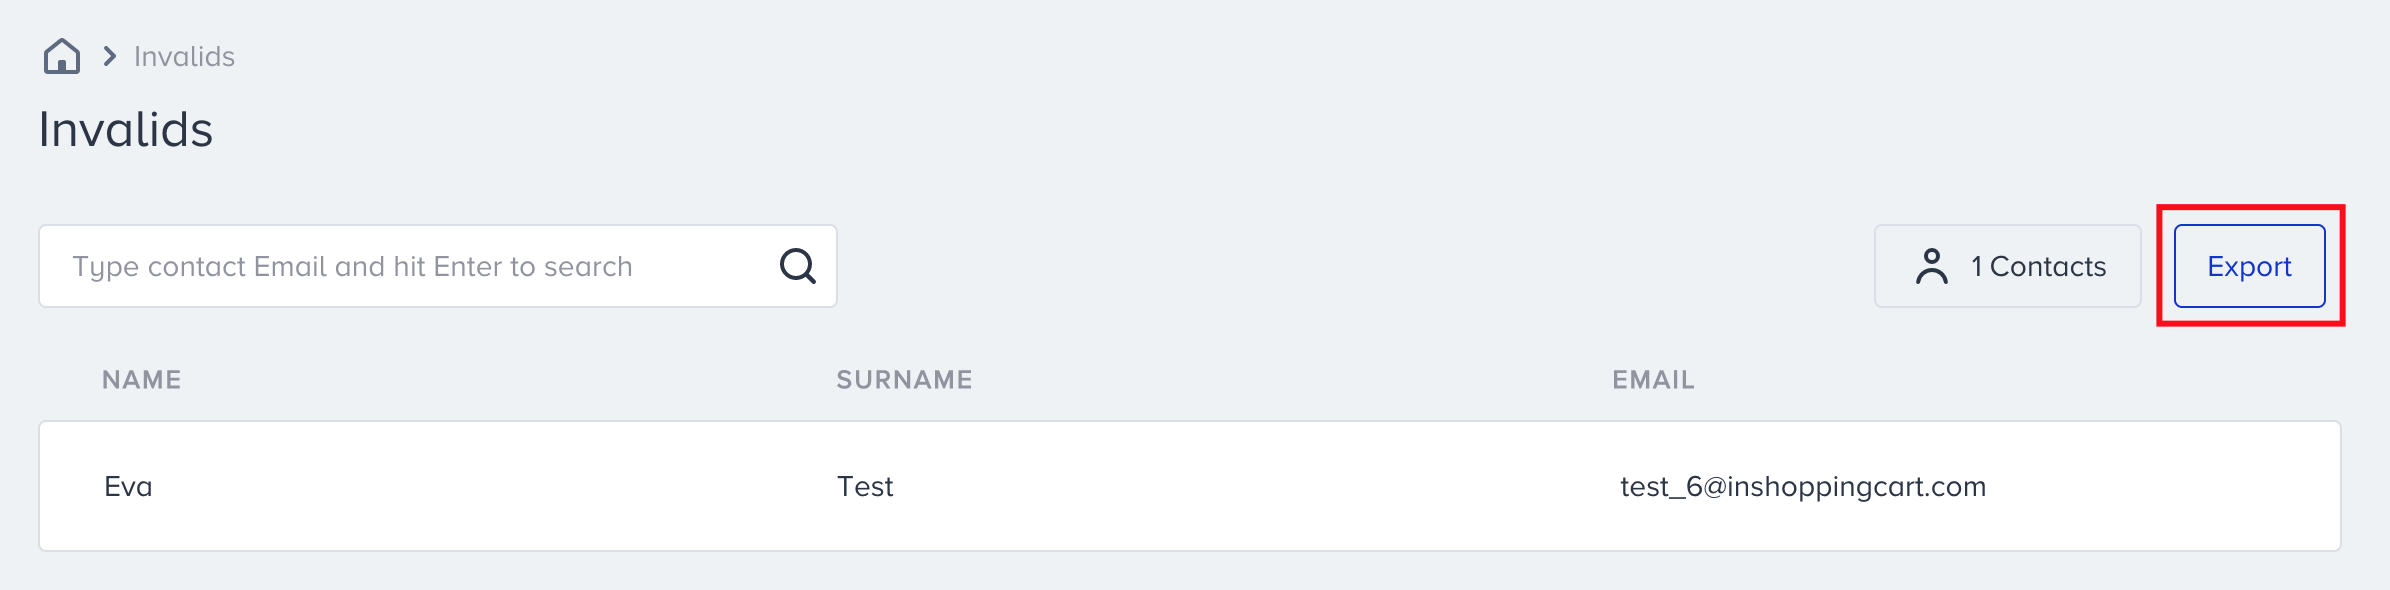
Invalids are the email recipients whose email addresses do not exist on the mail server.
your title goes here
Only manage users and users who have access to PII data can view personal information on this page. You can provide user access to your members to view the PII, personal data of the customers, or the User Profiles from the Settings tab.
To reach those contacts, navigate to Audience > Suppression > Invalids.

Exporting data
To export the data, click Export. You will receive an email containing the list of email addresses in a short time.
Your title goes here
The Export button will only work if the user is a “manage users” or the user is allowed to see PII information on the panel.
Was this article helpful?