Insider Onboarding Center
- 29 Mar 2024
- 3 Minutes to read
Insider Onboarding Center
- Updated on 29 Mar 2024
- 3 Minutes to read
Article Summary
Share feedback
Thanks for sharing your feedback!
Insider Onboarding Center walks you through the steps to configure your settings, and integrate the required integrations for the features you will use.
Once your Inone (Insider's panel) account is created and you receive an invitation email from your Customer Onboarding Manager, you can access to your panel via the link shared in this onboarding email.
To reach Insider Onboarding Center:
1. Log in to your Inone account.
2. Navigate to Components > Insider Onboarding Center on the left menu.
The center offers two main sections: General Settings and Initial Website Integration.

General Settings
The onboarding flow starts with the configuration of general settings. You can complete the following settings in this section.
- User Management: You can invite team members who need to be involved in the integration, setup, and campaign management processes.
Your title goes here
Only users with a Manage Users role can invite other team members.
- Personal Settings: Set and save your personal settings on Inone Settings: User name, password, language, two-factor authentication on Inone Settings.
- Account Settings: Set and save your following account settings on Inone Settings: Logo, two-factor-authentication, campaign language, time zone, currency, website URL, mobile website URL, instagram account URL, customer service email address
Initial Website Integration
The initial integration consists of two main steps: Insider tag integration and confirmation page integration.
After completing the initial website integration on your website, Insider panel can start collecting event and click-stream data, allowing for user segmentation, revenue monitoring, conversion tracking, and more.
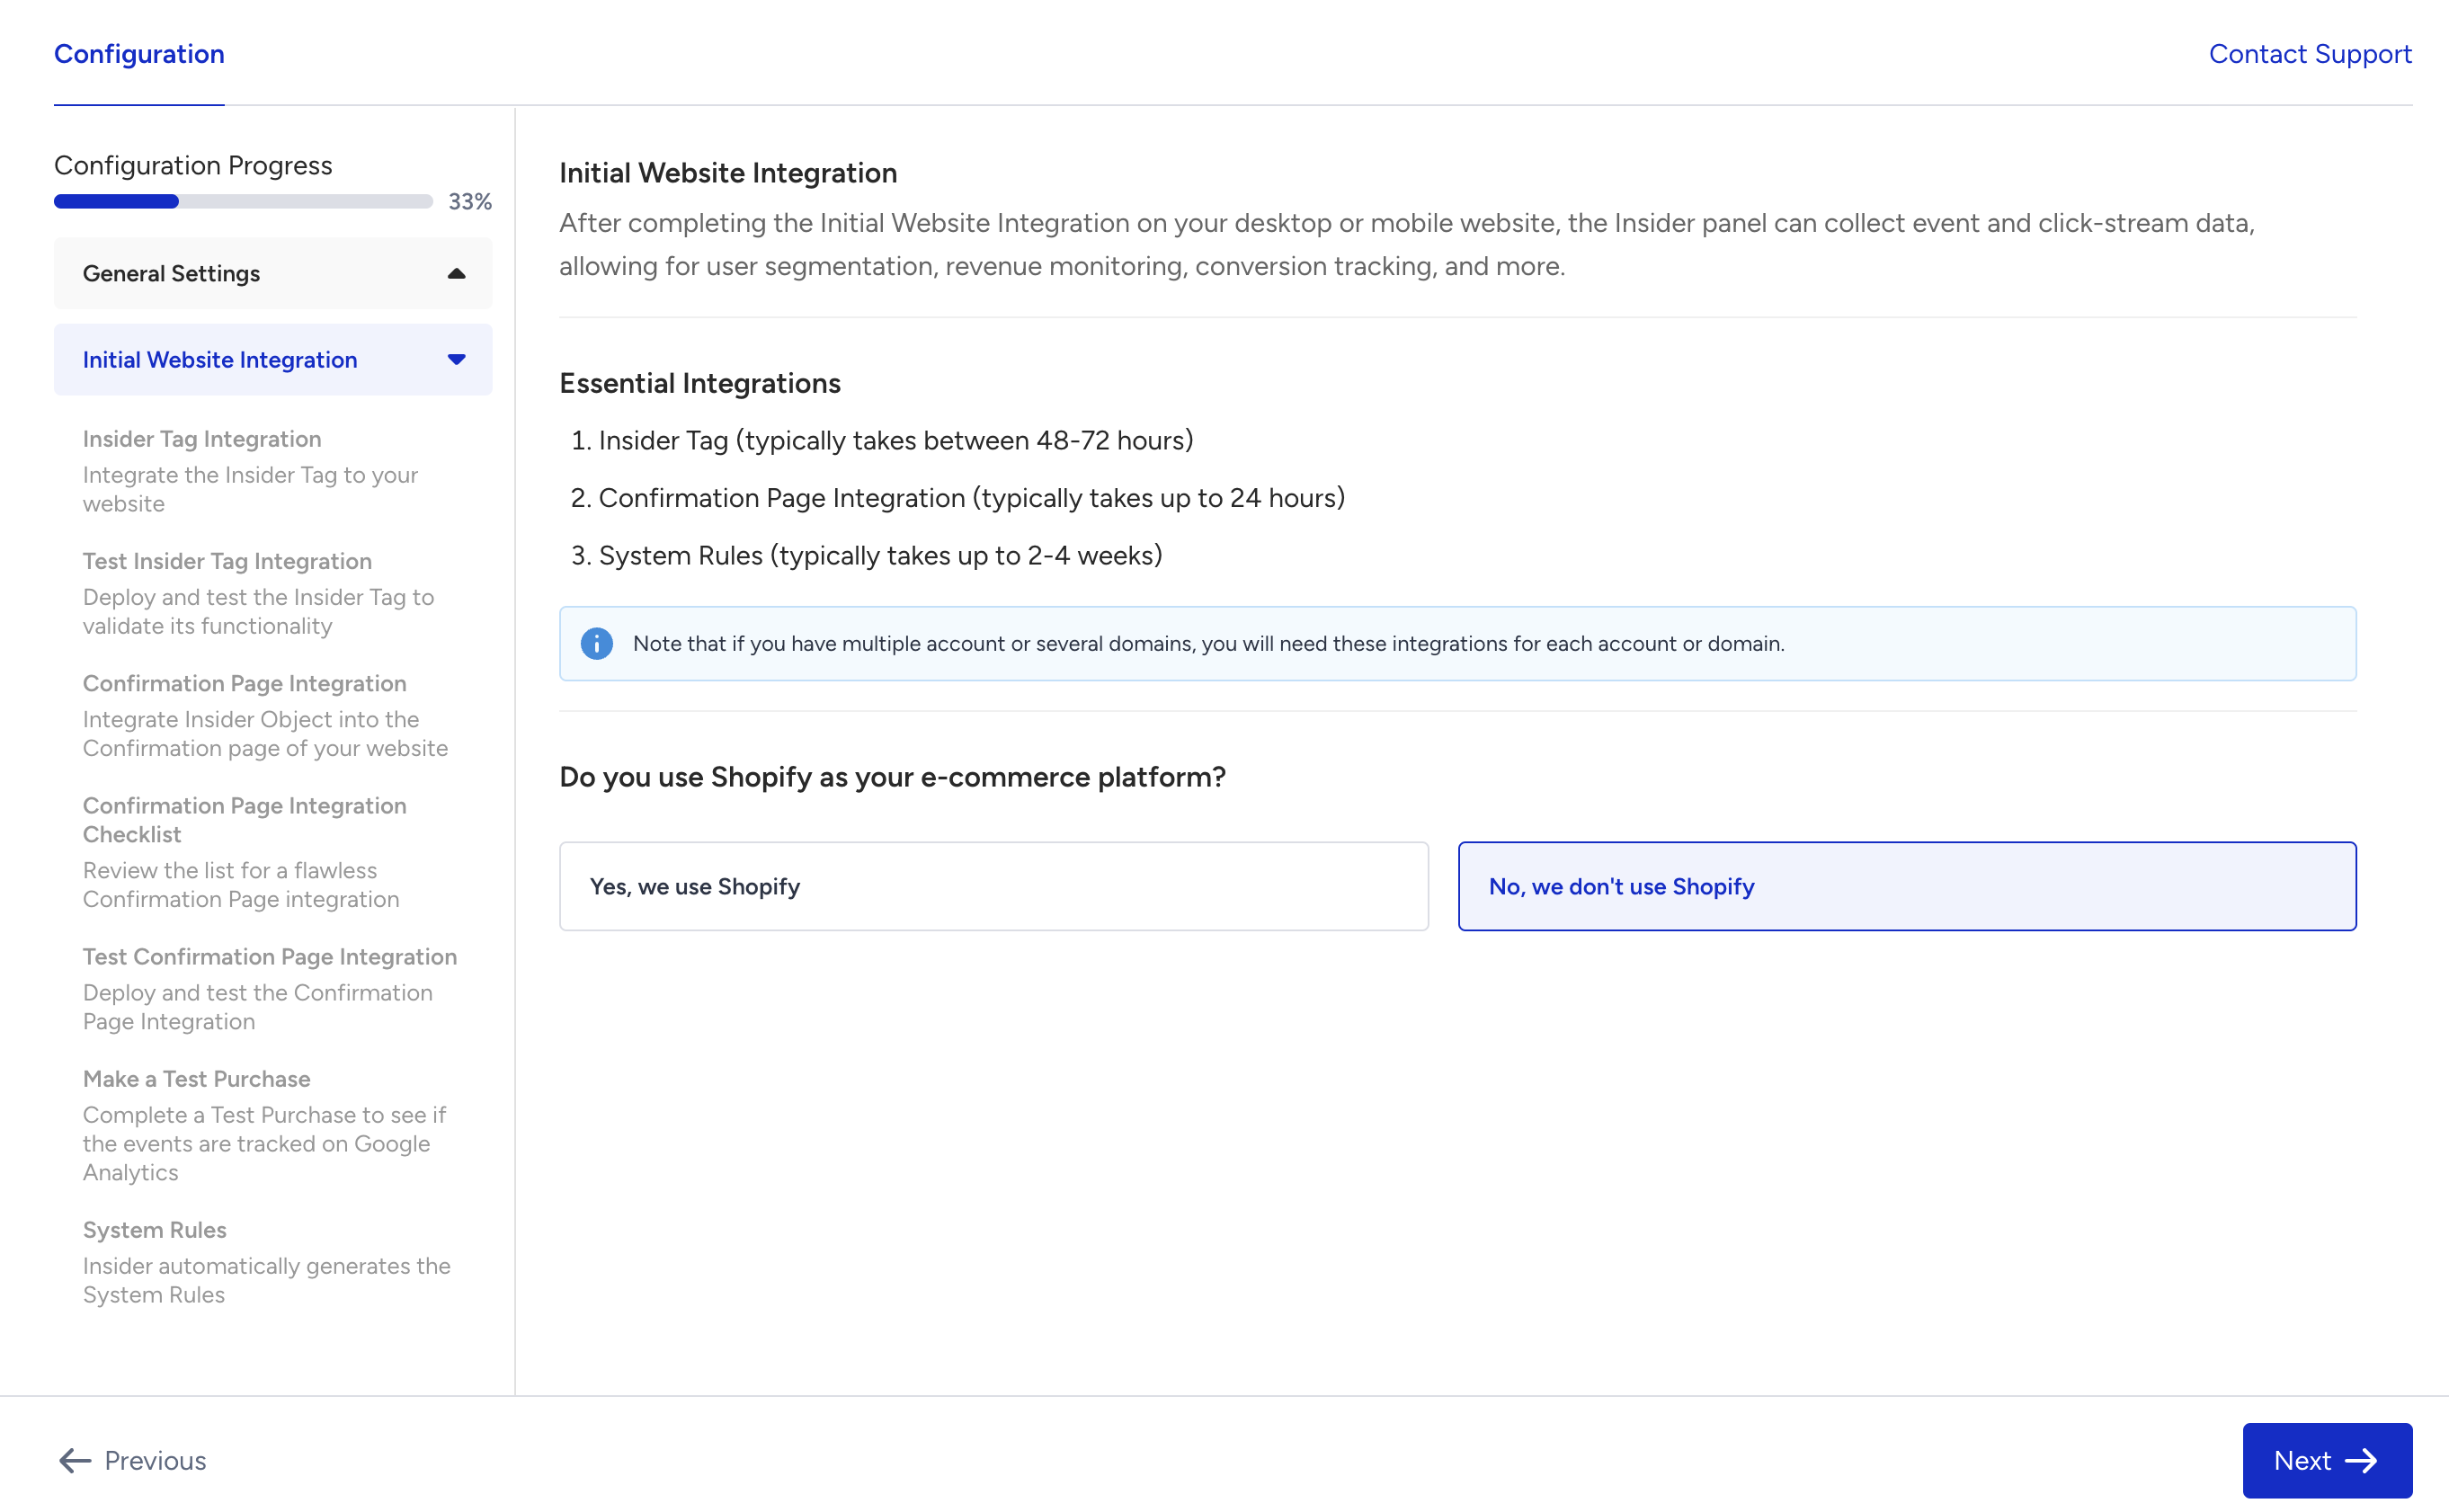
You can start the integration process with confirming whether your website has a Shopify infrastructure. Accordingly, you will be redirected to the respective integration instructions.
Insider Tag Integration
You can use one of the following methods to integrate the Insider Tag: Source Code and Google Tag Manager.
Source Code Integration
You can click the Copy Code button to copy your integration code with unique partner name and partner ID information, and add it to the source code of your website.
Your title goes here
If your website is an SPA (single page application), you can select that option and get the guidance for this type of integration.
Google Tag Manager
You can follow the step-by-step instructions with visuals to integrate Insider into your platform via your Google Tag Manager.
Testing the Insider Tag Integration
When you proceed to the next step, you can see an automatic scan that verifies the Insider Tag on your website.
Your title goes here
You need to accept cookies on your website for Insider Tag to be verified. If you have a multi-domain website, Insider Tag is verified only on the main website URL in your account preferences.
Confirmation Page Integration
Confirmation Page Integration is required to keep track of the transactions on your website. You can use one of the following methods to integrate Insider into your confirmation page: Source Code and Google Tag Manager.
Source Code Integration
You can click the Copy Code button to copy your confirmation page integration code, and add it to the source code of your confirmation page on your website.
Your title goes here
This object must load before the Insider tag (ins.js) for all payment types. Otherwise, the page type information will not be reachable, and the transaction will not be counted as a conversion
Google Tag Manager
You can follow the step-by-step instructions with visuals to integrate Insider into your confirmation page via your Google Tag Manager
Confirmation Page Integration Checklist
This step lists acts as a caution list, and displays the criteria you should consider before testing the confirmation page integration.
Testing the Confirmation Page Integration
You can click the Test Confirmation Page button to run an automatic test on your confirmation page. You will be redirected to your website with a test inspector along with instructions to complete the test. You can also see the test results on the page.
Making a Test Purchase
Once you verify the integration, you can enable the respective Google Analytics event on Inone and make a test purchase on your website to see the logs sent from Insider to Google Analytics.
Your title goes here
Your content goes here Once you complete and verify your integrations, you will reach the System Rules step. This step informs you about the next step that will be completed by Insider.
Now that you complete your integrations, you can view the recommended use cases, and start designing your recommended campaigns as a draft. Once Insider completes defining the necessary system rules to map out your website, you can launch your campaigns.
Was this article helpful?