Security
- 01 Nov 2023
- 1 Minute to read
Security
- Updated on 01 Nov 2023
- 1 Minute to read
Article Summary
Share feedback
Thanks for sharing your feedback!
Security Settings allow you to manage Single Sign-on (SSO) settings if you are using Microsoft Azure AD as your Identity Provider. Click your username > Settings > InOne Settings to navigate to this page.
1. Click the "Enable SSO" checkbox to enable Single Sign-on.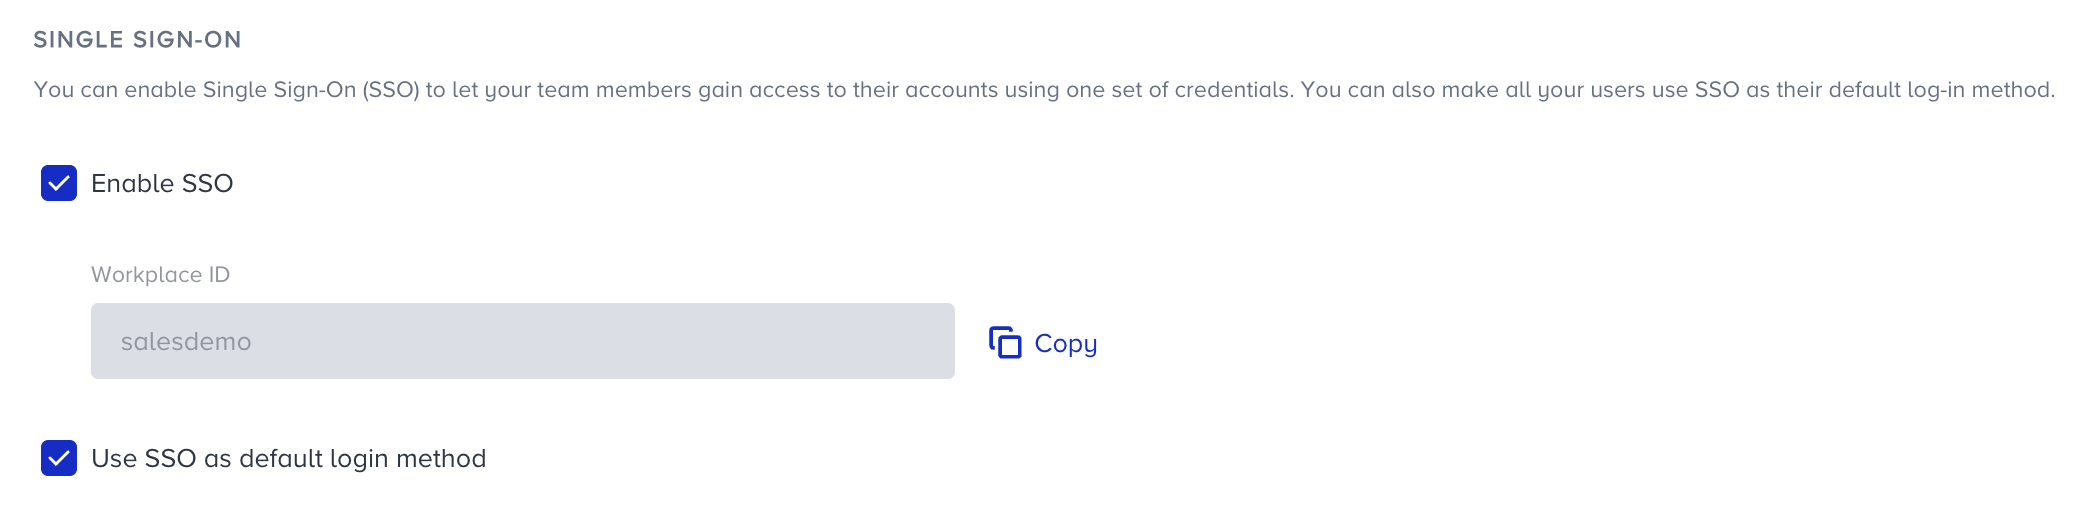
2. The workplace ID given will be the ID to be used by users to enter the InOne panel when they are first signing in with SSO. This ID is the same as the panel name.
3. If you want to enforce all your users to enter the panel via SSO, you can check the “Use SSO as default login method” checkbox. Once you check this, your current users will not be able to use their Insider specific usernames and passwords.
4. Finalize the settings on your Microsoft Azure AD account and save them.
5. You should successfully pass the SSO connection test in order to be able to save the settings. Test SSO Connection on the InOne panel.
6. When you pass the test, save the settings to set up SSO for your panel users.
Was this article helpful?