Email Collection Template
- 20 Mar 2024
- 2 Minutes to read
Email Collection Template
- Updated on 20 Mar 2024
- 2 Minutes to read
Article Summary
Share feedback
Thanks for sharing your feedback!
Important Update for New Customers:
Please note that customers who have joined our platform after February 2024 will not have access to non-responsive Lead Collection Templates except for Web Push Opt-in templates and WhatsApp Sticky Opt-in template.
You can use Email Collection template to collect your users' email addresses and offer them latest announcements and discounts in return.
How to create it
To create a campaign with the Email Collection template, navigate to Experience > Optimize > Web Templates.
1. Click the Create button, name your campaign, and click the Next button.
.png)
2. You will land on the Template Library. You can search for the template or find it under Collect Leads.
3. When you click on the template, you will see the available platforms, its default preview, description, and its elements. Click Use For {Platform} to proceed.
4. Email Collection is an on page template. You can see how it looks on your website in the Preview mode in Action Builder. Switch to Design mode to start designing your template. It will appear with text, input box and button by default.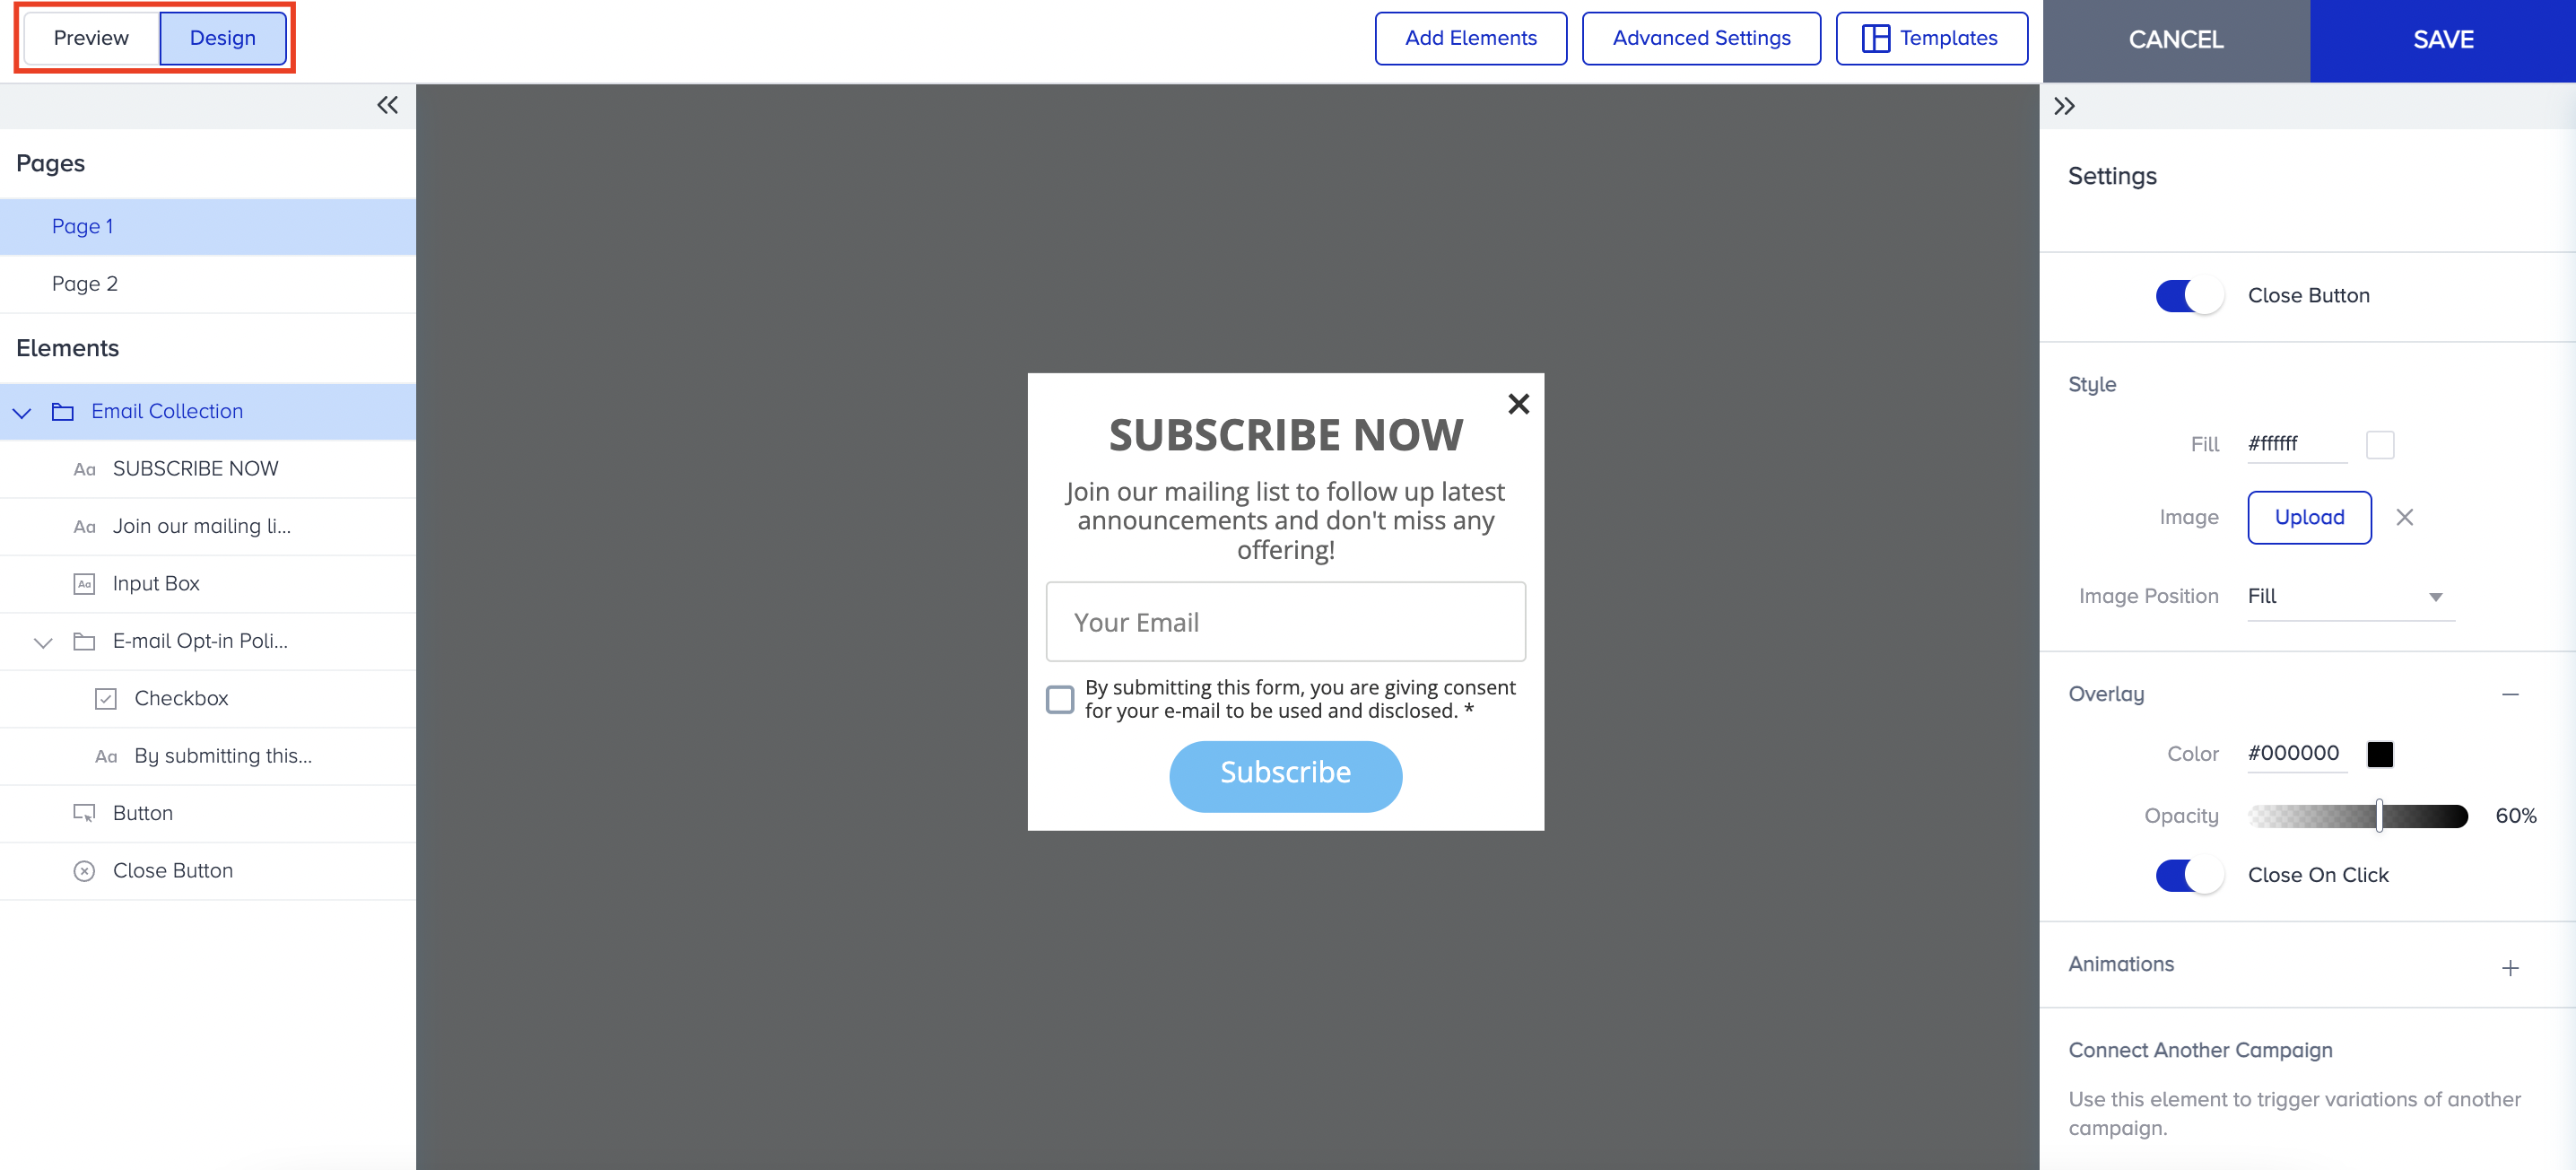
5. You can adjust the settings of your campaign in two pages:
- Subscriber Page: where you ask for the lead from the user.
- Thank You Page: where you display your appreciation message and offer coupon codes.
Subscriber page
1. Page 1 is the page where you collect the lead.
You can enable Close button, change the Style of your template and upload an image if you like. Adding an alt-text to your image will boost your SEO. You can customize Overlay and Animation settings to make the appearance of your template more attractive..gif)
2. You can customize the Text elements separately. You can place a link if you would like to direct users to a specific page.
3. For the Input Box, besides Style and Text settings, you can also customize Action settings. You can type a different placeholder other than the default one, make it required, choose the verification method and write an error message to show when users do not submit the requested information. You can also decide the attribute type to be associated with the information you will collect and share with Email product.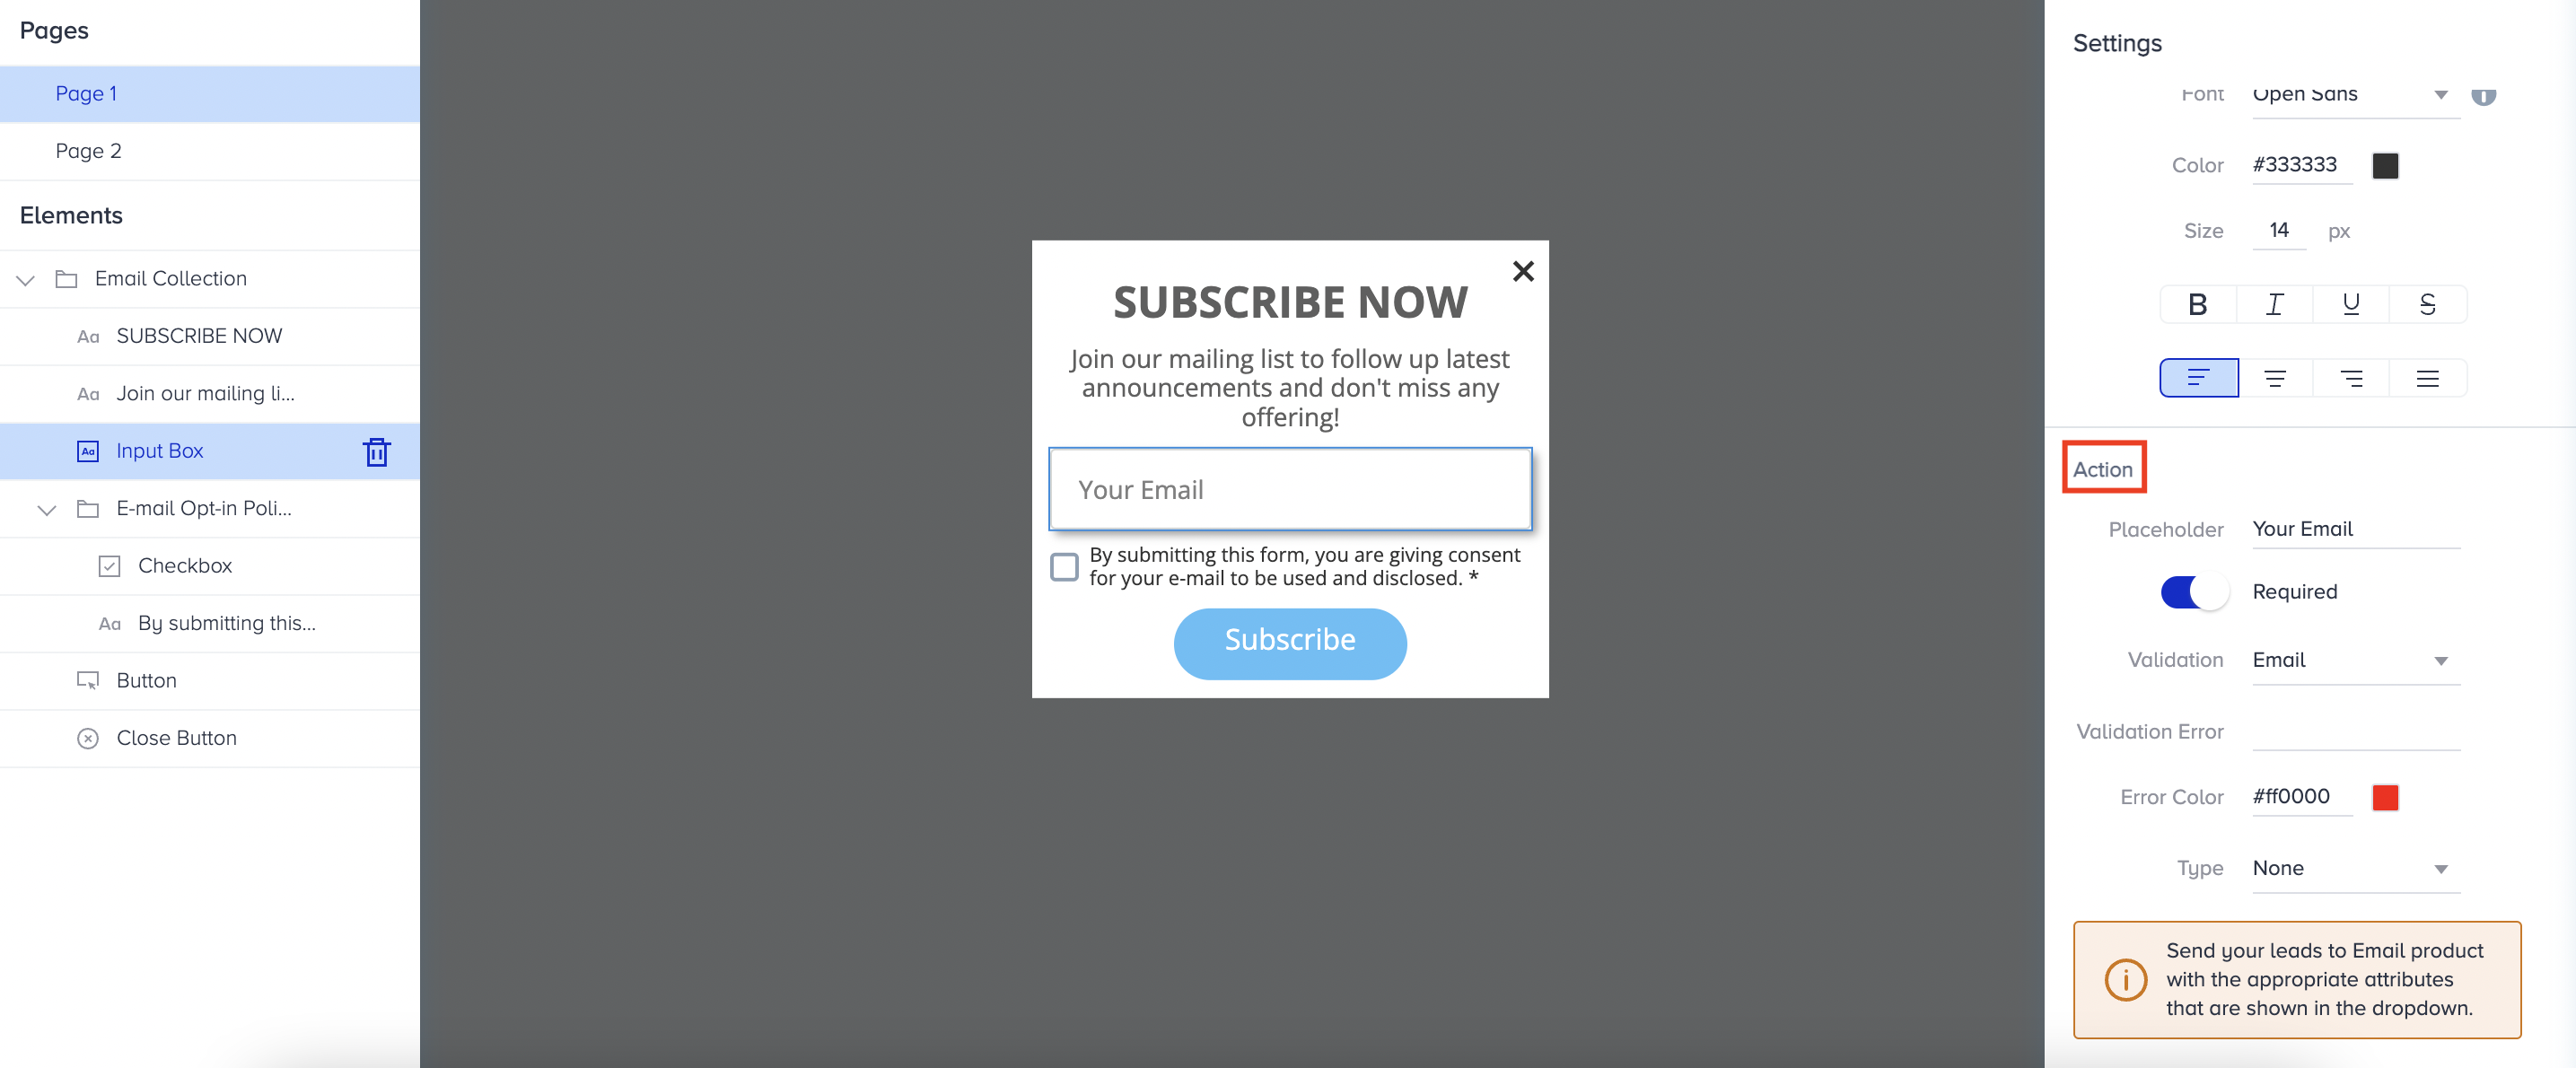
4. To customize the Email Opt-in Policy settings, choose the element. Be sure that you add the GDPR consent checkbox to the lead generation form as an option and your template is compliant with it. We highly suggest you to make it required to check the box.
If your company obtains your users' consent in compliance with the local regulations, make sure to pass the GDPR opt-in field to Insider. If you want to stop collecting and processing the data of an identified user, GDPR opt-in field should have the false value. Insider cannot be held liable if these obligations are not fulfilled and reserves the right to seek compensation from your company.

5. Customize the Checkbox and the consent sentence. Put the link to direct your user to read the terms and conditions.
Thank you page
1. Page 2 is the page where you display your appreciation message. You can also enable auto close in seconds.
2. Adjust Success Icon, Thanks and Close Button elements..gif)
When you finalize your design, Save it and proceed with the rest of your campaign.
Was this article helpful?