Create a Static Segment
- 03 May 2024
- 4 Minutes to read
Create a Static Segment
- Updated on 03 May 2024
- 4 Minutes to read
Article Summary
Share feedback
Thanks for sharing your feedback!
You can upload a data file to set your segment features and create a Static Segment. Your segment will not be updated unless you upload another data file. You can explicitly define SMS or email opt-ins for each user when you add or upload the list of users. The opt-ins are not automatically assigned to the users unless you add the SMS or email opt-in fields.
How to create a static segment
To create a Static Segment, navigate to Audience > Segments > Saved Segments.
1. Click the Create button on the top right of the screen.
2. Select Static Segment type, and enter a name for your segment. It is better to keep the name short while giving the key message of the segment. 
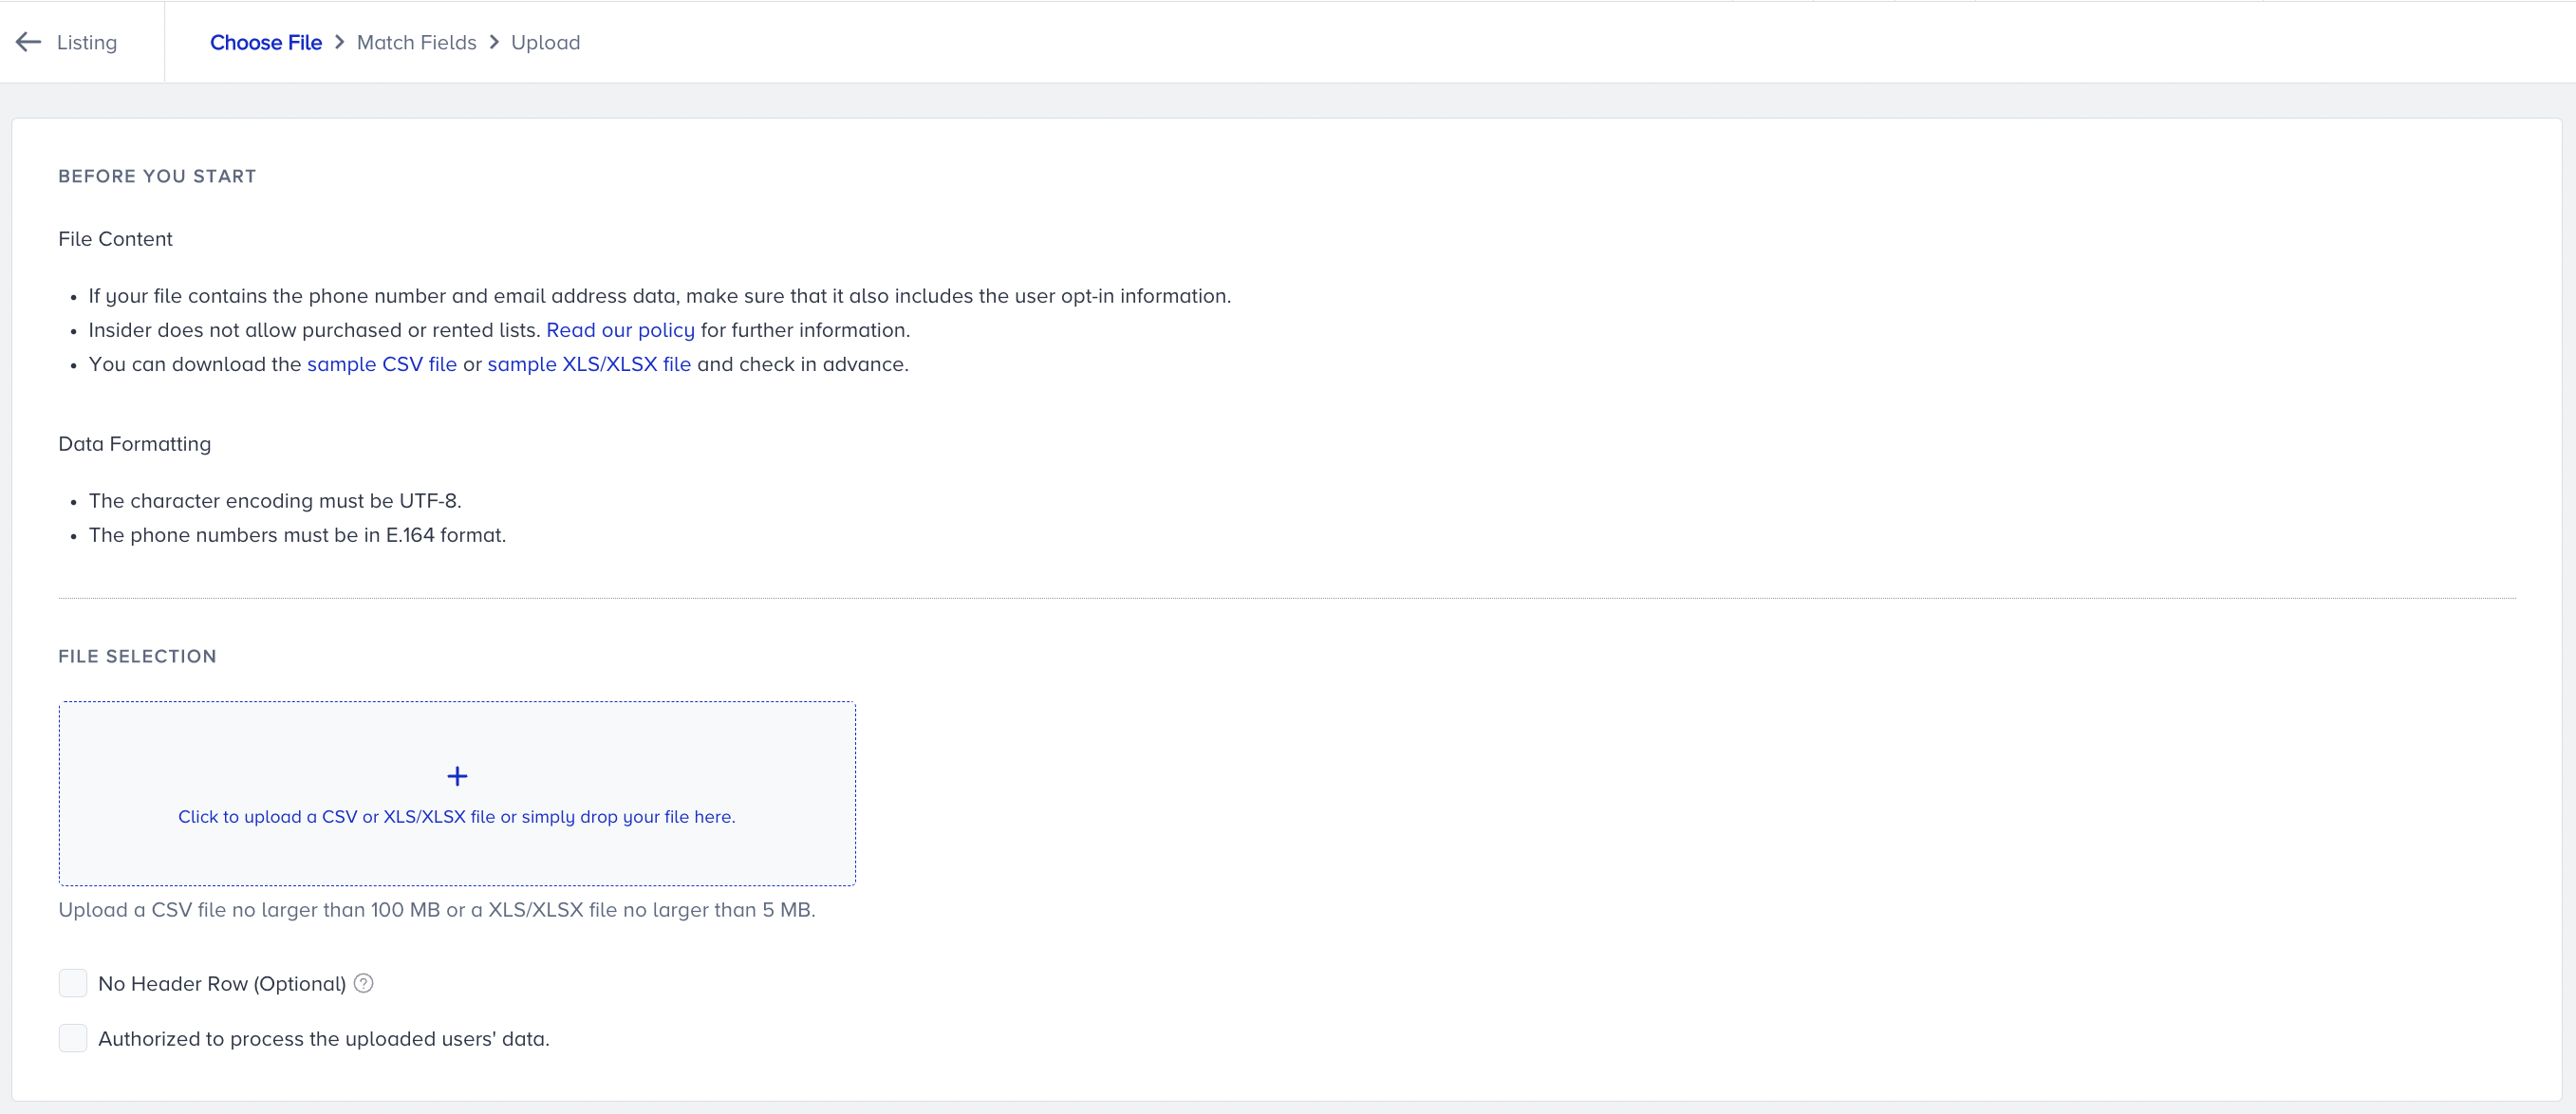
3. After you name your segment, you’ll be redirected to the screen below. While uploading the static segment, you need to select at least one identifier or more to add and match user data.
After selecting which identifiers to match user data, you need to upload a CSV file and make sure you fill in the last two checkboxes to declare that all users in the list have permission.
Your title goes here
Please consider that the duration of list uploads might change by the number of rows/columns and the file size.
You should consider the following points while importing contacts:
- The first three rows after the headers should be filled matching the headers that you want to import.
- If you want to add a date in the document, the date format must be YYYY-MM-DD.
- The identifier field name must be matched.
- Different columns cannot be assigned to the same field.
- There is validation for only the first three contacts in your document while data uploading. So If your file document has another incorrect row, the contact information will be wrong in the system. Please pay attention to preparing the document correctly to have a clean set of data.
- Phone numbers only in E.164 format are accepted.Your title goes hereYou do not need to worry about adding "+" at the beginning of phone numbers while uploading them in E.164 format, Insider adds it automatically if there is none.
Once you match all the data you want to upload, click on Save and Continue to proceed.
Your title goes here
If your data contains Non-UTF-8 Characters, any code injections(website links with “question marks (?)”, line breaks or extra/additional commas, you receive a warning mentioned in the flow below.
How to investigate the issues file
When you click on the “Download the issues file”, you will receive a file including the issue explanations right next to each column that you have created in your file. Each column value will have a corresponding issue explanation next to their right cells. See below the issue explanations:
#No Issues#: The cell doesn't have any issues.
#Non-UTF-8 Character Coding#: The cell has Non-UTF-8 character encoding.
#Computer Code#: The cell has Code Injection Error. If the cell contains any URL that has “question marks(?)” in it and the data type is wrong, this message gets displayed.
#Line Breaks#: The cell contains a line break.
#Additional Commas#: The cell contains an extra comma.
Example issues file (note that the values shown are dummy):
.png)
Once you examine your mistakes on this issue file, you can update your previously uploaded data fields and upload it again.
4. In the Match Fields step, you see if the fields in your CSV file matched correctly. Next to your fields, you see a Label. It means that your attribute will be inserted as an identifier. Ensure that your identifier is unique.
.png)
5. In the Upload step, you will see the summary screen. However, this does not imply that the processing of the contacts is over. You will receive an email after the file processing is done. You will see the invalid emails attached to the list upload confirmation email. 
Static segments listing page

your title goes here
Always use the Update Count button in order the get the most recent count of your static segment. This action is recommended since we use a caching mechanism on our listing pages.
Your title goes here
You can add additional users to your previously saved static segment lists by clicking the Add Users button.
Your title goes here
You can use Saved segments in the Email, SMS, WhatsApp, and Architect products.
How to interpret the upload summary email
After you upload the CSV file to create a static segment, you will receive an upload summary email stating the errors in the file.

For further details, refer to Interpreting the upload summary email.
Use cases
Static segments are stationary lists. As you can tell by their name, they remain static as long as you don't include a new set of users in them. You can use Static segments to grow an audience that you can then keep in touch with through automated flows and campaigns. They can help you with a variety of additional marketing efforts:
- List cleaning: You can exclude the people who have received but not opened your last 20 emails from the main list you send to.
- Cross-selling: You can build a segment of people who bought a specific product but have not purchased one or more related products.
- Marketing: You can build a segment of people who have never purchased from a specific category or visited certain pages on your website.
- Loyalty programs: You can build a segment of people who have spent over a certain threshold.
FAQ for uploading static segments
How does the user update, and insert work on this page?
- If you upload a brand new user, the user will be created with the identifiers you selected.
- If you upload an existing user, the old user will get updated with the new attribute values.
- If you upload a user together with new attributes that have not existed before, attributes will be created for the user, so their profile will be updated.
What's the difference between custom segments and saved segments?
You can use Custom segments only for onsite products while saved segments for messaging channels.
Was this article helpful?