Create a Single SMS Message
- 27 Mar 2024
- 3 Minutes to read
Create a Single SMS Message
- Updated on 27 Mar 2024
- 3 Minutes to read
Article Summary
Share feedback
Thanks for sharing your feedback!
Single SMS enables you to send any customized content to all of your subscriber base or a segmented group of this subscriber base. SMS solution engages subscribers on their mobile devices with personalized messages and drives growth.
You can create campaigns with promotional content, and send your messages on a future date and time. To create a single SMS, follow these steps:
1. Navigating to SMS
Navigate to Experience > Message > SMS
2. Creating a Single SMS Message
Click the Create button, select Single SMS Message and name your campaign.
3. Segments
1. Select your subscriber language to create your content accordingly. Select “All Languages” if you do not want to segment your users by language.
2. Create a segment group to target the relevant audience if needed. You can use the following segmentation options: Standard Segments, Predictive Segments, and Saved Segments.
4. Designing a Single SMS Message
1. To personalize your messages, you can add default and/or custom attributes to your messages and create more click-through rate (CTR) and conversions. We highly suggest you to enter a fallback value in case there is no value for the selected dynamic attribute.
Your title goes here
Single SMS does not support media content.

Your title goes here
If you use characters other than GSM-7 in the SMS body, the SMS’s character limit will be reduced, therefore your message’s part count will increase. To avoid it, enable "Switch to GSM-7" toggle. Read here for further information.
Your title goes here
Regarding the regulations for sending SMS to subscribers, some countries may require you to add an opt-out option in your message.
2. If you want to be inspired or need assistance when creating your message, you can always use the Generate Text option.
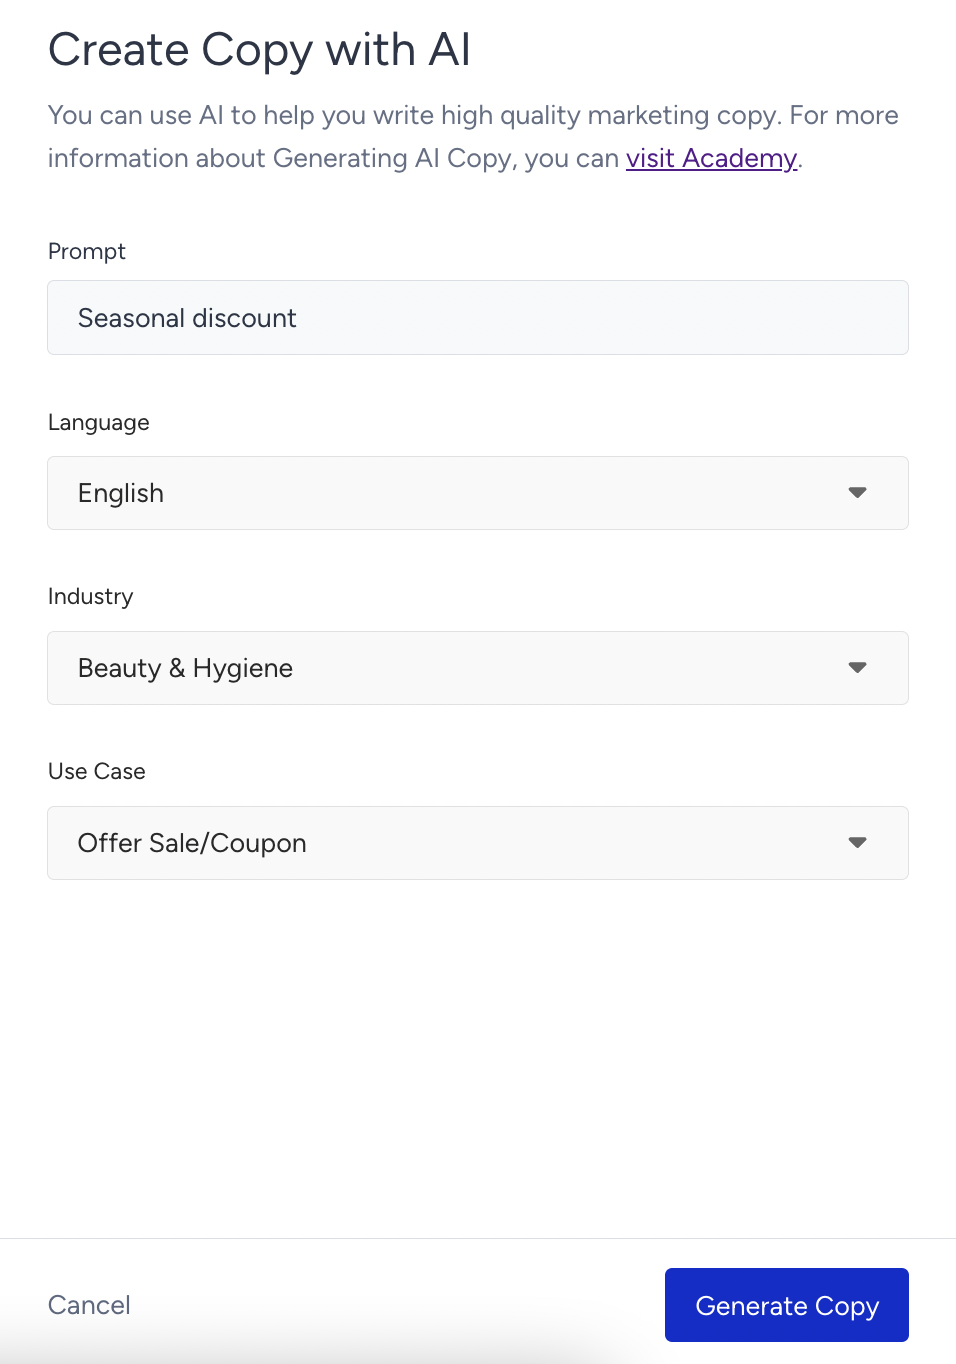
To use an AI-generated text:
- Click the Generate Text button to see the side modal.
- Enter a prompt you want to generate the text about.
- The language option will be the default selected language of your panel.
- Select your industry and use case to define the context for the text to be generated.
- Click the Generate Copy button.
- The modal displays 5 suggestions. To see more, you can click the Generate More Suggestions button. To use any suggestion, you can select it and click the Apply button, or copy it via the Copy button against the suggestion you want to use.
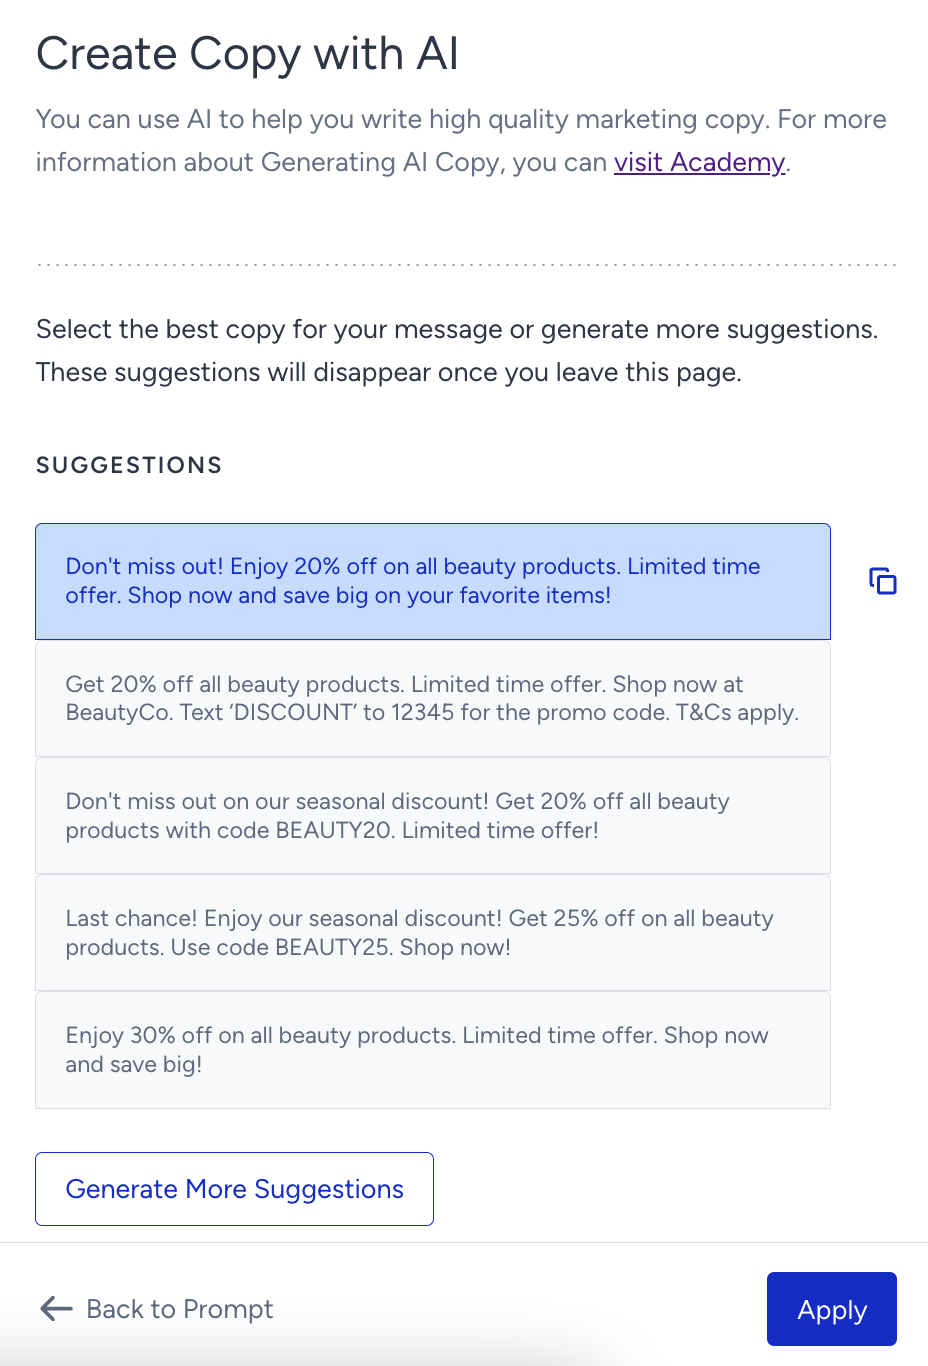
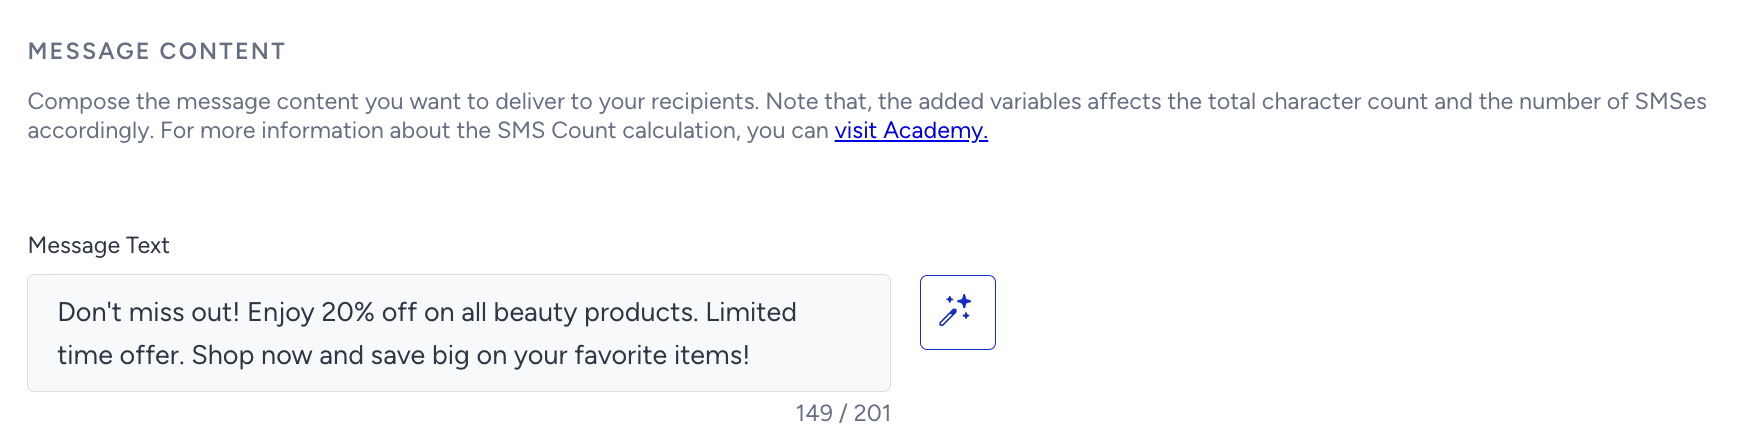
- Once you click the Apply button, the copy will be added to the respective field.


3. When you check "Show Unsubscription Sentence in a new line" option, the unsubscription sentence you defined in SMS Settings will appear in a separate line at the end of your SMS.
Your title goes here
Note that unsubscription sentence is included in character limit too.
4. You can also shorten your URL. It will help you decrease the character count of your messages and prevent sending your messages in more than one part.
5. Configure your UTM settings automatically or manually.

5. Goals Settings
Configure your goals to track the performance of your campaign. The default selected goal is Purchases. 
Goal Conversion Duration is the time interval that starts after a user sees a campaign for the first time. During that time interval you set, when your goal is achieved, the campaign will be logged as conversion.
6. Launch Settings
Once you complete the rest of your campaign, it is ready to go. You can launch your campaign now, at a later date or you can save it as a draft.
On the right side of the screen, you will see an information area which shows the total number of the recipients, and whether it is all going well to send your message.

You can assign or create tags for your campaign to reach it later easily.
Once you enable the Bypass Frequency Capping option, you can override the limit of messages that the users can receive within a specified period of time, which is assigned in Channel Frequency Capping settings.
 When you finalize all your configurations, and your campaign is ready, we highly suggest you to test it before you launch it. After ensuring that all goes as expected, then you can start it.
Was this article helpful?