Create a Purchase Confirmation WhatsApp Message Campaign
- 05 Apr 2024
- 2 Minutes to read
Create a Purchase Confirmation WhatsApp Message Campaign
- Updated on 05 Apr 2024
- 2 Minutes to read
Article Summary
Share feedback
Thanks for sharing your feedback!
Purchase confirmation enables you to engage your customers with personalized rich order confirmation messages after they complete a purchase. For example, you can send Purchase Confirmation Message when a user:
- Buys a set of glasses, you can send a message as shown above along with the product name, purchase ID and the URL of your website.
- Purchases a ticket to a concert, you can send a message with the page URL where they can see the details.
Creating a WhatsApp Message campaign starts with template creation. After your templates are approved by WhatsApp, you can refer to the steps below to start creating your Purchase Confirmation WhatsApp Message campaign.
1. On the listing page of WhatsApp, click the Create button to start.
2. Name your campaign, choose campaign type as Purchase Confirmation and click Create.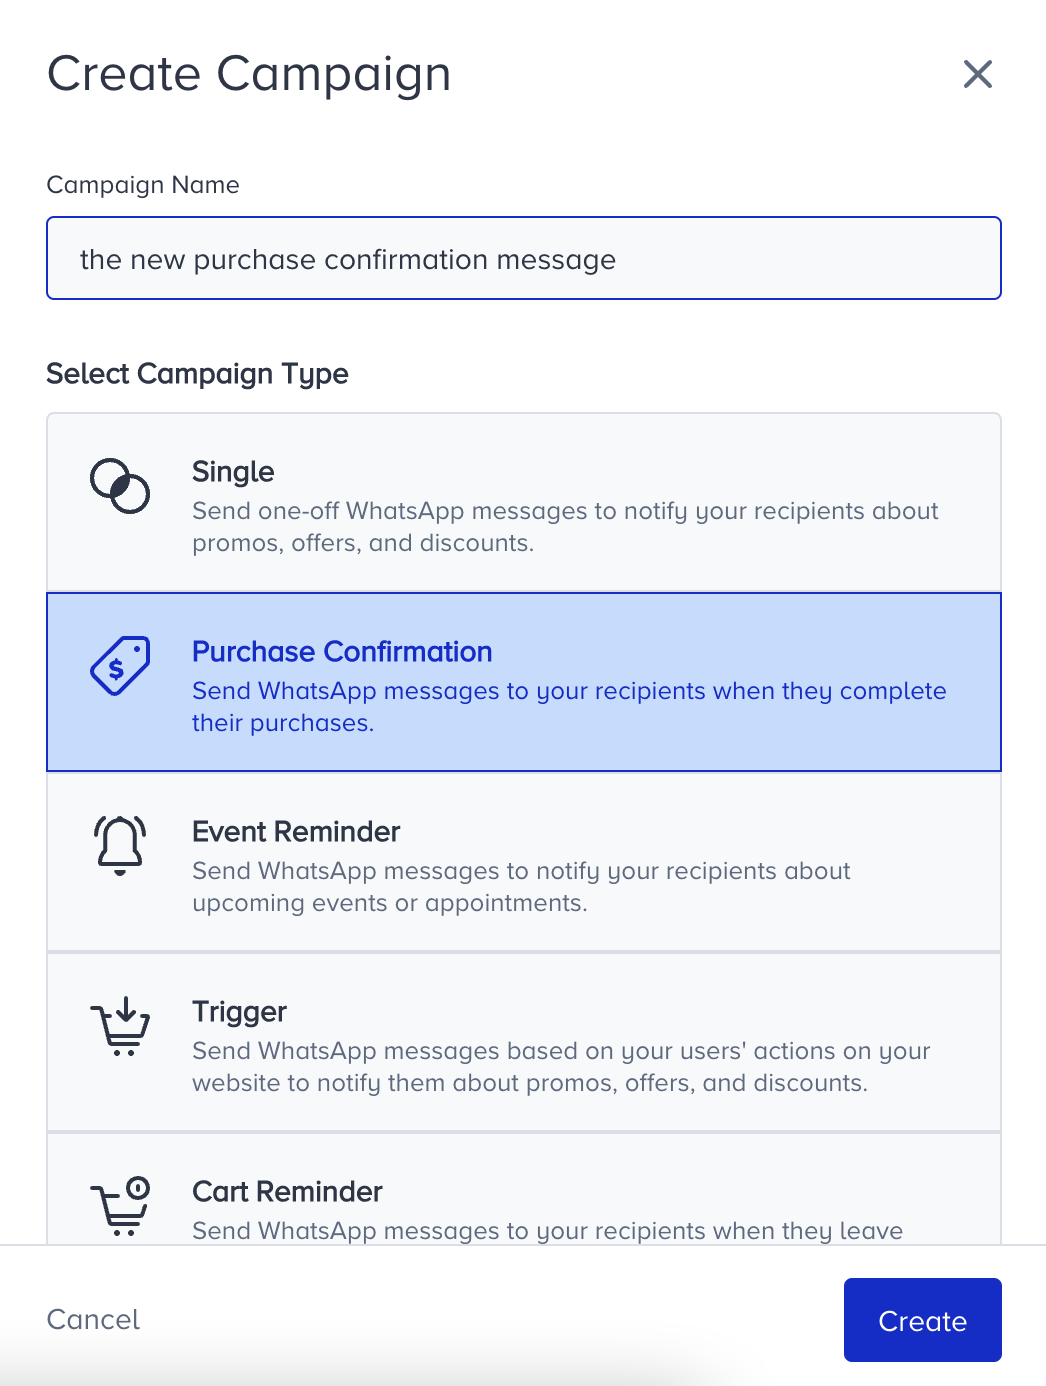
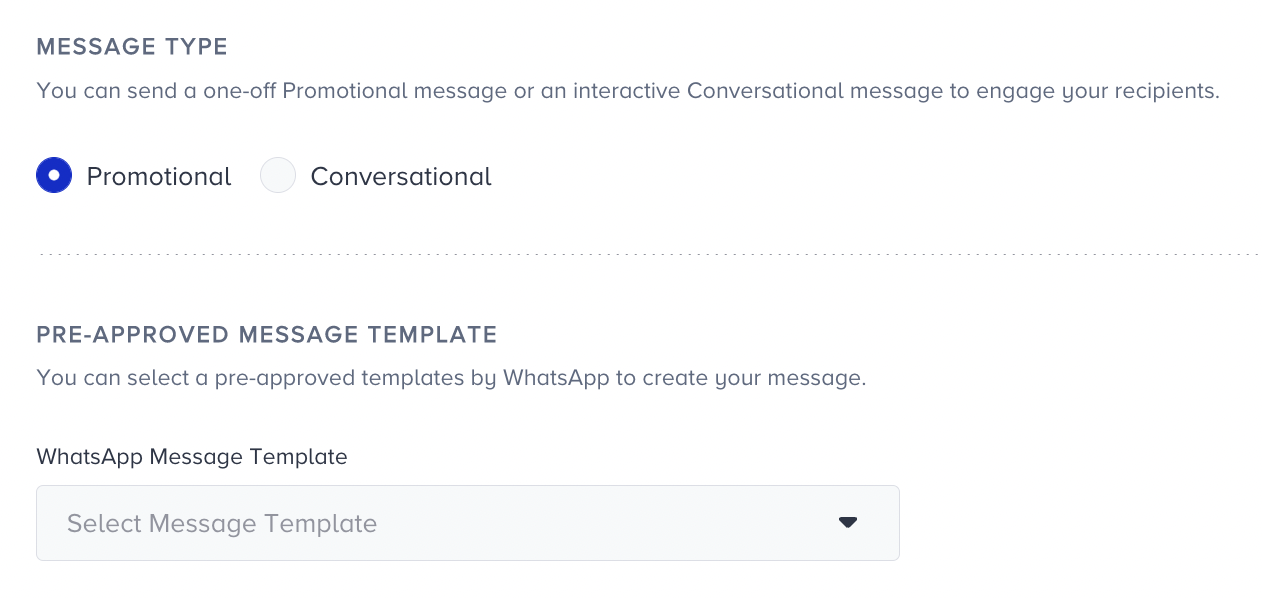
3. In the Design step of your campaign, choose the Message Type:
- You can choose Promotional if you want to update, make a promotion, or redirect users. It has Call-to-Action (CTA) buttons, so you can redirect your users to call you or visit a specific website.
- You can choose Conversational if you want to engage with your users by offering them options to select and respond accordingly.
- In line with your selection, choose the Pre-approved Message Template and start customize it.

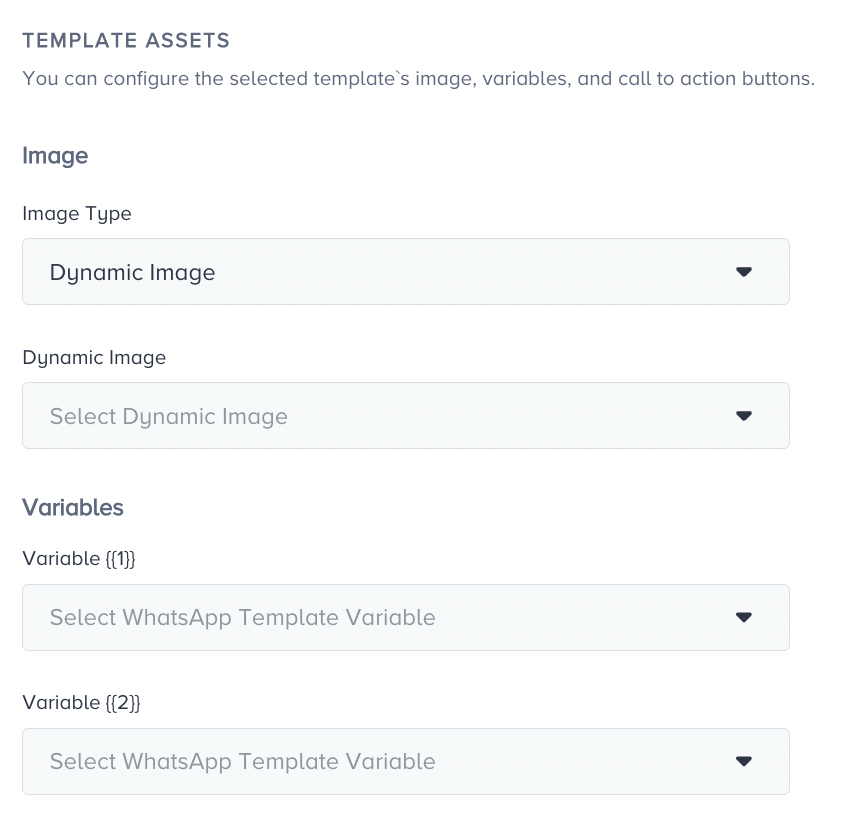
Under Template Assets, you can configure the image, variables, and call-to-action buttons (for promotional) and response options (for conversational) of your template.
- For the Image, you can choose a custom or a dynamic one.
- For the Variables, you can choose among from default or custom attributes or you can use a custom link.

You can also shorten URLs in your messages to avoid long links and enable UTM Parameters to track your campaign's performance on GA by assigning tags to your message links.
You can also check how your message looks like under Preview. You can see it with responses as well for Conversational message type. Click Save and Continue. 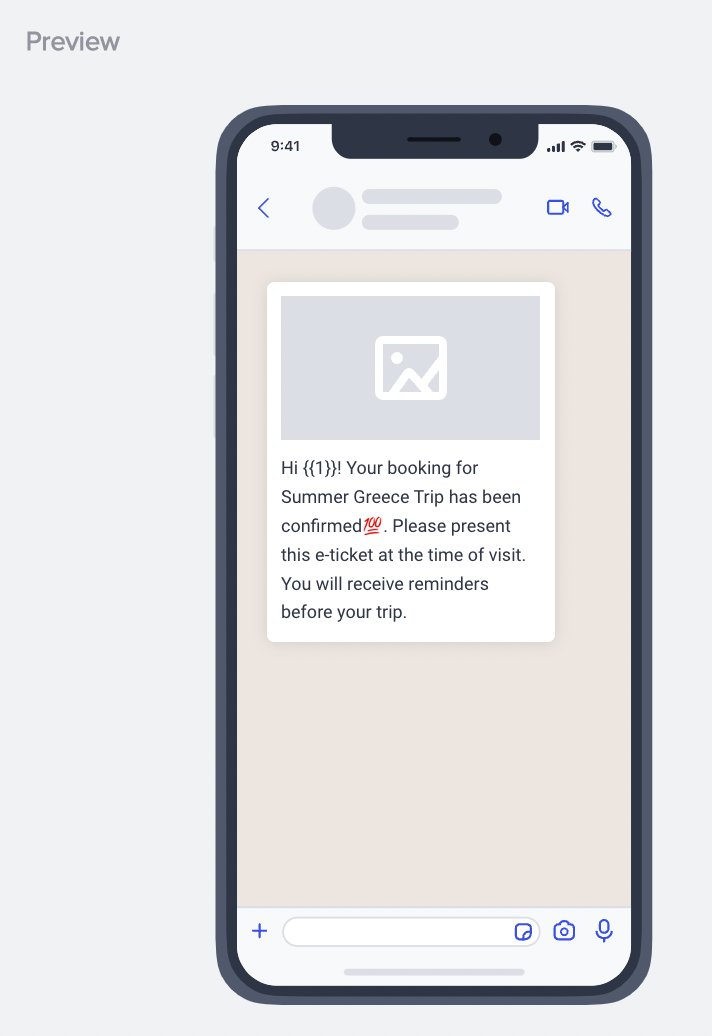
Your title goes here
For further reading, refer WhatsApp: Design a Campaign
4. In the Goal step, you can set goals to track the performance of your campaign and strategize it accordingly. Purchases comes as primary goal by default. You can change it based on your needs.
You can also set Goal Conversion Duration. It is the time interval that starts after a user sees a campaign for the first time. During that time interval you set, when your goal is achieved, the campaign will be logged as conversion. Click Save and Continue to proceed.
5. When you finalize the rest of your campaign, you can make it ready to go in the Launch step.
- Choose the campaign language first, ensure that it is consistent with the language of your template.
- Choose the activation status. If you want to;
- launch it for the time period you will decide under activation time, select active
- save it for later, select passive and
- test it to see if it functions as you wish, select test.
- Decide on the activation time and time interval if your status is active.
- Under Frequency Capping, you can override the limit of messages that the users can receive within a specified period of time, which had been assigned in Global Frequency Capping settings.
- You can assign or create tags for your campaign to reach it later easily.
- You can keep your notes in the designated area as well.
On the right side of the screen, you will see an information area which shows whether it is all going well to send your message.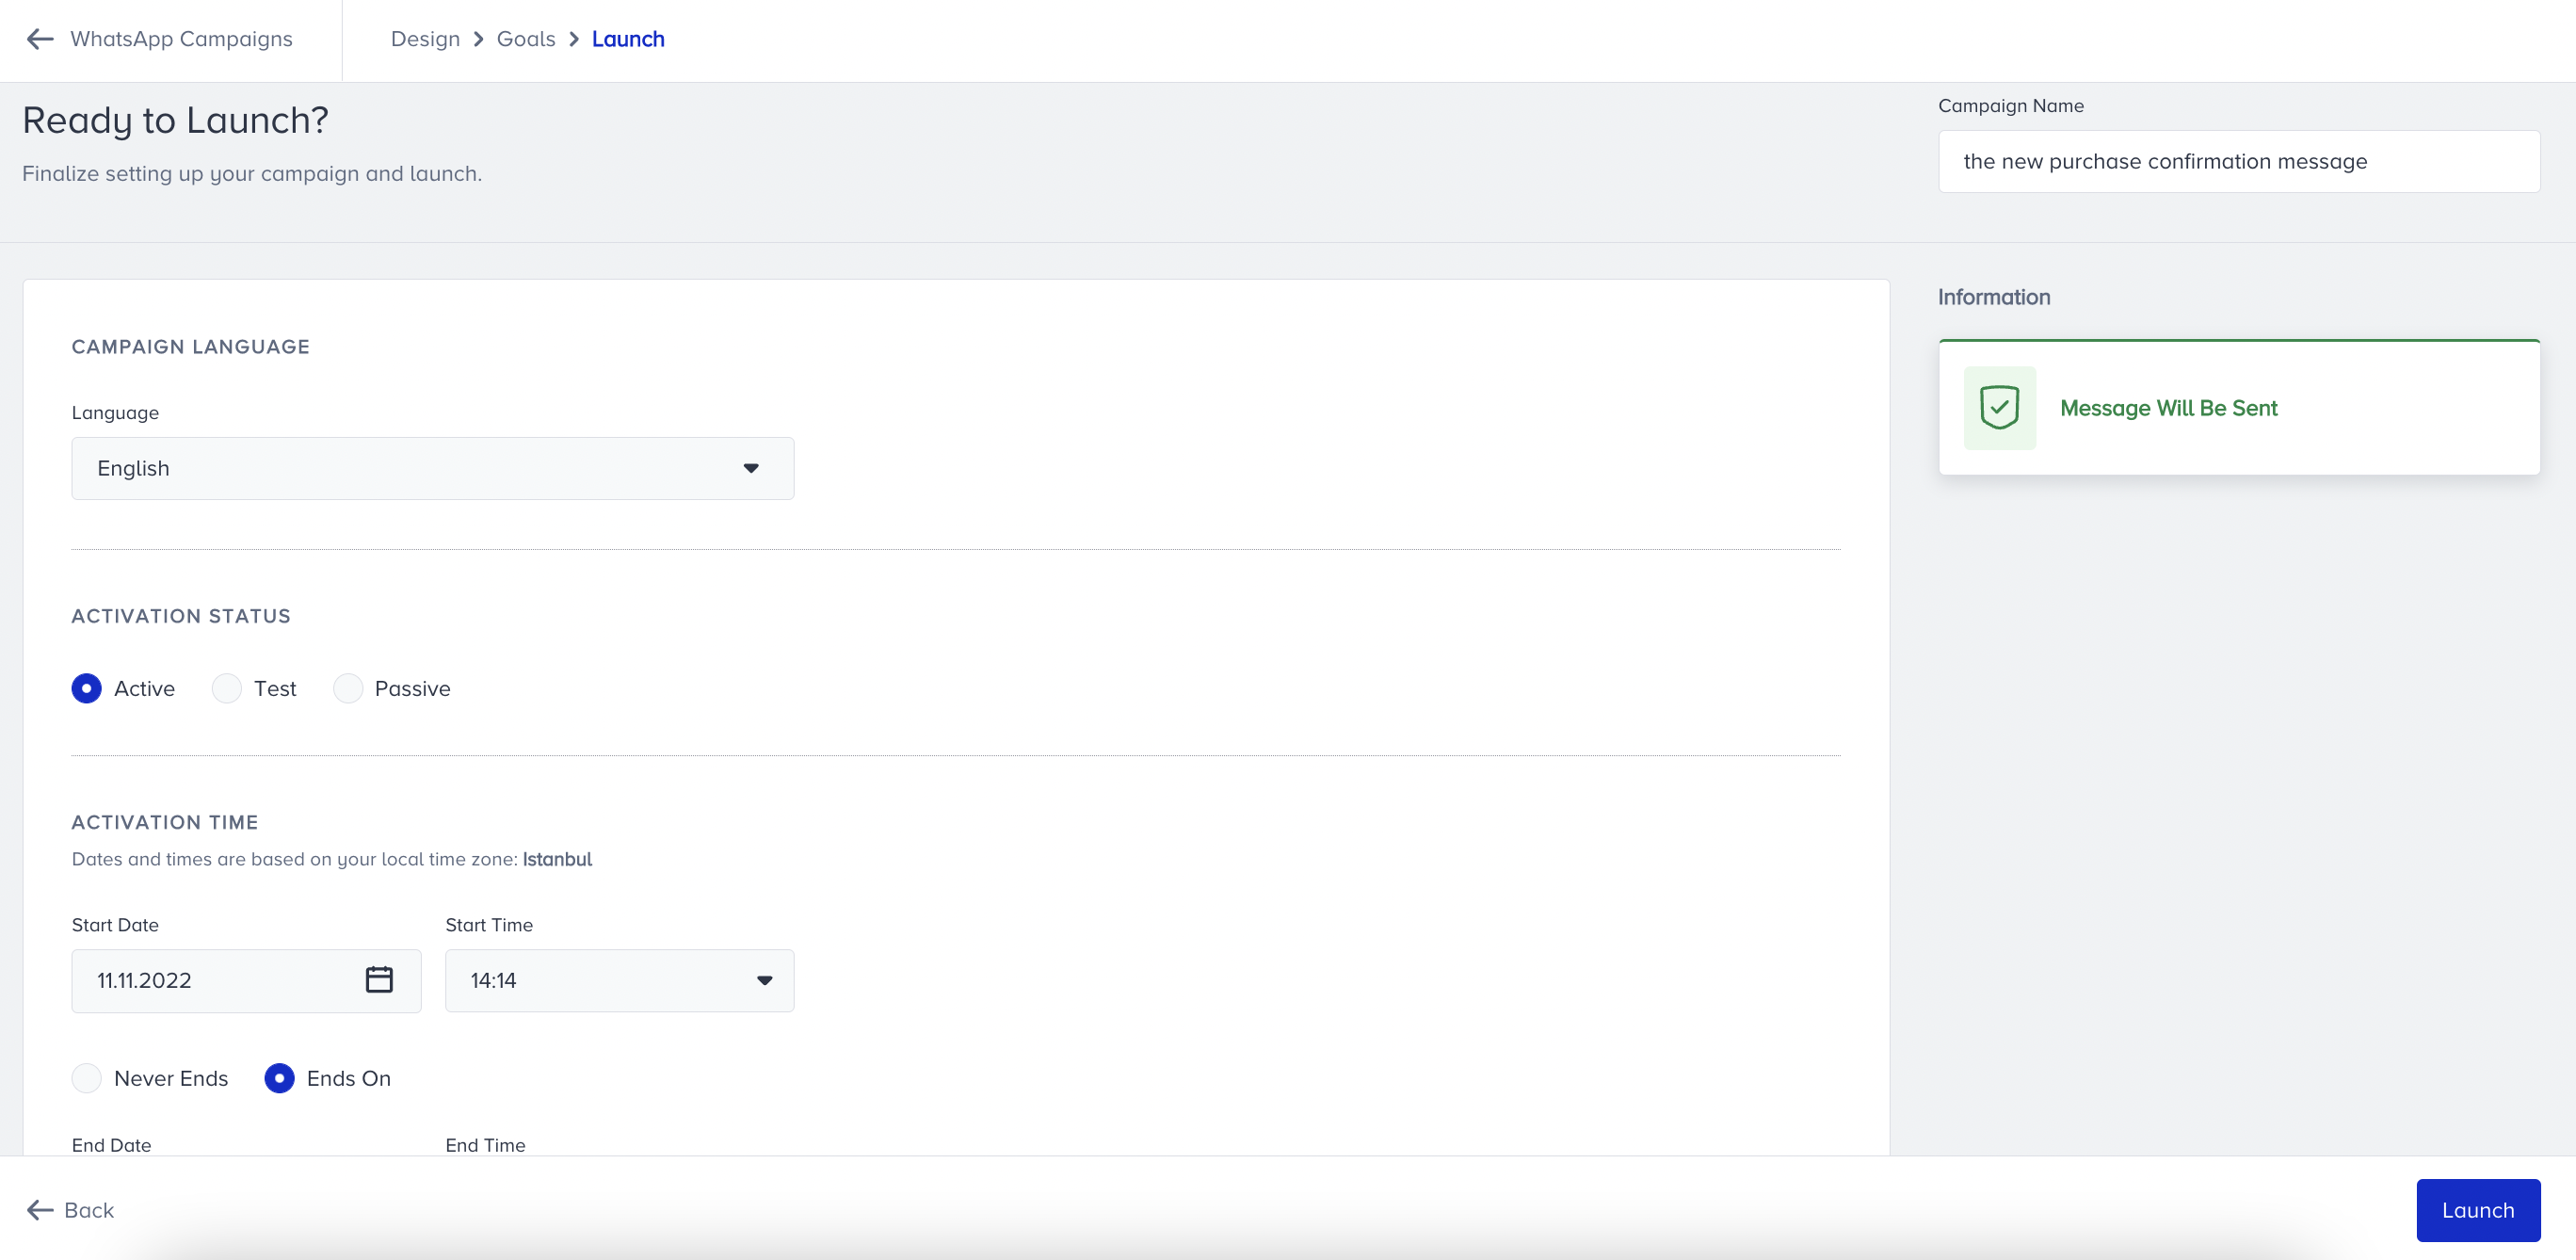
When you finish your configurations, click Launch and run your campaign.
Was this article helpful?