Create a Banner Management Campaign
- 09 Apr 2024
- 2 Minutes to read
Create a Banner Management Campaign
- Updated on 09 Apr 2024
- 2 Minutes to read
Article Summary
Share feedback
Thanks for sharing your feedback!
To create a Banner Management campaign,
1. Navigate to Experience > Optimize > Banner Management. 
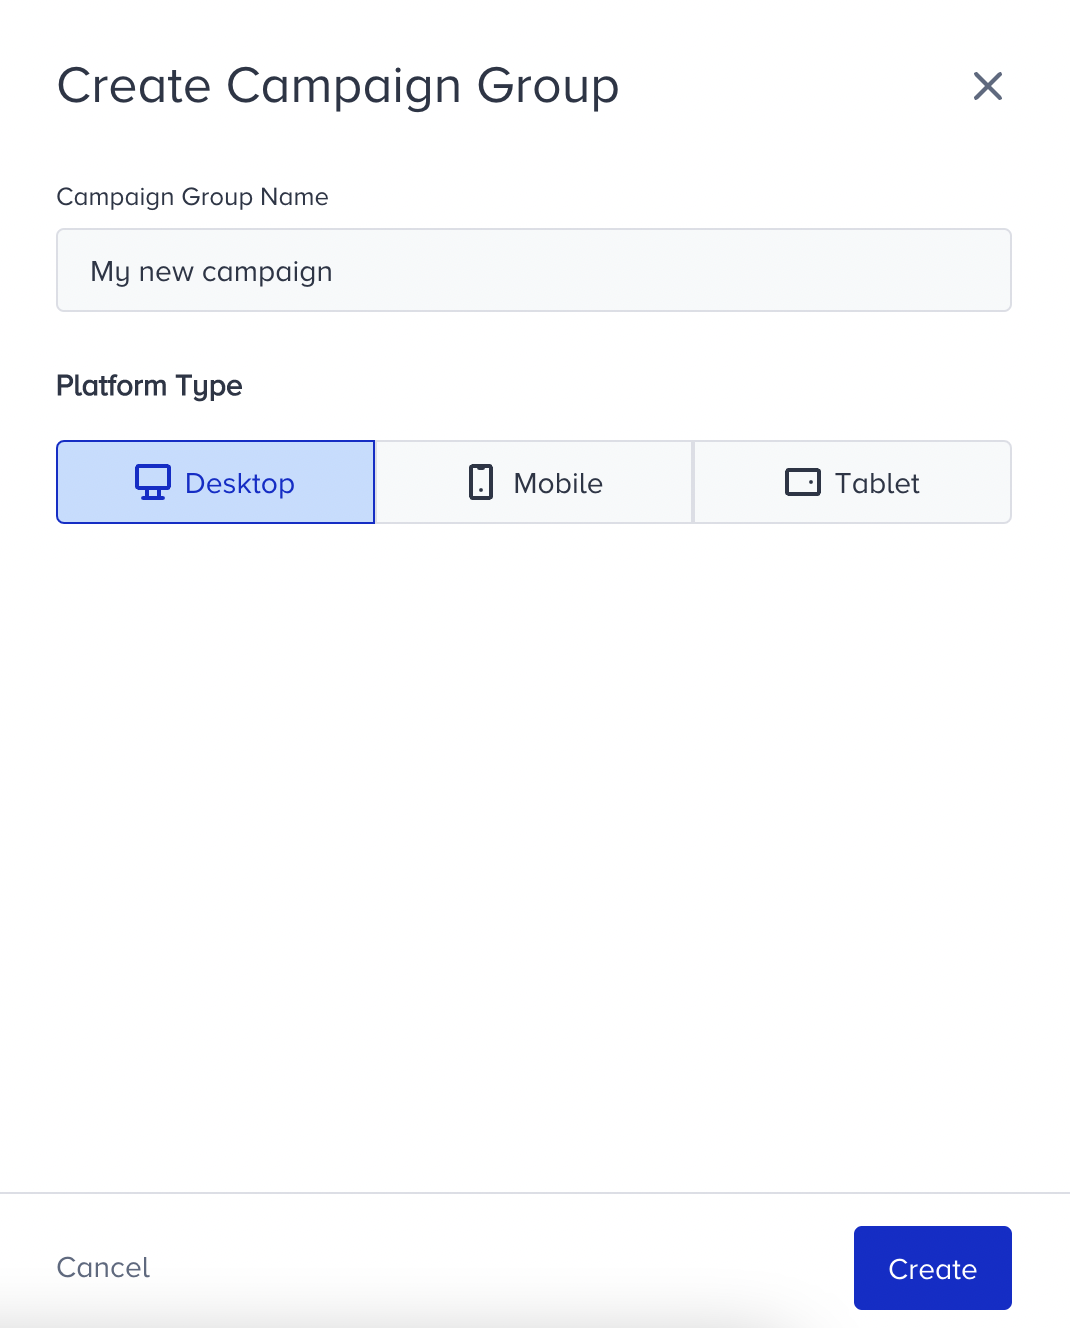
2. Click the Create button to proceed. 3. Name your campaign, choose your platform type and click Create.
4. Now, create personalizations for your campaign group. You can create personalizations as many as you want, prioritize them and cap the display numbers of them. It is also possible to create variations within each personalization and each personalization has its own segment, frequency capping, and start/end date.

5. Name your personalization and continue with pre-defined segment groups. You can create different condition groups depending on your needs. Then, decide whether your personalization matches all of these conditions or one of them.
 6. Set your rules to show your personalization to your users. You can create more than one condition group. Then, decide whether your personalization matches all of these conditions or one of them.
7. Design the different looks for your users by adding new variations and allocate the traffic accordingly. Refer to Onsite Experiment on how to design your website and adjust elements.
8. Set goals to observe the performance of your personalization. The default goal is Purchases, you can change it or add a new one.
Under Goal Durations:
- Re-eligibility Duration is the length of time that a user will stay in the group that he is assigned to. After this duration, the user will again be randomly assigned any of the personalization versions.
- Goal Conversion Duration is the length of time between the first time a personalized version is shown to a user and when the goal occurs for the first time.
You can configure them session based.
9. To launch your personalization, choose its language and start&end dates. Under Display Settings, you can choose the day(s) and time range to run your personalization. Advanced Settings help you prioritize your personalization if you have more than one; your users will see the top-priority banner first. You can activate or deactivate your personalization, and save it in Test status under Activation Status. You can keep your notes related to your personalization under Notes.
Once you are ready, click Save&Finish.
Your title goes here
You can also change the priority of your personalizations by drag&drop on Personalizations listing page.
10. In one personalization group, you can create as many as you wish. Frequency capping enables you to specify how often a user will see one banner before switching to the next.
Your title goes here
If you do not mark frequency checkbox for your personalization, there will not be a cap on display number. It is always displayed to the matching users.

When a user lands on your website, personalizations are checked whether there is a match between the user, segment, and rules of the personalization in the order of priority.
If there is a match, then the frequency is checked:
- If the personalization is not displayed for the specified amount of times, then the same personalization continues to be displayed to the user.
- If the personalization is already displayed for the specified amount of times, then next/other personalizations start being displayed going through the same checkpoints.
- If personalization and the user do not match, then next personalization is checked with the same flow.
- If all personalizations are displayed to the user, then the fallback version of the website is displayed.
Was this article helpful?