AMP Form for Emails
- 25 Dec 2023
- 3 Minutes to read
AMP Form for Emails
- Updated on 25 Dec 2023
- 3 Minutes to read
Article Summary
Share feedback
Thanks for sharing your feedback!
You can leverage AMP-forms to allow your users to leave comments and submit feedback directly in the emails now. This way, you can collect five times more user review and feedback with no coding skills.
With the AMP-form:
- You do not need to add any AMPHTML code elements to email header.
- No coding skills required — you use an already prepared element.
- You can collect answers with a predefined data service, or with your own.
This guide answers the following questions with detailed instructions:
- How can I build the AMP-form?
- How can I build a fallback for other recipients?
- How can I preview and test the form?
How can I build the AMP-form?
You can add AMP forms to your emails only for the recipients whose email clients support AMP. The other recipients will see a traditional form.
To add AMP forms to your emails, follow these steps:
1. Drag the AMP-form block into your email.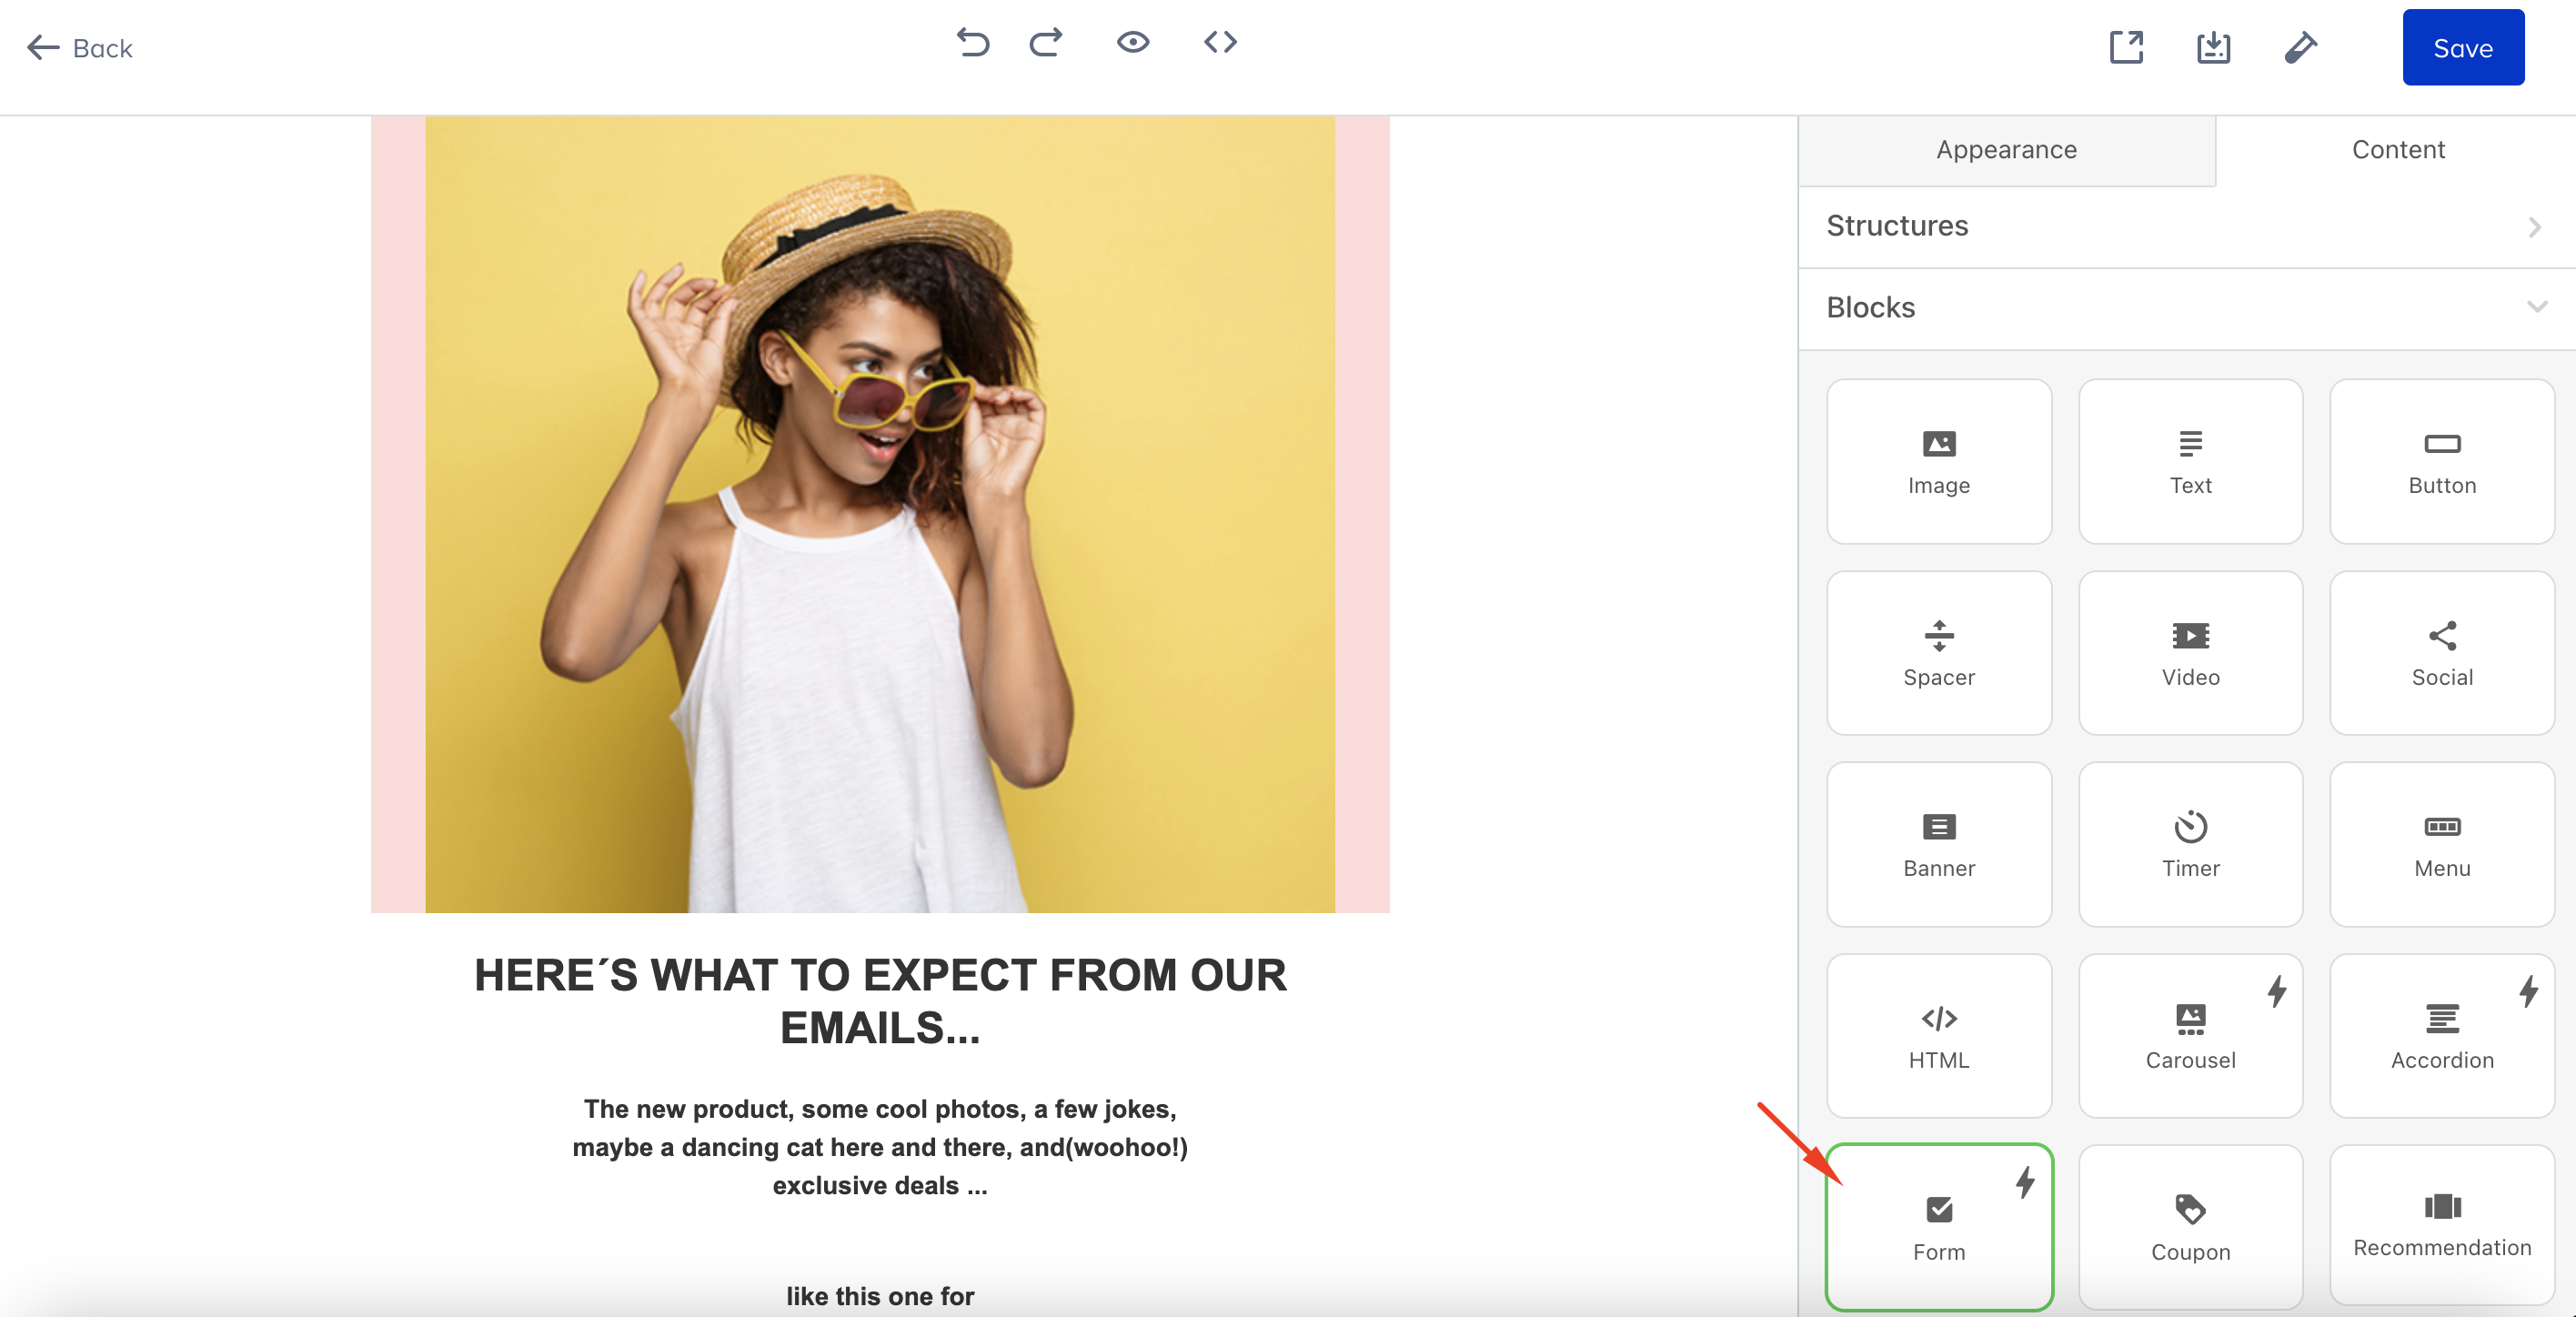
2. Click the AMP HTML icon in this template to start working on its settings.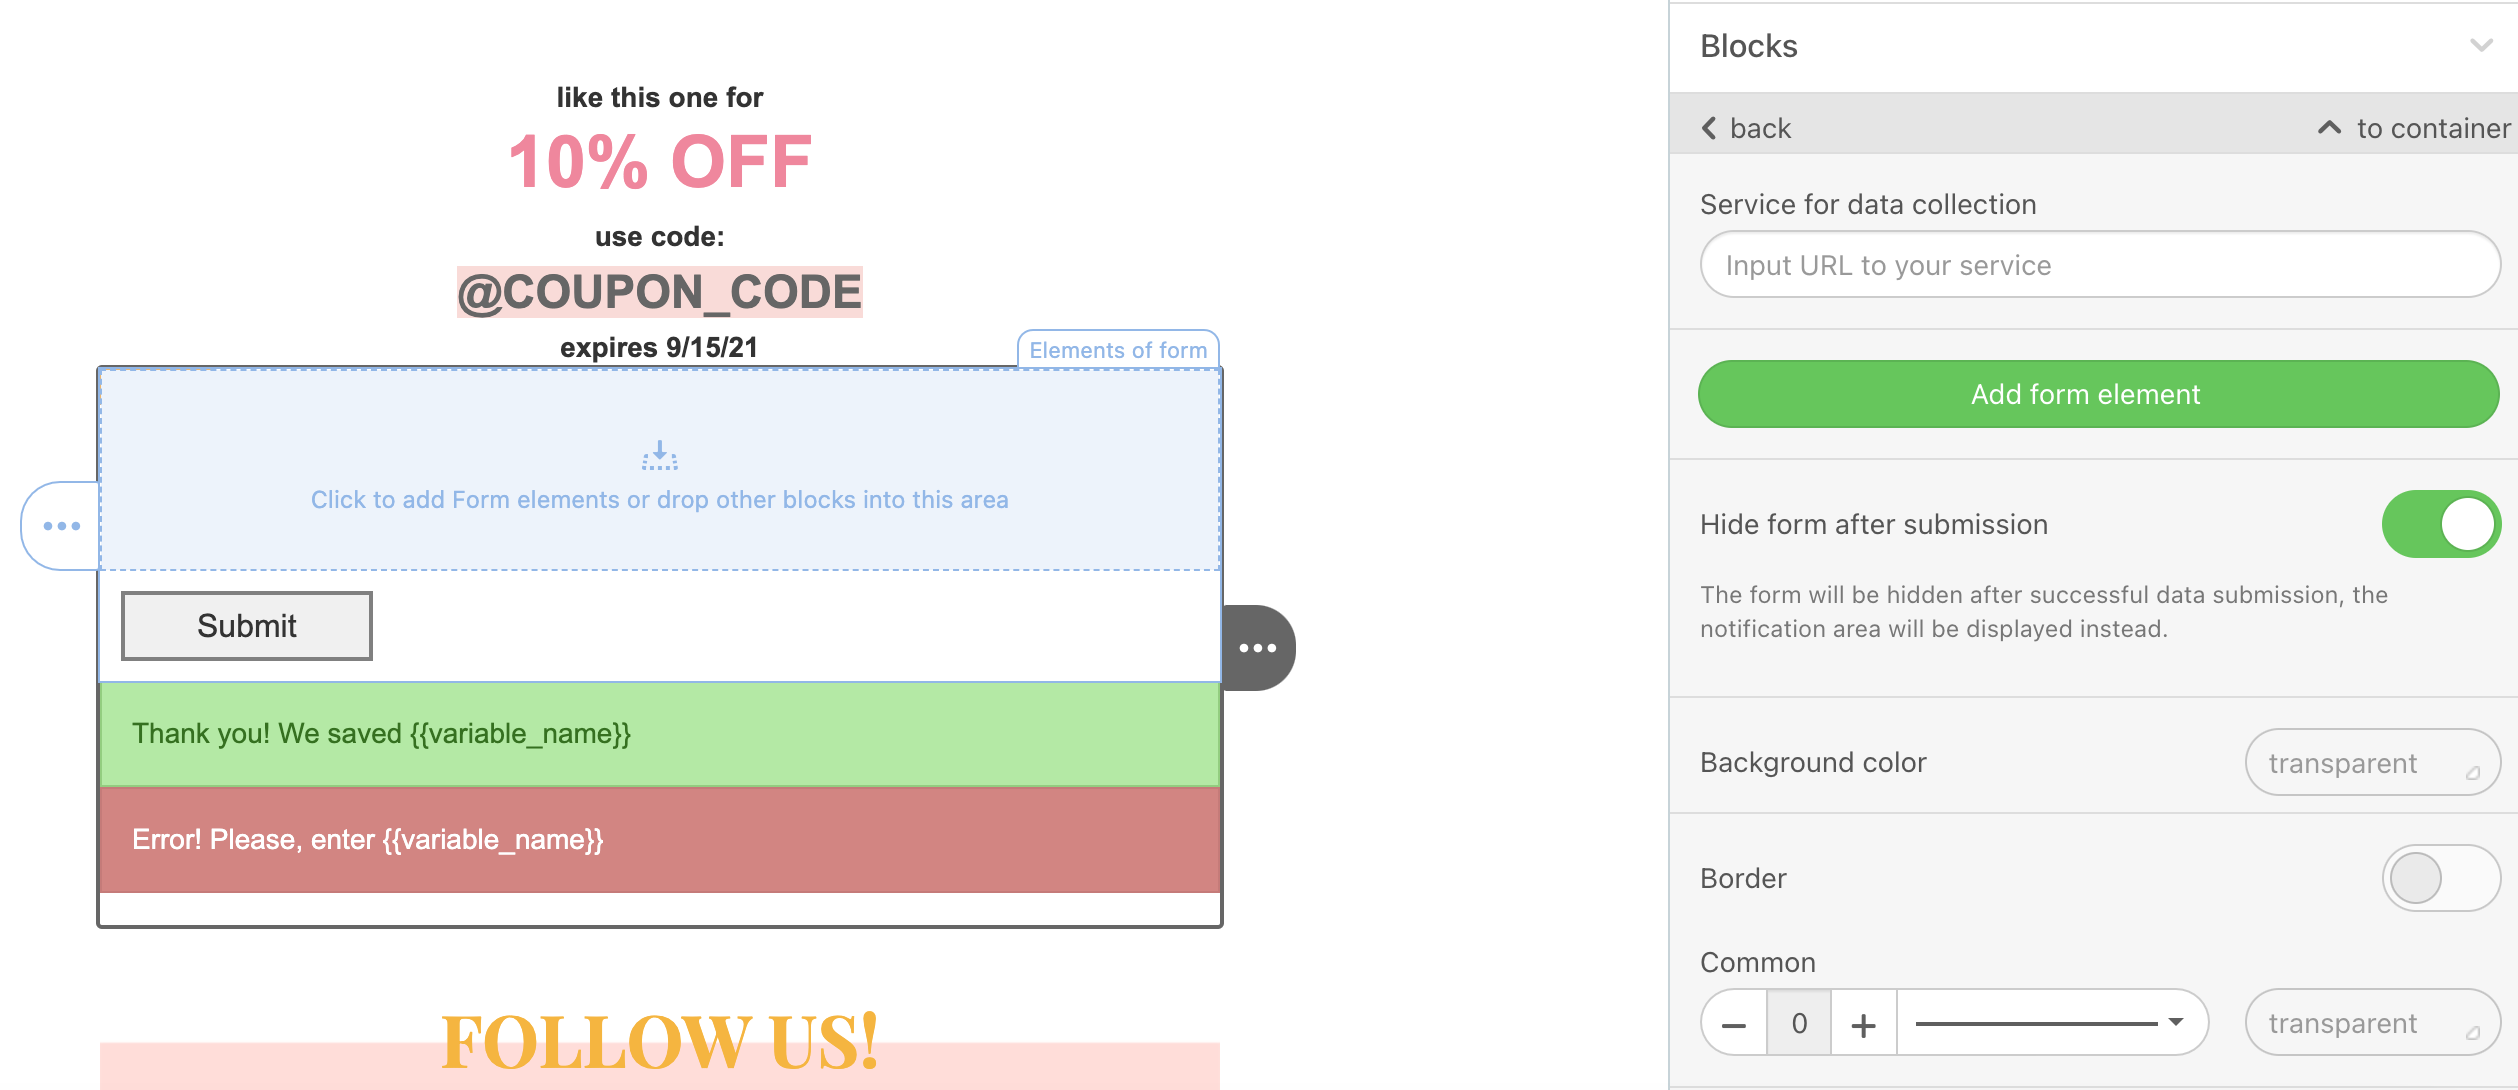
3. In the settings panel, choose the predefined service for data collection. Once you choose it, the replies on the feedback form will be saved. Later on, you can export the form responses from the Campaign Analytics page. Refer to Exporting Email Campaign Analytics page for further details.(1).png)
4. If you want to collect the data on your end, you can add your own URL as well.
5. Click “Add form element” and select “Text input”.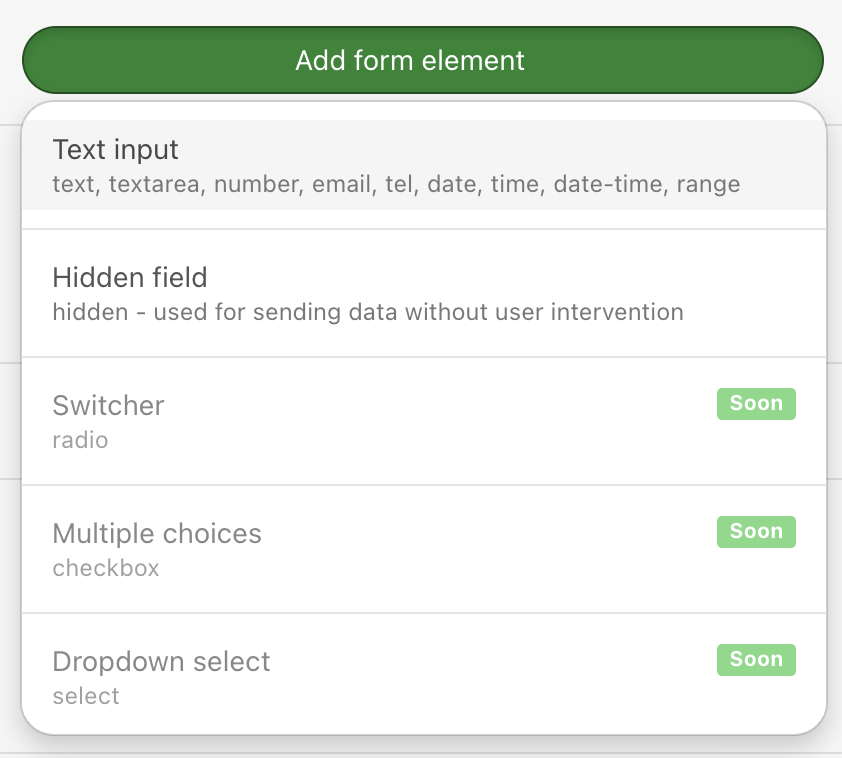
6. Click “Label name” in the form to start editing it. In the settings panel, in the “Show label” field enter your CTA text that starts the form. Enter “Placeholder” name, and enter your Variable name — which will help you find users’ feedback in a report.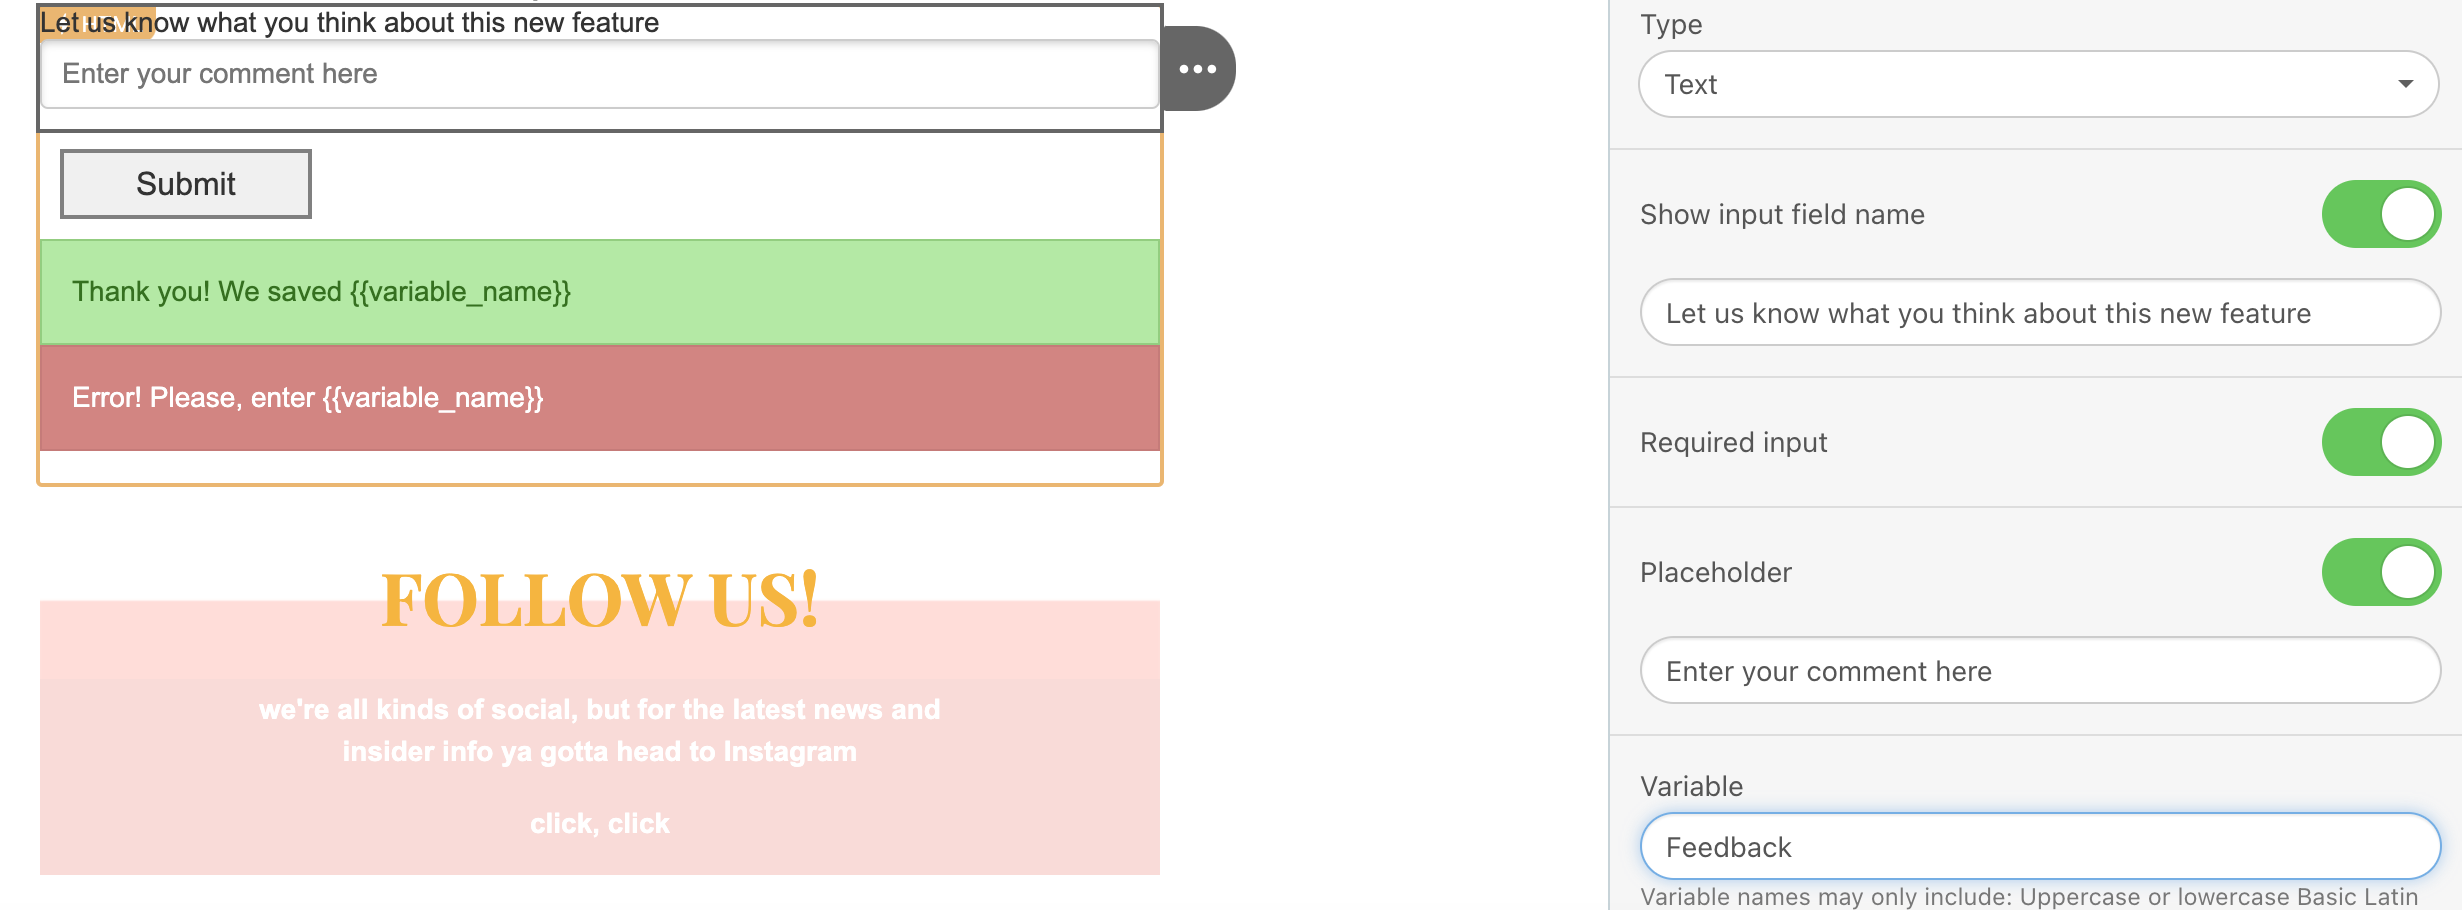
If you want to know who of your users left a comment, you need to:
- Click the AMP HTML icon in your template.
- Add a form element.
- Choose a Hidden Form.

- Click “input_hidden” in your form.
- In the settings panel, enter Default Value and variable, where the “Default value” is the dynamic content that retrieves the respondent’s email address.
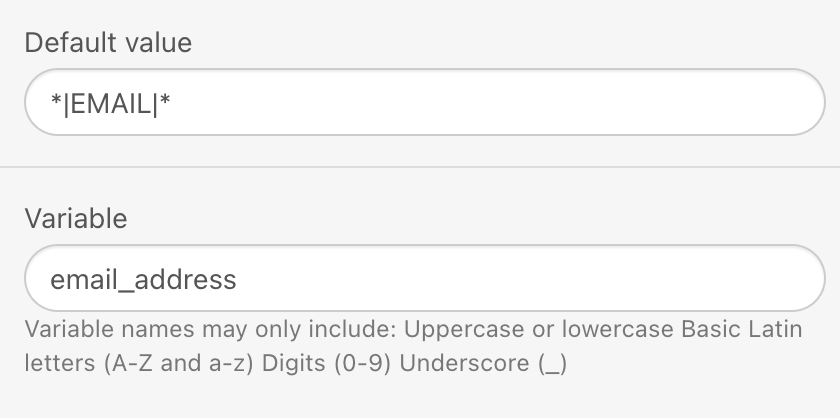
This field will be hidden in users’ inboxes.
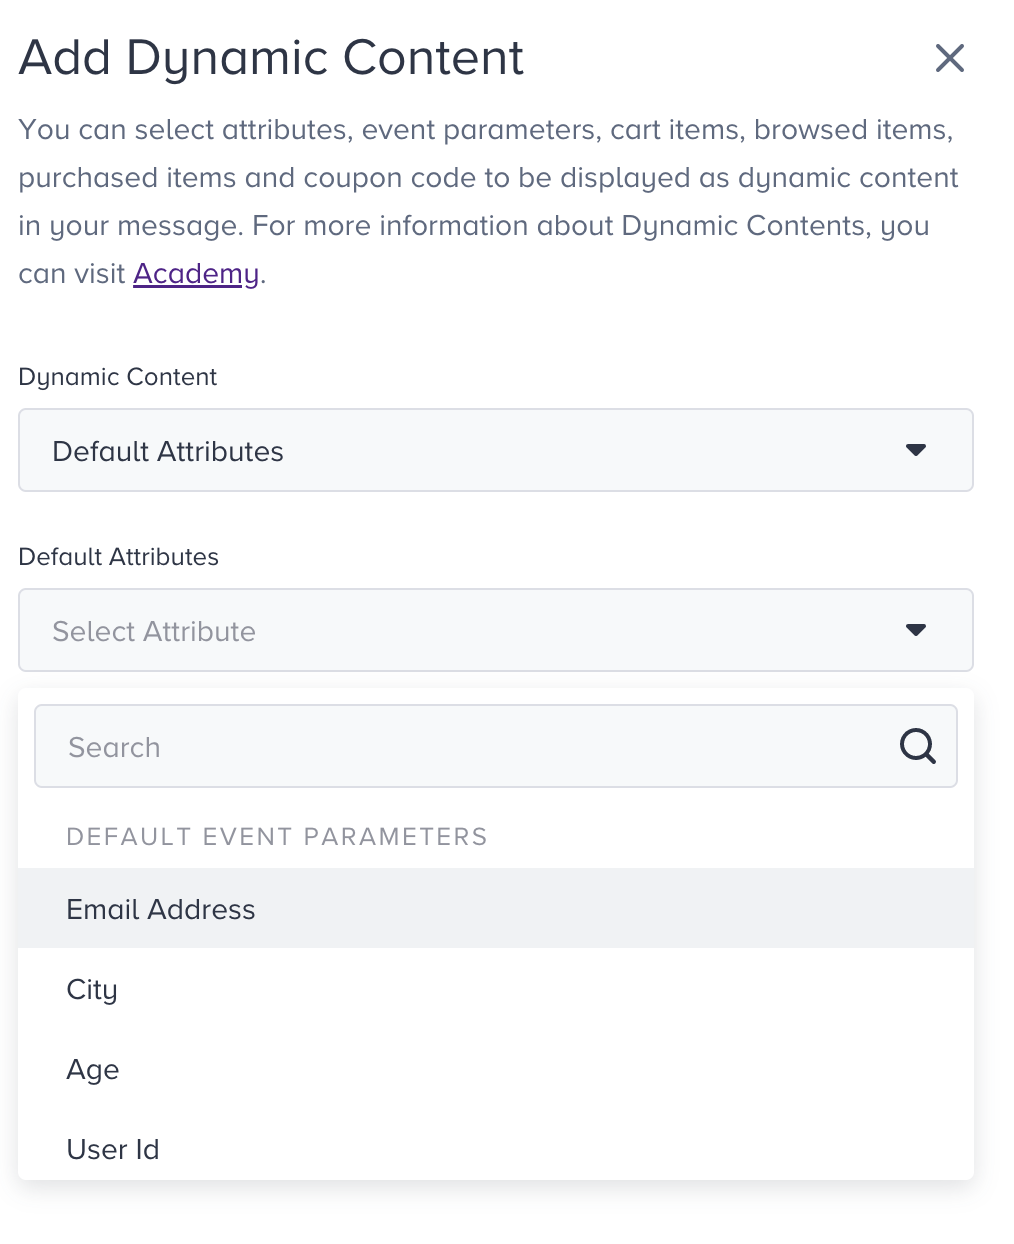
Getting a merge tag:
- Highlight a piece of text in your template.
- In the toolbar, go to Dynamic Content.

- Choose the email attribute to proceed.

Designing your form
You can design your form itself, its button, and the notification section.
Form itself
To design the form itself:
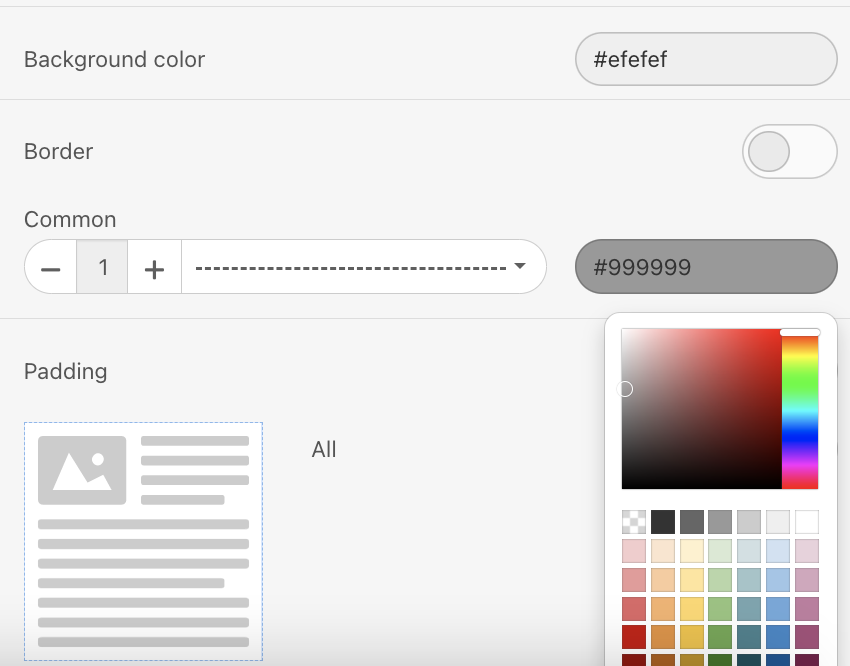
- Click on the “AMP HTML” icon in your template.
- In the settings panel, set background color, and border.

Button
To design button in the form:
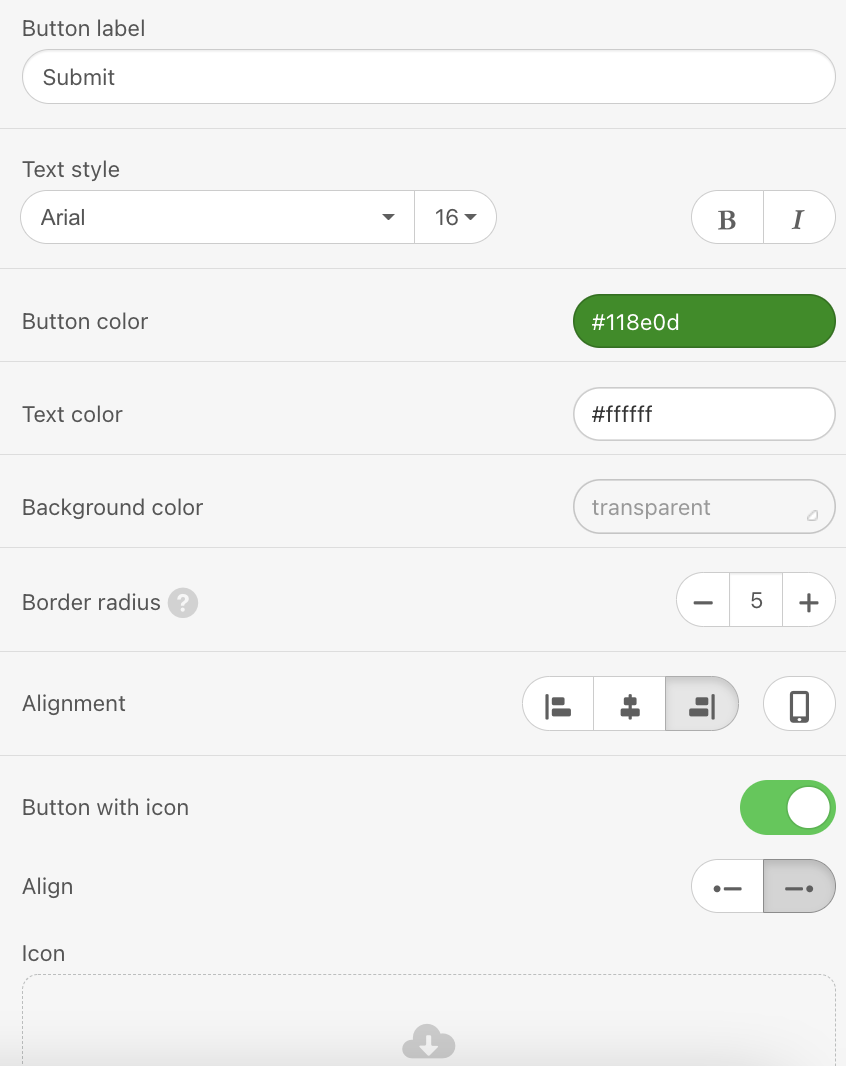
- Click on the button in the template.
- In the settings panel, set button label, font type, font size, and color, text color, border-radius, and alignment.

Notification section
- Click the “Success notification message” in your template.
- Edit text right there.
- Color for each section — by default they are green and red — and text color should be set in the settings panel.


Now that you have build your form, you can preview and test it.
How can I build a fallback for other recipients?
Now you can build a fallback for the users who cannot see the dynamic content.
1. Pull the Text block in your template right above or right below the AMP form.
2. Enter your CTA text to encourage users to go to the external form to leave a comment on your services.
3. Pull the Button block in your template and design it.
4. Paste the URL to your Google Form.
5. To include this structure in the HTML version of your template only, click the Structure button.
6. In the settings panel, click the Include in HTML button. 7. Now test this HTML form — send a test email to those colleagues whose email clients do not support AMP yet.
How can I preview and test the form?
To preview your AMP form, you should get your sender whitelisted with Google. Once you complete designing your email, you can send a test message to your email address with the Test Message button on the Design or Launch step.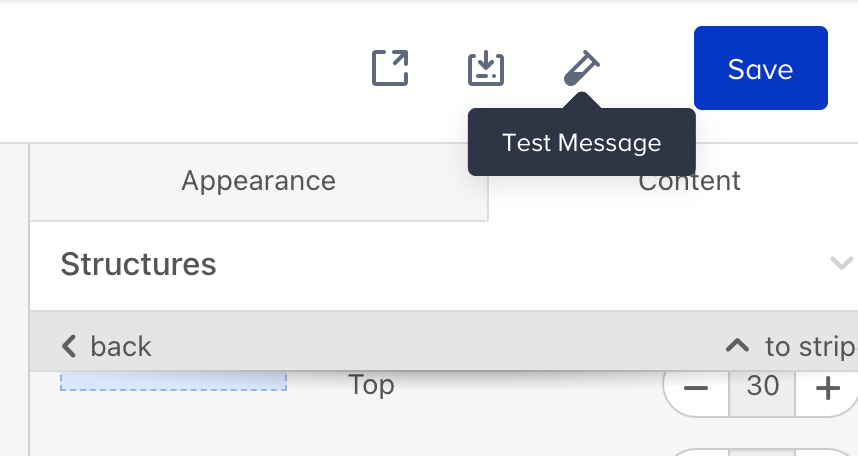

To test this form:
1. Open the test email, and leave a comment or a few in the form.
2. Then you can see it in the exported replies, or check it on your data collection service if applicable.
3. Check if your answers are recorded in the report.
Keep in mind
To make sure that your recipients see your AMP emails, you need to:
- Get whitelisted with Google.
- Fix all the bugs if any occurs. The editor shows if you have any in emails and even recommend how to fix them.
- You have fallbacks for those customers whose email clients do not support AMP for emails.
- Make sure that your ESP/CRM is capable of sending AMP emails.
- Keep in mind that currently only Gmail (both web and mobile apps on all OSs) and Mail.ru are capable of rendering AMP emails. Yahoo will join the list soon.
- AMP emails lose their AMP components if you forward them.
Was this article helpful?