Testing Journeys
- 11 Jul 2023
- 4 Minutes to read
Testing Journeys
- Updated on 11 Jul 2023
- 4 Minutes to read
Article Summary
Share feedback
Thanks for sharing your feedback!
Once you change your journey status to test, you can test it as an end user to make sure it functions fully.
When the journey is on test status, no user can enter the journey unless they have a test link or test it with a test pop-up.
See below for the 5 steps you need to go through to test your journey.
1. Launch your Journey on test status
After designing and completing the settings of the journey, launch your journey on test status. You can also use the skip wait element option to make a fast-testing.
your title goes here
Skip wait option helps you bypass the wait elements. You need to meet the starter and check conditions before entering the journey to give the system time to update your attributes and generate your events. This way, you can proceed to the correct path on the flow.

2. Generate your panel
You need to generate your panel only for the On Website Visit starter. See how you can generate your panel here.
3. Using Test Journey button
After launching your journey on test status, click the Test Journey button on the listing page.
.png)
If the starter is On Website Visit, you will be redirected to your website and you will see a test bar at the bottom of the page.
your title goes here
Every time you are testing your journey, you need to create a new user on your browser. While testing it, you should not use the same email or phone number if you used any to register/log in on your website before. Otherwise, you may be a unified user and you may not be able to test your journey with this unified user ID.

If the starter is On Event, On Attribute, Offsite Starter or Dynamic Date, you will see the test pop-up on the listing page.

If the starter is On Price Drop or On Back in Stock, you will see this pop-up on the listing page, where you can test your journey with either user information, or both user and product information. Along with the Product ID, make sure to select the locale to get the correct product.

4. Testing your journey with the test bar
You need to meet the On Website Visit starter segments/rules on your website to test your journey.
If you want to bypass the starter element, you can click the Enter Journey button on the test bar.
.png)
In this case, you can see the test bar status as In Progress. You can see whether you trigger the journey following the status options: Not in Journey, In Progress.

If you want to proceed to the next step in your journey, you need to meet the check conditions.
When you go back to your journey canvas, you can see your user enter the journey and proceed on the flow.
5. Testing your journey with the test pop-up
You need to enter your user id or email address on the pop-up to take your user on the journey. You will see information about your user on the left bar of the journey canvas until your user meets the starter conditions.
your title goes here
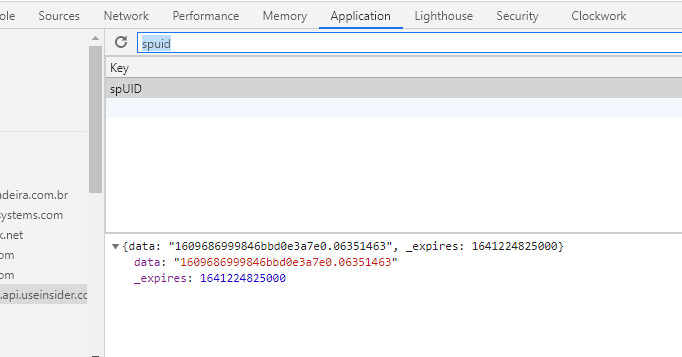
You can look up your user ID by following these steps:
- Go to your website.
- Click right and select Inspect to open the developer console.
- Go to Application > Local Storage.
- Select api.useinsider.com under local storage.
- Type spUID in the search bar. The value of this key is your user ID.
If you are sending user attributes or events via Upsert User Data API, you can query by email address on the User Profiles page.
If you are trying to trigger a journey from your mobile app, you can take your Unique Device Identifier (UDID) which is also considered user id.
your title goes here
Note: Your user ID or email address must be in Insider database to take your user into the journey. This data can be collected through your website, mobile app, a lead collection form or Upsert User Data API.
If you want to bypass the starter element, you can click the Pass the starter element option on the test pop-up.
After entering the Profile ID or Email Address, and activating the “Bypass Starter Element” option, you will be directed to the journey canvas. You will see the following information to notice you were not segmented according to your starter condition but you skipped the starter.
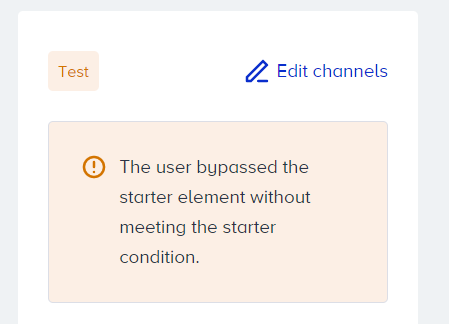
Even if you skip the starter element, you need to fulfill the conditions of the check elements or messaging channels opt-ins, and provide the required information on the related platform to proceed to the correct path on the journey flow and receive messages.
For the On Price Drop and On Back in Stock starters, the first option is to enter your Profile ID or Email Address on the pop-up to take your user on the journey. You will be directed to the journey canvas. Once you meet the starter condition, you will enter the journey.

Your title goes here
You will not enter a journey unless there is an actual change in the attributes of the product you visited. That's why it might take a while to enter the journey until such a change is detected on the product.
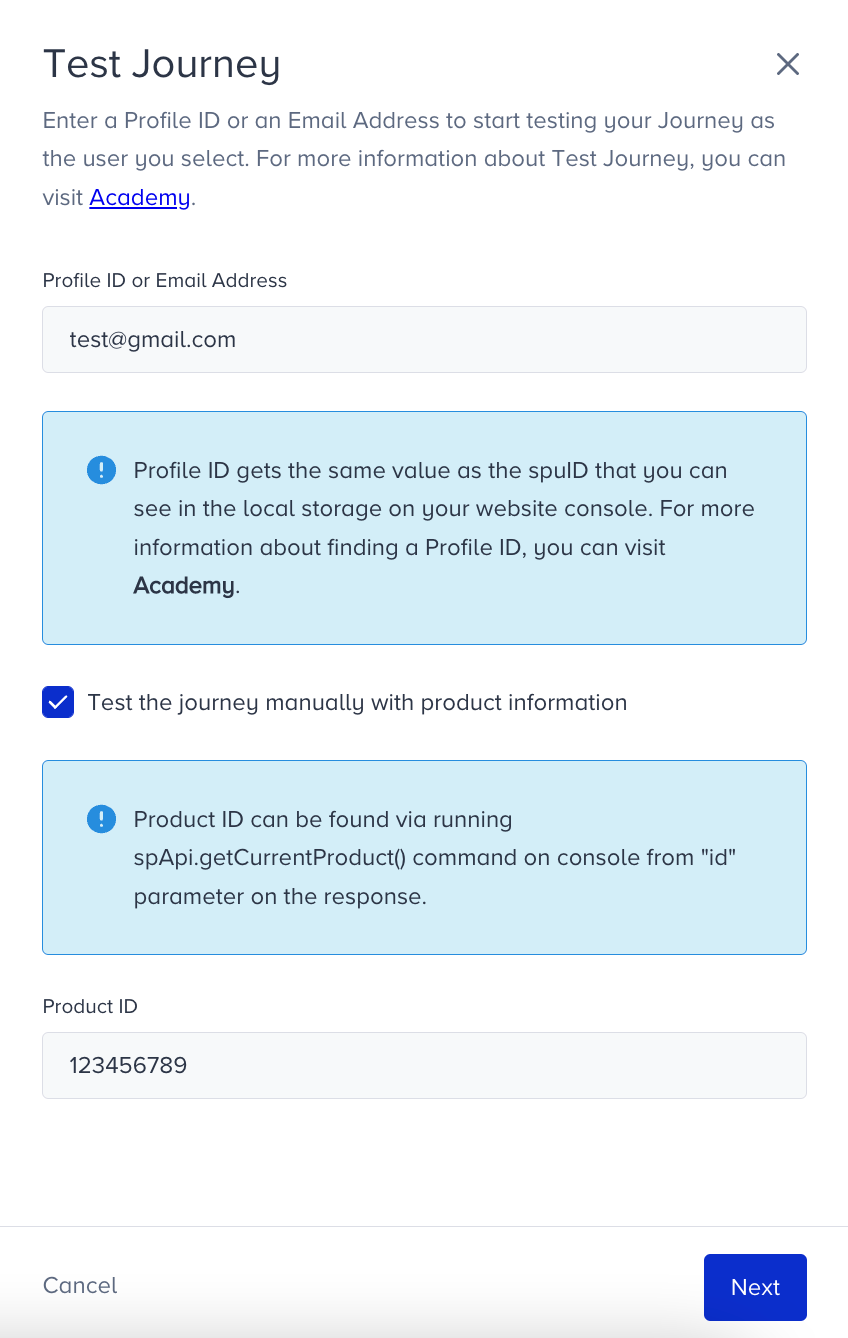
The second option is to enter the journey with your Profile ID or Email Address and Product ID on the pop-up to take your user on the journey. You will be directed to the journey canvas and enter the journey immediately. This function works as a simulation of the starter condition on the product that you have specified in the test pop-up. Even though there is no change in the product attributes, it will take you to the journey for the product that you have specified as if the actual starter condition is realized.
Your title goes here
To get your product ID, you can run Insider.systemRules.call('getCurrentProduct').id on the developer console.
Once there is a change in the product attribute, you can test your journey for the respective product ID now.
Was this article helpful?